Portable Online Library with Calibre and Raspberry Pi
Everything is *-as-a-service nowadays and books are no exception. I have a Safari Books Online subscription which I enjoy a lot. It is extremely convenient to have thousands of books at your fingertips. But… DIY still rules! There are times you may still want to have your own collection and it doesn’t just have to be an e-book collection. And on top of all it’s purely fun and educational.
Ingredients
Basically all you need is an up-and-running Raspberry Pi. If you have one, you can skip this section. These are just the components I used in my implementation:
- Raspberry Pi 2
- Raspberry Pi Power Supply
- Samsung 32GB microSD card
- Edimax EW-7811UN 150Mbps Wireless Nano USB Adapter
- Keyboard
- Display
Keyboard and display are needed for the initial setup. Once it’s connected to network you can do everything over SSH.
Calibre, my old friend!
I’ve been a fan of Calibre for many years now. With Calibre you can manage any document collection you want. I love its user interface which allows me to easily tag and categorize my collections. Also it can convert between a wide range of formats. And when I plug in my Kindle it automatically recognizes the device and I can right-click on a book and send to device very easily. Check out this page for a full list of features.
My favorite feature is that it can act as a server. I mainly use Stanza on my iPad and connect to my Calibre server to download comic books over WiFi. The downside of running it locally on my computer is that the machines needs to be on and I have to enable the content server on Calibre manually before connecting from iPad.
Here comes the project
Instead, what I’d like to have is
-
An online server available all the time: Raspberry pi is very power-efficient little monster so I can keep it running
-
Isolated from my main machine: For security reasons I don’t want to open a port on my desktop computer
-
Accessible both from inside and outside: Of course I could just launch a cheap AWS instance and use it as the content server but
- It’s not as fun!
- If I need to move around GBs of data local network rocks!
Also, as I said it’s mostly for fun so I don’t have to justify it completely to myself :-)
Roll up your sleeves!
Step 0: Setup Raspberry Pi
If you haven’t done it already you can easily set it up by following the Quick Start Guide on raspberrypi.org
Step 1: Install Calibre on Raspberry Pi
This one was a bit harder than I expected. The official site says “Please do not use your distribution provided calibre package, as those are often buggy/outdated. Instead use the Binary install described below.”
and the suggested command is
sudo -v && wget -nv -O- https://raw.githubusercontent.com/kovidgoyal/calibre/master/setup/linux-installer.py | sudo python -c "import sys; main=lambda:sys.stderr.write('Download failed\n'); exec(sys.stdin.read()); main()"
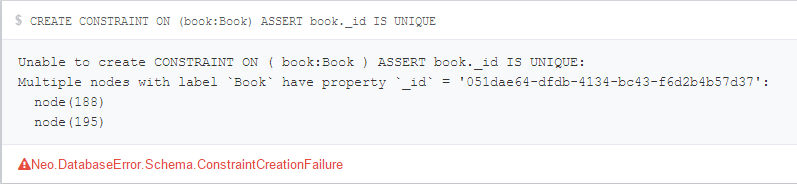
Alas, after running the command I got the following error:
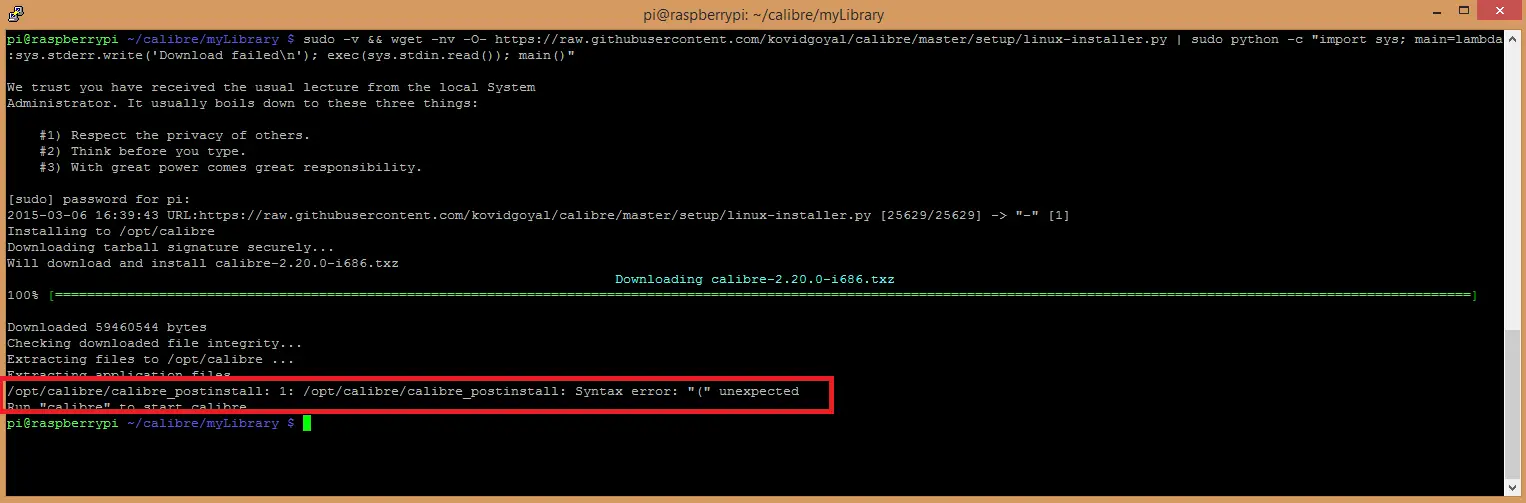
I asked in the Calibre forums about the error and I was advised to build it from source code. Because the compiled version is for Intel processors and it doesn’t work on an ARM processor which Raspberry Pi has. The instructions for building it from source is on the same page but I haven’t tried it myself.
As a fallback method I simply used apt-get to install it:
sudo apt-get update && sudo apt-get install calibre
It worked fine but the version is 0.8.51 (latest release at the time of this writing is 2.20.0 so you can see it’s a little bit outdated!). Content server has been implemented long time ago so for all intents and purposes it’s good enough for this project.
Step 2: Run it as server
Now that we have Calibre installed we can run the content server from command line:
calibre-server --with-library=/home/pi/calibre/myLibrary --daemonize
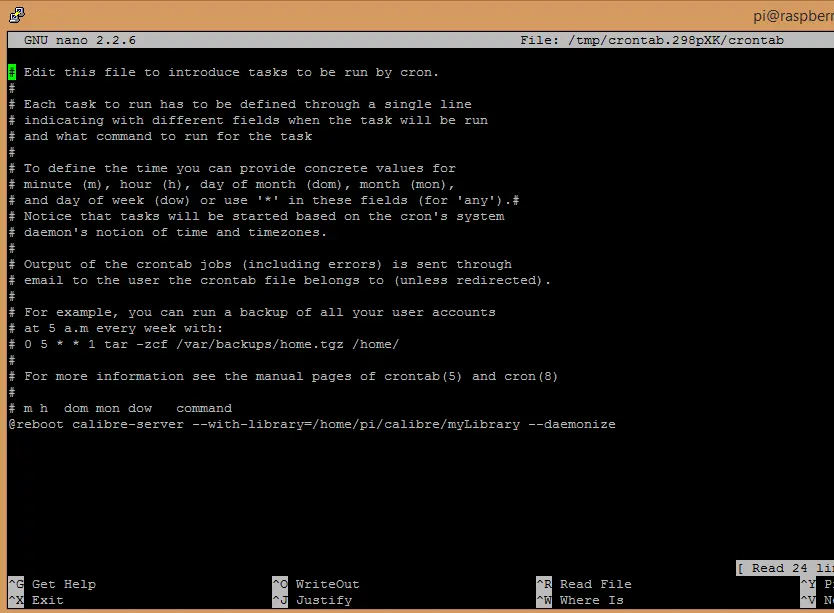
This will run the process in the background (because of the –daemonize flag) but id the Pi restarts it will not run automatically. To fix that I added the command to crontab by first entering the following command
crontab -e
and adding the following line after the comments
@reboot calibre-server --with-library=/home/pi/calibre/myLibrary --daemonize
so that the same command is run after every reboot.
Now let’s test if we’re online. By default, Calibre starts serving on port 8080 with no authentication required. So just find the IP address of the Raspberry Pi and try to connect it over HTTP from your machine such as http://{Local IP}:8080
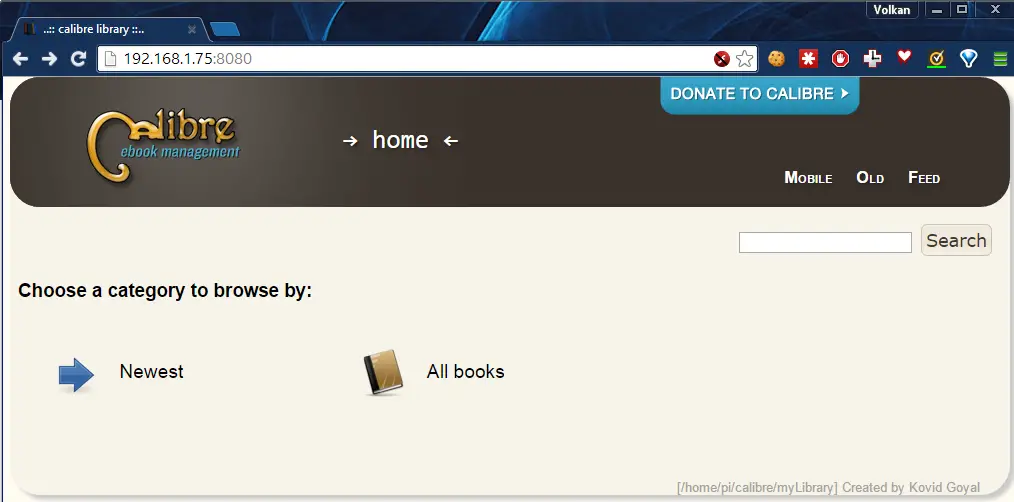
and voila!
Now we can add some books and start using it from any machine on the network.
Step 3: Add some books
First I uploaded some files to a different folder using WinSCP. If you are not on Windows I’m sure you can find a similar tool to transfer files to Raspberry Pi.
We can add books by using calibredb command like this:
calibredb add Raspberry_Pi_Education_Manual.pdf --with-library=/home/pi/calibre/myLibrary
Please note if you try to use calibre instead of calibredb you’d get the following error:
calibre: cannot connect to X server
Because we are using the GUI we cannot use calibre directly, instead we add it using calibredb.
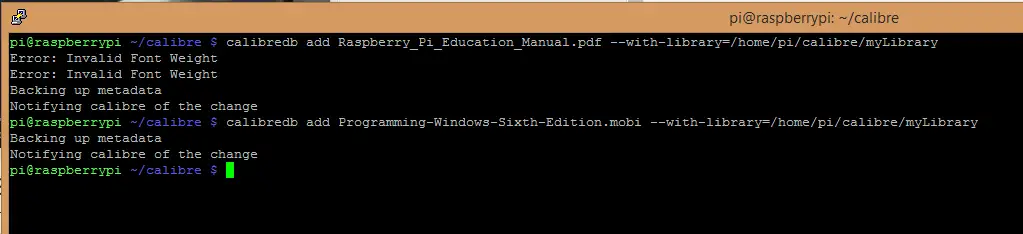
Calibre always copies the files to its own library so once the books are added you can delete the original ones.
After the files are added refresh the page and you should get something like this:
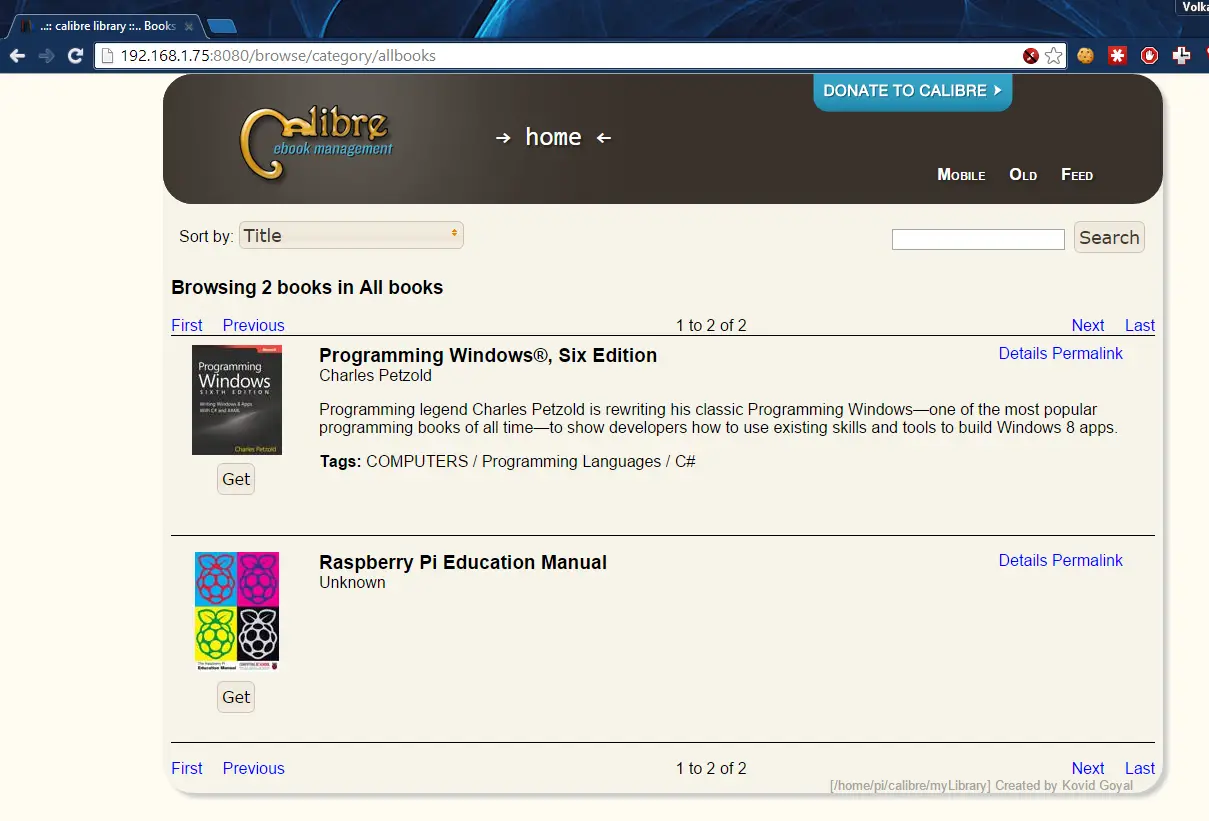
At this point we can download the books on any machine on the local network.
Step 4: Connect from clients
- Kindle
Kindle has an experimental browser (I currently have a Paperwhite, I don’t know about the newer versions). So to download books, I simply go to Settings -> Experimental Browser and enter the URL of my content server (http://{Local IP}:8080):

And after you download the file you can go to home and enjoy the book on your Kindle.
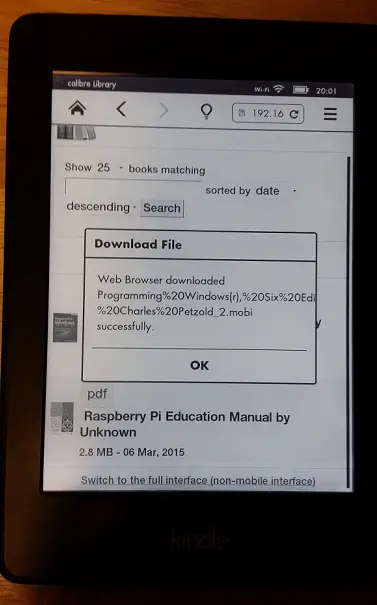
Please note that Kindle cannot download PDFs. When I tried to download Raspberry Pi manual I got the following error
Only files with the extension .AZW, .PRC, .MOBI or .TXT can be downloaded to your Kindle.
So make sure you upload the the right file formats.
- iPad / Stanza
This is my favorite app on iPad. It’s not even on AppStore anymore but I still use it to download books from Calibre.
All I had to do was click Get Books and it found the OPDS server on the network automatically so I could browse and download books right away.

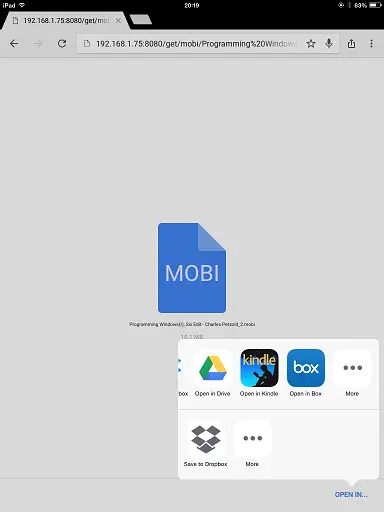
- iPad / Web
Alternatively you can just browse to server and open it with any eBook reader app available on your iPad.
[Optional] Step 5: Setup Port Forwarding
For internal usage we are done! If you want to access your library over the Internet you have to define port forwarding rule. The way to do it is completely dependant on your router so you have to fiddle with your router’s administration interface.
Basically you map an external port to an internal IP and port.

For example I mapped port 7373 to local 192.168.175:8080 so whenever I connect to my home network’s external IP on port 7373 I get my Calibre user interface.
I recommend running the server with –username and –password flags so that only authenticated users can browse your library.
[Optional] Step 6: Setup Dynamic DNS
If you have a static IP you don’t need this step at all but generally personal broadbands don’t come with static IPs. My solution for this was using AWS Route 53 and updating the DNS using AWS Python SDK (Boto).
First I had to install pip to be able to install boto
sudo apt-get install python3-pip
Then boto itself
sudo pip install boto
I created an IAM user that only has access to a single domain which I use for this kind of stuff on Route 53 and added its credentials to the AWS credentials file as explained in the nice and brief tutorial here
The script calls AWS’s external IP checker and stores it in currentIP. Then gets the hosted zone and loops through all the record sets. When it finds the subdomain I’m going to use for Calibre (‘calibre.volki.info.’) it updates the IP address with the currentIP and commits the changes. Thanks to AWS that’s all it takes to create a Dynamic DNS application.
import boto.route53
import urllib2
currentIP = urllib2.urlopen("http://checkip.amazonaws.com/").read()

conn = boto.connect_route53()
zone = conn.get_zone("volki.info.")
change_set = boto.route53.record.ResourceRecordSets(conn, '{HOSTED_ZONE_ID}')

for rrset in conn.get_all_rrsets(zone.id):
    if rrset.name == 'calibre.volki.info.':
        u = change_set.add_change("UPSERT", rrset.name, rrset.type, ttl=60)
        rrset.resource_records[0] = currentIP
        u.add_value(rrset.resource_records[0])
        results = change_set.commit()
Of course this script needs to be added to crontab and should be run every 5-10 minutes. If the external IP changes there might be some disturbance to the service but it should just take a few minutes before it’s resolved.
With this script now we can access our library over the Internet and we don’t have to worry about changes in the IP address.