RSS Feed Generation with C#
Recently I got burned by another Windows update and my favorite podcatcher on the desktop, Miro, stopped functioning. I was already planning to develop something on my own so that I wouldn’t have to manually backup OPMLs (I’m sure there must be neat solutions already but again couldn’t resist the temptation of DIY!). So started exploring RSS feeds and the ways to produce and consume them. My first toy project is a feed generator.
Implementation
I developed a console application in C# that can be scheduled to generate the feed and upload it to AWS S3. Source code is here
Apparently .NET Framework has a System.ServiceModel.Syndication namespace since version 3.5 that contains all the tools need to consume and create an RSS feed with a few lines of code. The core part of the application is the part that generates the actual feed:
public SyndicationFeed GetFeed(List<Article> articles)
{
    SyndicationFeed feed = new SyndicationFeed(_feedServiceSettings.Title, _feedServiceSettings.Description, new Uri(_feedServiceSettings.BaseUri));
    feed.Title = new TextSyndicationContent(_feedServiceSettings.Title);
    feed.Description = new TextSyndicationContent(_feedServiceSettings.Description);
    feed.BaseUri = new Uri(_feedServiceSettings.BaseUri);
    feed.Categories.Add(new SyndicationCategory(_feedServiceSettings.Category));

    var items = new List<SyndicationItem>();
    foreach (var article in articles
        .Where(a => a.ispublished)
        .Where(a => a.ispubliclyvisible)
        .OrderByDescending(a => a.publisheddate))
    {
        var item = new SyndicationItem(article.title,
            article.bodysnippet,
            new Uri (string.Format(_feedServiceSettings.ArticleUrl, article.slug)),
            article.articleid.ToString(),
            article.publisheddate);

        item.Authors.Add(new SyndicationPerson("", article.authorname, string.Format(_feedServiceSettings.UserUrl, article.user.username)));
        items.Add(item);
    }

    feed.Items = items;
    return feed;
}
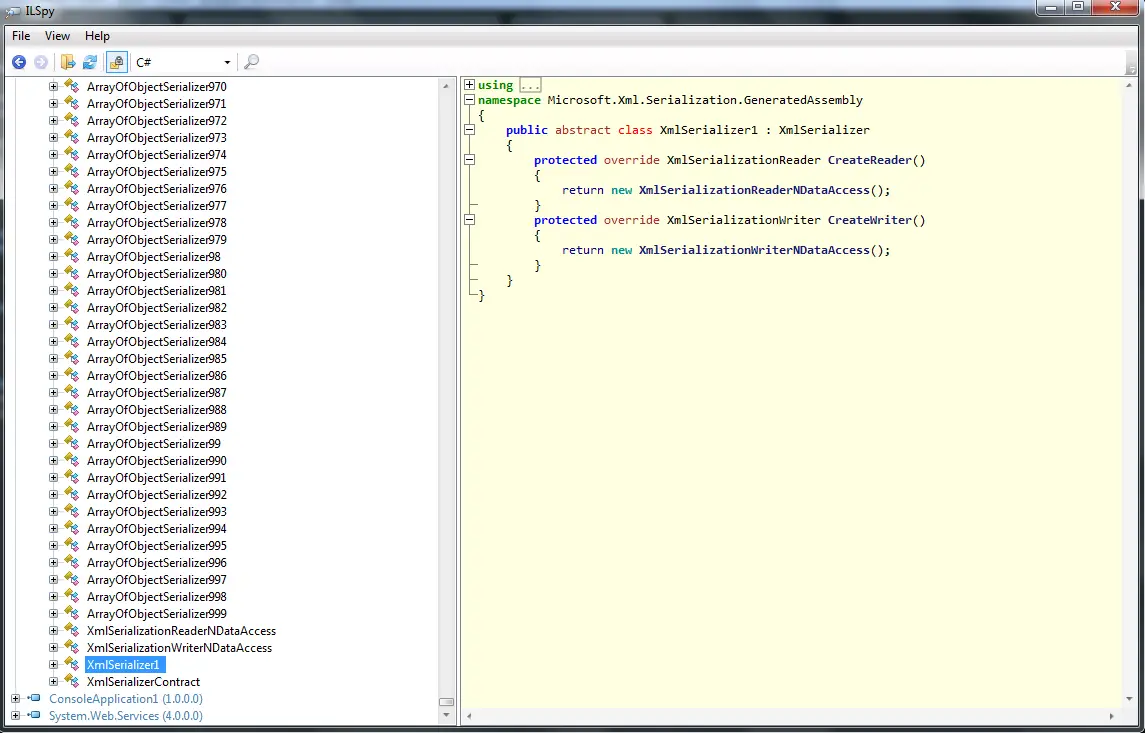
The feed itself is independent from the format (RSS or Atom). The classes that do the actual formatting are derived from the abstract SyndicationFeedFormatter class: Rss20FeedFormatter and Atom10FeedFormatter. The format is read from the config file so the application supports both formats.
public SyndicationFeedFormatter CreateFeedFormatter(SyndicationFeed feed)
{
    string feedFormat = _feedSettings.FeedFormat;
    switch (feedFormat.ToLower())
    {
        case "atom": return new Atom10FeedFormatter(feed);
        case "rss": return new Rss20FeedFormatter(feed);
        default: throw new ArgumentException("Unknown feed format");
    }
}
and in the publisher service it gets the output feed:
var memStream = new MemoryStream();
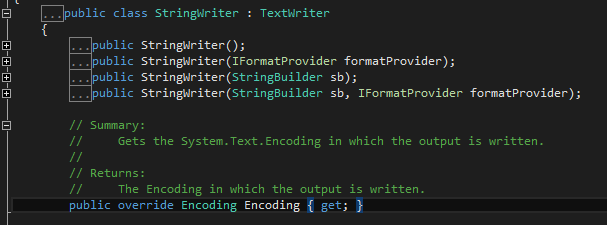
var settings = new XmlWriterSettings(){ Encoding = Encoding.UTF8 };
using (var writer = XmlWriter.Create(memStream, settings))
{
feedFormatter.WriteTo(writer);
}
I added the output of the API call as a JSON file under samples. Also implemented a fake API client called OfflineFedClient. It reads the response from a file instead of actually making an API call. It comes in handy if you don’t have an Internet connection or a valid API key. To use it in offline mode you have to change the the line that creates the client from this
var client = new FeedClient(configFactory.GetApiSettings());
to this
var client = new OfflineFeedClient(configFactory.GetOfflineClientSettings());
Lessons learned / Implementation Notes
So since the motivation behind the project is to learn more about manipulating RSS by myself here’s a few things that I’ve learned and used:
- I created an IAM account that has write-only access to the bucket the feed will be stored in. It works with default permissions which is private access. But since RSS reader service will need access to the feed I had to upload the file with public access, Apparently changing ACL requires different permissions, namely s3:PutObjectAcl. Weird thing is just replacing s3:PutObject with s3:PutObjectAcl didn’t work either. They had to be both allowed. So after a few retries the final policy shaped up to be like this:
{
    "Version": "2012-10-17",
    "Statement": [
        {
            "Sid": "Stmt1418647210000",
            "Effect": "Allow",
            "Action": [
                "s3:PutObject",
                "s3:PutObjectAcl"
            ],
            "Resource": [
                "arn:aws:s3:::{BUCKET_NAME}/*"
            ]
        }
    ]
}
- In this implementation I used Visual Studio’s neat feature Paste JSON As Classes.
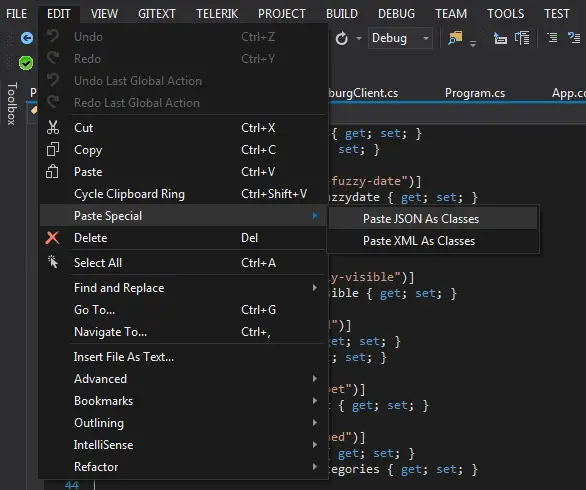
First I captured the API response with Fiddler. Then created a blank .cs file and using this option created the class to deserialize the response. Using strongly typed objects can easily be a daunting task if you are wrapping a whole API so I’d prefer to use dynamic objects like this:
var response = client.Execute<dynamic>(request);
var latestArticles = ((IEnumerable) response.Data.payload.articles).Cast<dynamic>()
                        .OrderByDescending(a => a.publisheddate)
                        .Select(a => new
                        {
                            slug = a.slug,
                            id = a.articleid,
                            title = a.title,
                            publishedDate = a.publisheddate,
                            ispublished = a.ispublished,
                            isvisible = a.ispubliclyvisile
                        });
This works fine but the problem in this case was the hyphens in some of the JSON property names which are not supported in C#. I can get around it if I use the strongly typed objects and specify the property name explicitly, such as:
[JsonProperty("is-published?")]
public bool ispublished { get; set; }
But I cannot do it in the dynamic version. I’ll put a pin into it and move on for now but have a feeling it will come back and haunt me in the future!
-
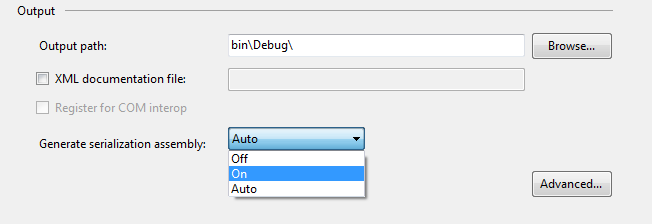
Default output of the RSS feed passes the validation but get 3 warnings. I’m sure they can be safely ignored but just of curiosity researched a little bit to see if I could pass with flying colors. Two of the three warnings were
line 1, column 39: Avoid Namespace Prefix: a10 [help] <?xml version=”1.0” encoding=”utf-8”?><rss xmlns:a10=”http://www.w3.org/200 …
line 12, column 5302: Missing atom:link with rel=”self” [help] … encompassing the Ch</description></item></channel></rss>
I found the solution on StackOverflow (not surprisingly!)
I made a few changes in the formatter factory
case "rss":
{
    var formatter = new Rss20FeedFormatter(feed);
    formatter.SerializeExtensionsAsAtom = false;
    XNamespace atom = "http://www.w3.org/2005/Atom";
    feed.AttributeExtensions.Add(new XmlQualifiedName("atom", XNamespace.Xmlns.NamespaceName), atom.NamespaceName);
    feed.ElementExtensions.Add(new XElement(atom + "link", new XAttribute("href", _feedSettings.FeedUrl), new XAttribute("rel", "self"), new XAttribute("type", "application/rss+xml")));
    return formatter;
}
I liked the fact I only had to make changes in one place so the factory could return a customized formatter instead of the default one and the rest of the application didn’t care at all. But unfortunately the fix required the publish URL or the feed. I got around it by adding to FeedSettings in the config but now the S3 settings and Feed settings need to be changed at the same time.
My idea was to make it like a pipeline so that the feed generator didn’t have to care how and where it’s published but this fix contradicted with that approach a little bit. Unfortunately it doesn’t look possible to use variables in the config files so that I could generate Feed.Url using the other settings.
- The 3rd warning was encoding-related. If don’t explicitly specify the API uses ISO-8859-1 charset. I tried playing around a with a few headers to get the response in UTF-8 but the solution came from a friend: Accept-Charset header. So adding the header fixed that issue as well:
request.AddHeader("Accept-Charset", "UTF-8");
Conclusion
The genereated Atom feed doesn’t pass the validation but I will handle it later on. Since Atom is a newer format I think I’ll go with that in the future but so far it’s good to know that it’s fairly easy to play with RSS/Atom feeds with C# so it was a fun experiment after all…