
Media Centre with Raspberry Pi
I never cared for building a media centre before as I’m front of my desktop computer all day long and it has everything I need! But I was always curious about what the whole thing is about. As I was already looking for an excuse to buy myself one of those new Raspberry Pi B+ models it didn’t take too long before I decided to build a shiny little media centre for myself!
Software
First of all before I engaged with this world they’ve already changed the name of the software! What’s formerly known as XBMC is now called Kodi. It has releases for Windows, Mac, Linux, Raspberry Pi etc. so no wonder why it’s so ubiquitous. For Raspberry Pi there are two popular distros: Raspbmc and OpeElec. When you are a complete noob choosing the right distro might be a hassle. After a quick search I found a a nice comparison here. Turns out Raspbmc comes with a full OS and running XBMC on top of it. That’s why I decided to go with it as it would give me full control over the Raspberry Pi and I could use it for other purposes as well.
Hardware
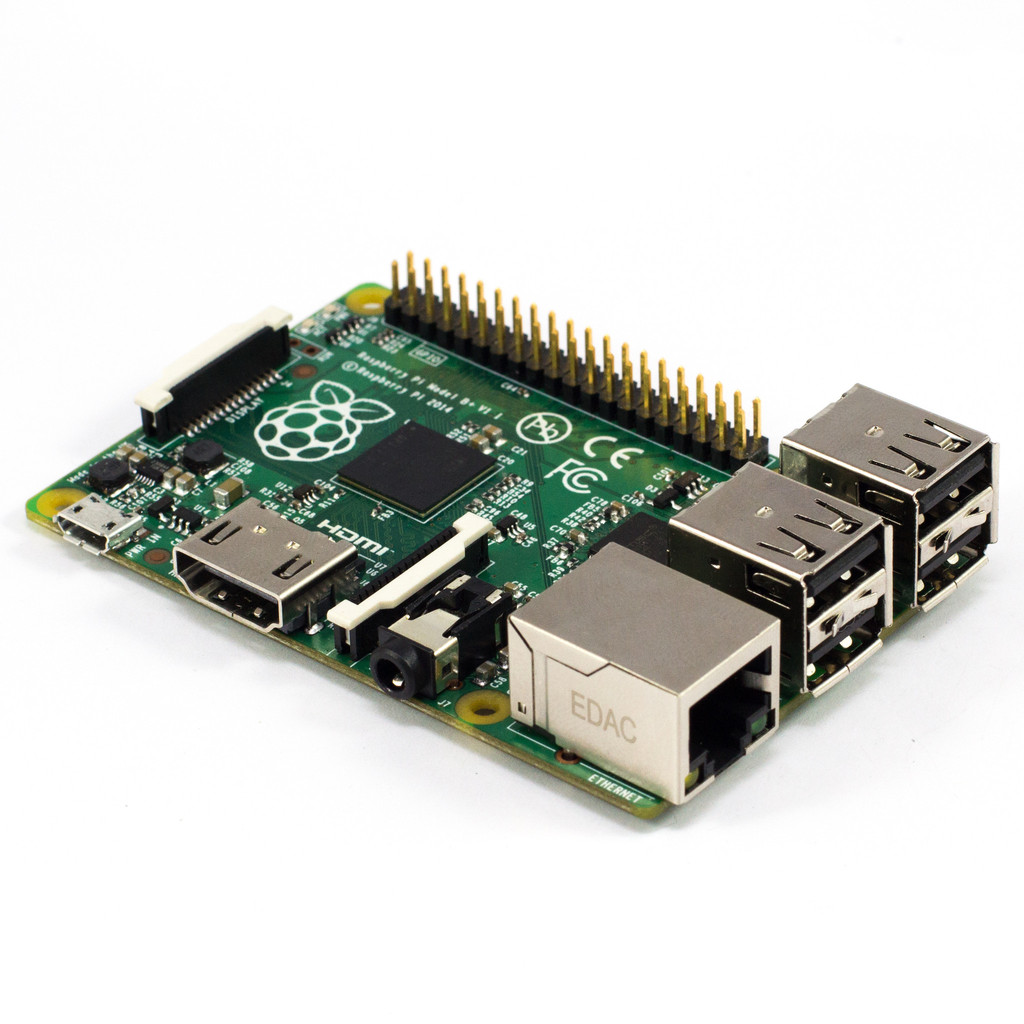
I mentioned the Raspberry Pi already but I needed a few accessories too.
| Component | Price | Where to buy? |
|---|---|---|
| Raspberry Pi + Case | £31 | Amazon |
| 32GB microSD Card | £13 | Amazon |
| Power adaptor | £5 | Amazon |
| Remote control | £4 | eBay |
| Audio splitter | £8 | Amazon |
| Monitor / TV | £0 | |
| Keyboard & Mouse | £0 | |
| Wi-Fi Adaptor | £0 | |
| Wireless headphones | £0 | |
| Speakers | £0 |
£0 doesn’t, unfortunately, mean they were free. It just means I used my existing gadgets lying around idly so it’s a win-win situation anyway. It felt good to utilize them even though that meant spending extra 60 quids!
Installation
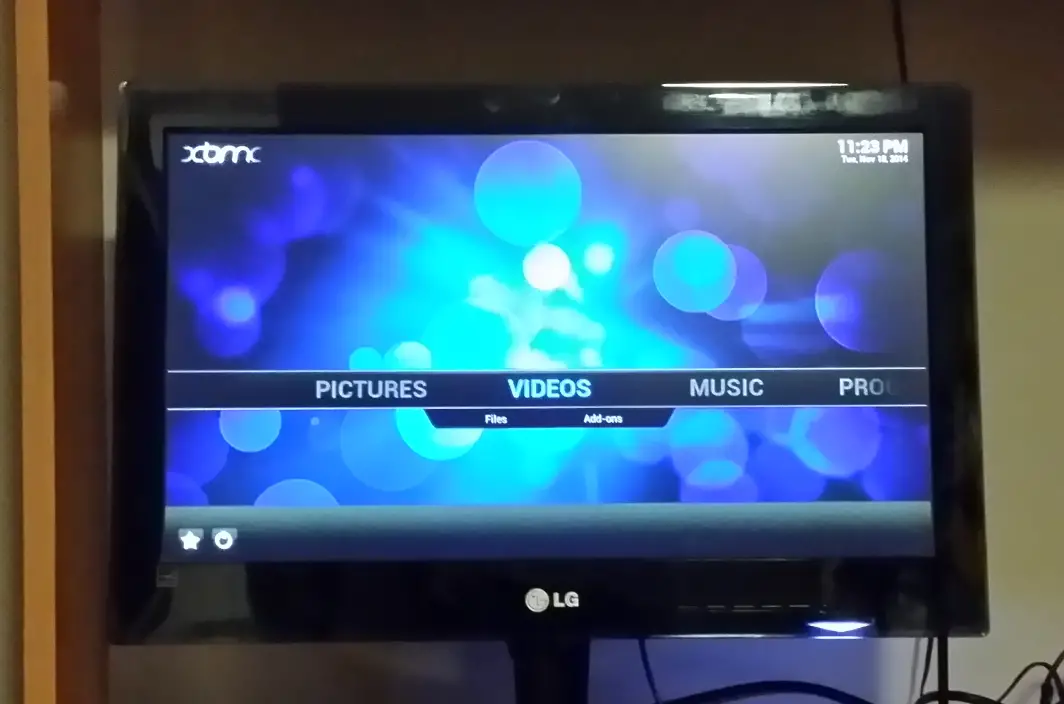
Alright, now that we know what to install and where to install, let’s get cracking! Installation is dead simple as with all Raspberry Pi projects. All we have to do is download the latest build from Raspbmc website and prepare an SD card using a tool like Win32 Disk Imager. Insert it into the Pi and you’re good to go. When you plug in the pi and connect to your monitor/TV you get to the home screen:
Configuration
So it’s almost ready to kick back and enjoy podcasts, TV shows and movies but we need to tweak it a little first.
Wireless
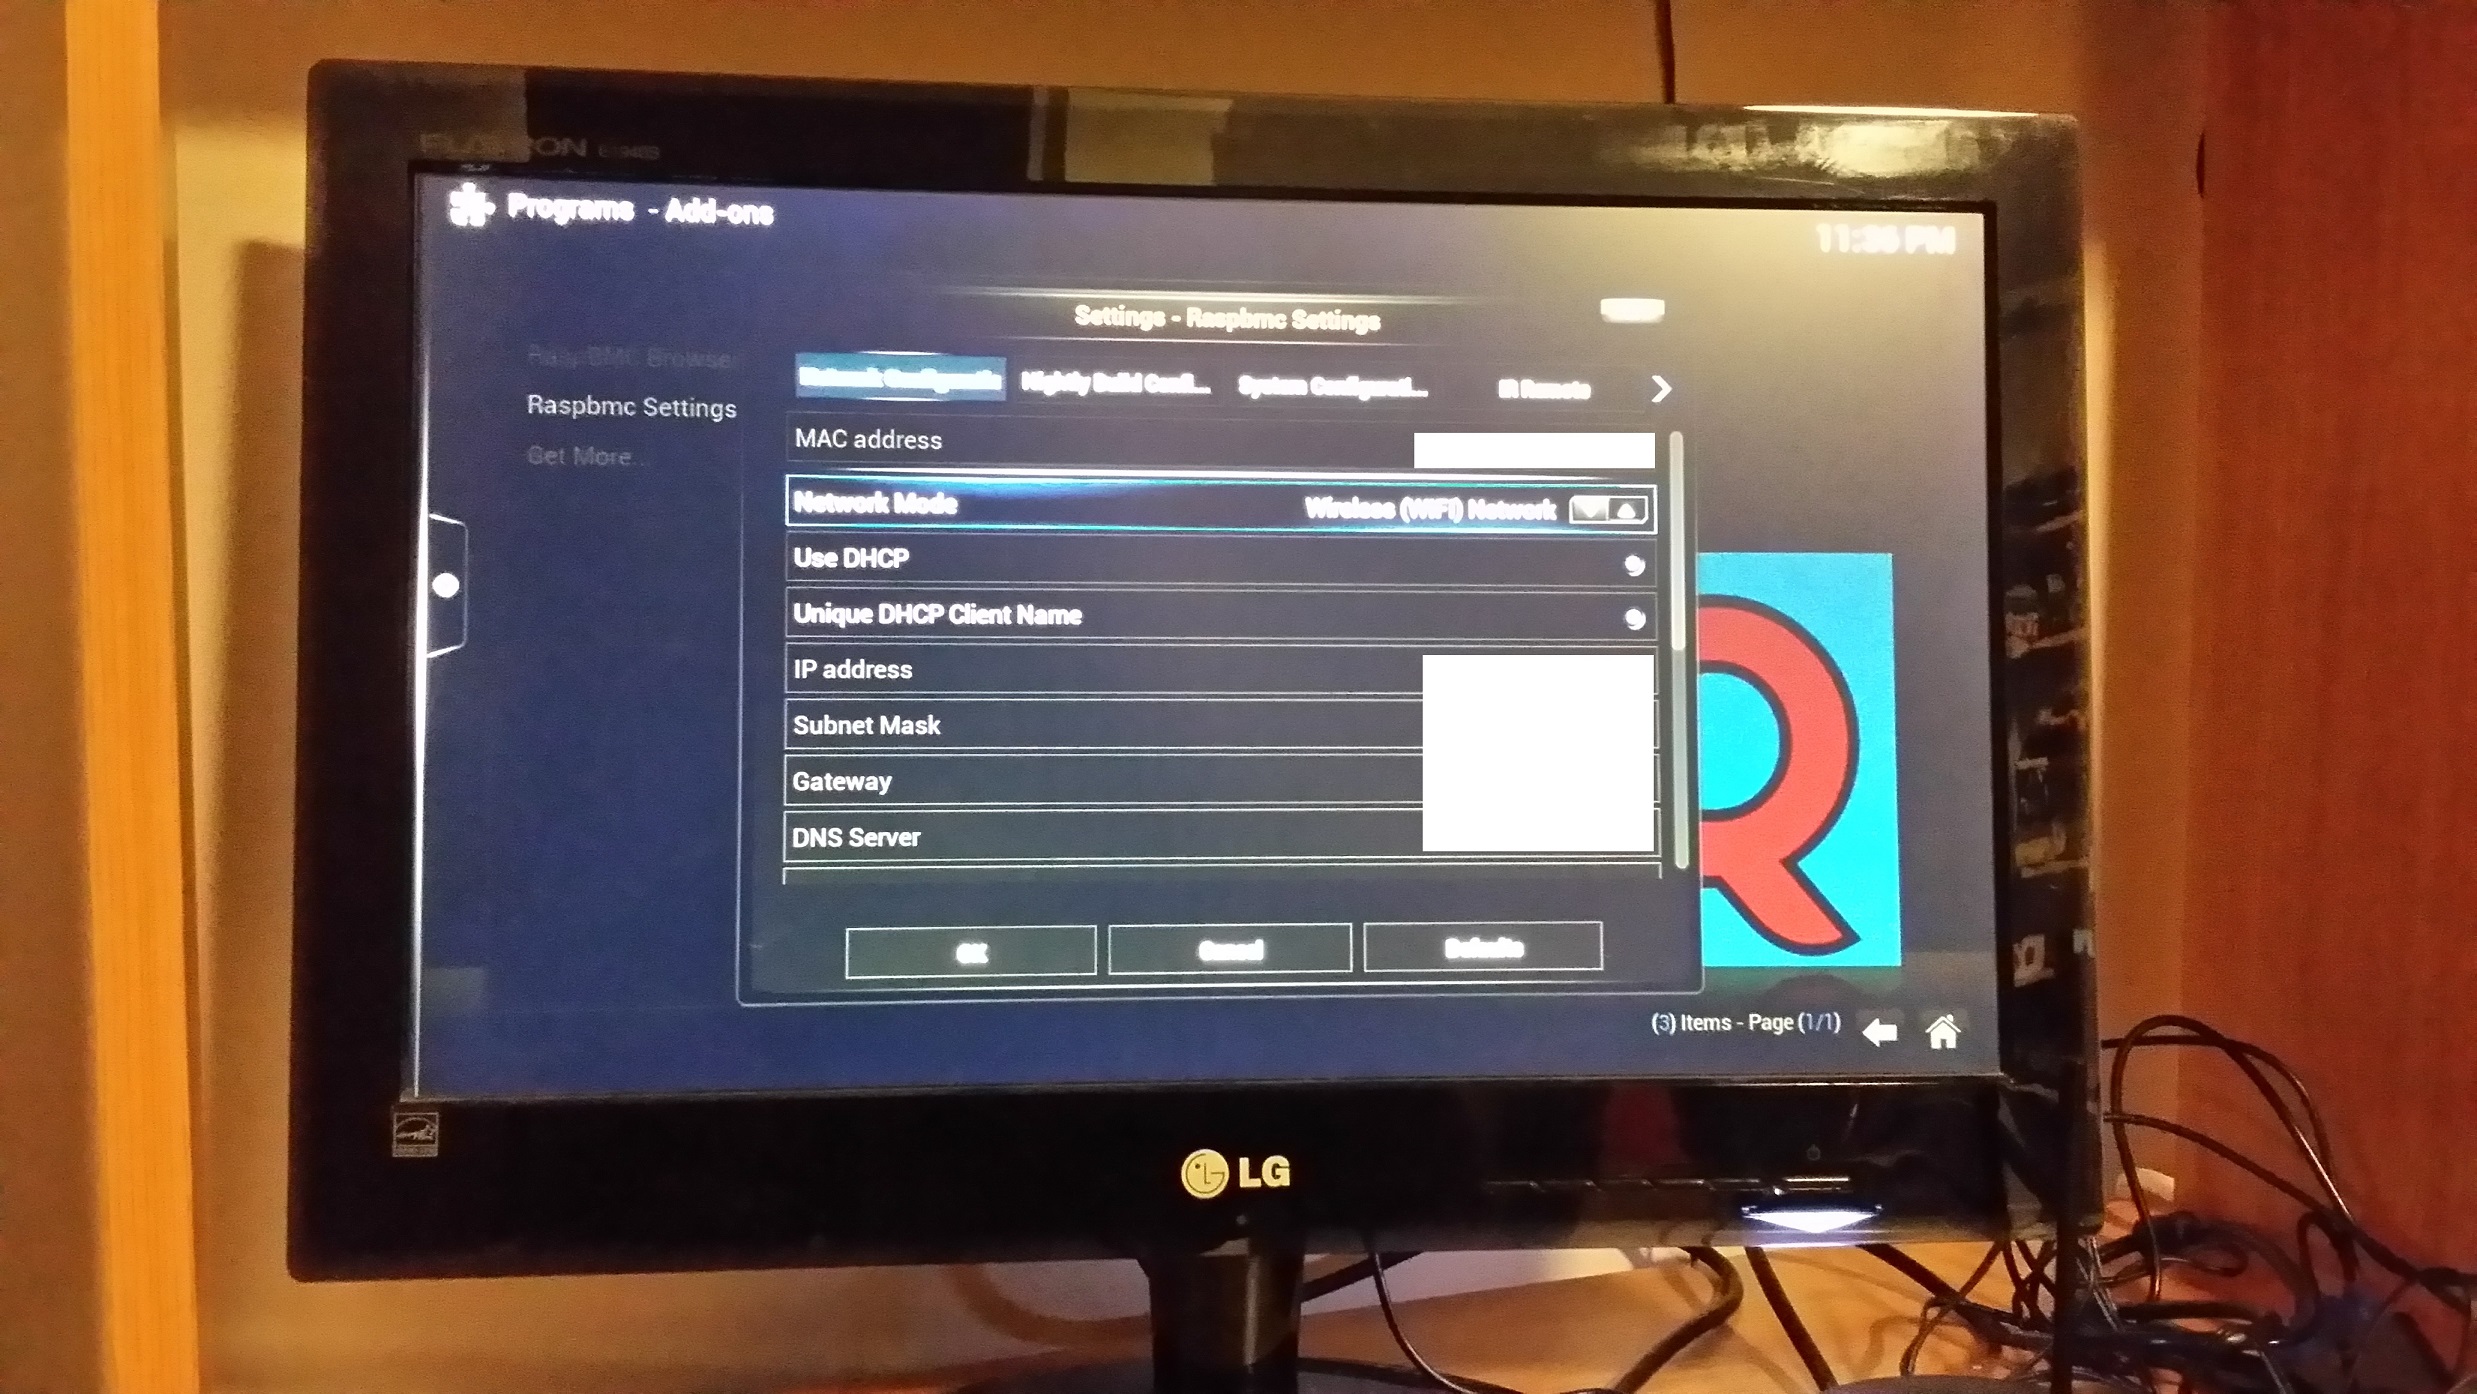
If you can use wired network, do so as it would be much faster. Unfortunately I have to use a wireless adaptor because of the location of my switch and me not wanting a long Ethernet cable crossing the room! To switch to Wi-Fi go to Program –> Raspbmc Settings. In the Network Configuration tab change Network Mode to “Wireless (WIFI) Network”
Audio
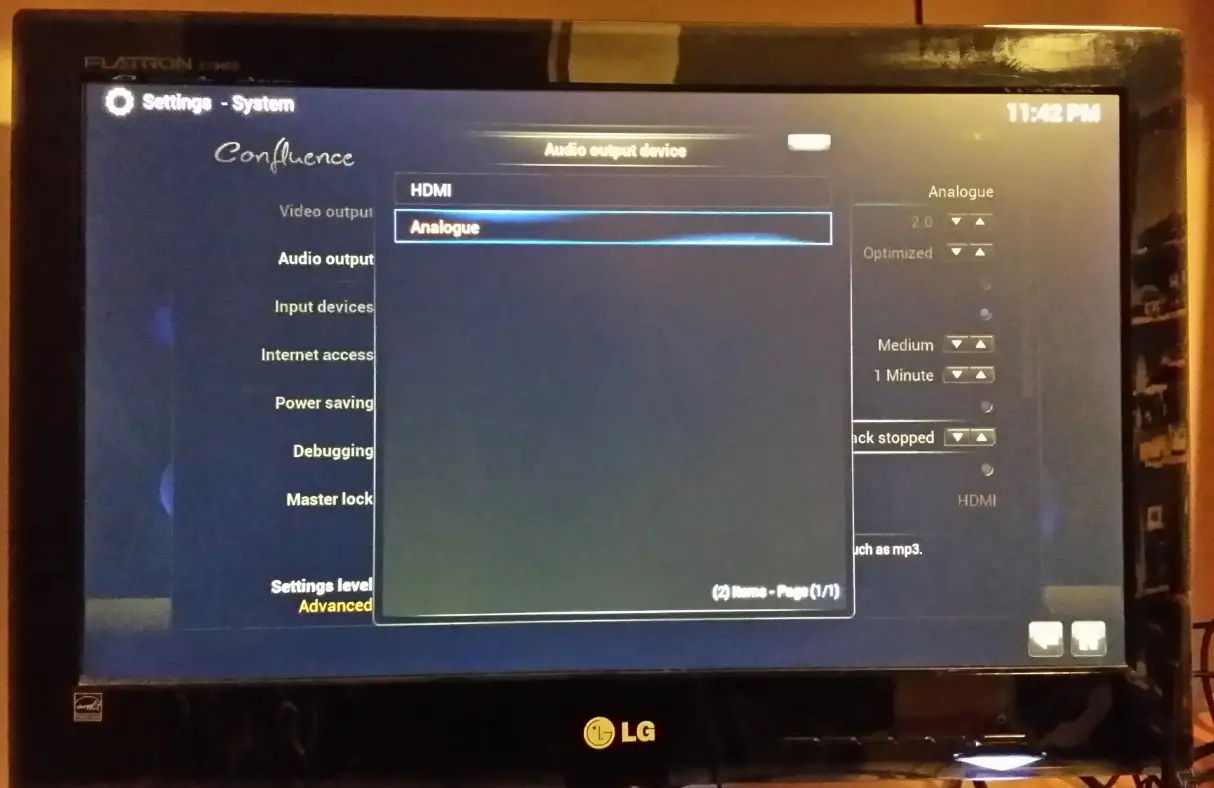
For audio I use my speakers and wireless headset which are both connected via 3.5mm audio jack. The default audio output is HDMI so I needed to change it to Analogue in System –> System Settings –> System –> Audio Output
Stuff to watch!
Almost there! Now we need to add stuff. To add an online source just hover Videos and select “Add ons”. Then you can install scripts for your favourite video/audio sources. My all-time favourite podcast network is TWiT so I was relieved to see there was an add-on for it.

Also it is possible to add RSS feeds manually as explained in this nice article.
What’s Missing
- I added sources from my desktop computer for TV shows and movies but ideally they should be put on a NAS on the network so it doesn’t rely on desktop up and running all the time (even though it is!)
- To enjoy it fully it would be nice to plug it to a nice big TV. An 18.5” monitor is barely good enough for video podcasts but definitely not a viable option to watch movies.
Conclusion
It feels nice to watch my favourite podcast shows on a cheap, remote-controlled small computer. It was absolutely hassle free to build it which left more time to play with fun stuff, like installing a Twitter add-on (which unfortunately failed to run because of incompatibility issues!) I’ll definitely keep on playing with it. After adding more stuff and streamlining the process (like adding new favourite feeds to a playlist automatically) I’m sure I’ll enjoy it a lot more.