I have never been a huge fan of AWS Management Console. Some reasons for that being:
- Inconsistencies: In some services you can search by anything (such as tag value in EC2 dashboard) whereas in others you have to put in the exact start of the object (such as CloudWatch)
- Regional separation: Some might like it but I find it confusing and error-prone. If you need to work in multiple regions you have to constantly change the region from the dropdown menu. If you accidentally create a resource in another region you wouldn’t see it’s still running until you accidentally switch back to that region again. But S3 seems to be an exception to this as you can select the region while creating the bucket and you can see all in the same list (speaking of inconsistencies…)
- Flat resource structure: Every resource is mixed together in an account. If you have multiple projects or teams in your company, you would see all the resources they created among yours. Also there is no environment concept. Your test and production resources live side by side.
This post is about AWS Organizations which addresses the 3rd point in the list above.
What is AWS Organizations?
It is a way to centrally manage multiple accounts inside an organization by creating a hierarchy between accounts.
Benefits of having an account structure
- No need to label everything with project/team/environment name
- Production and non-production resources don’t live side by side
- Better access controls: No need to grant access on resource level. It can be done much easily on account-level
Also from a cost point of view it has the following benefits (taken from AWS Account Structure Considerations)
- Grouping resources that require different payment instruments
- Providing groups with different levels of administrative control over AWS resources
- Better controlling Reserved Instances for specific workloads
- Identifying untaggable costs such as data transfer
- Using accounts associated with different business units or functional teams
Key Concepts
Account: Your regular AWS account. The first account you create is called a Master Account, the rest are Member Accounts.
Organization: A group of related accounts. The account creating the organization becomes the master account.
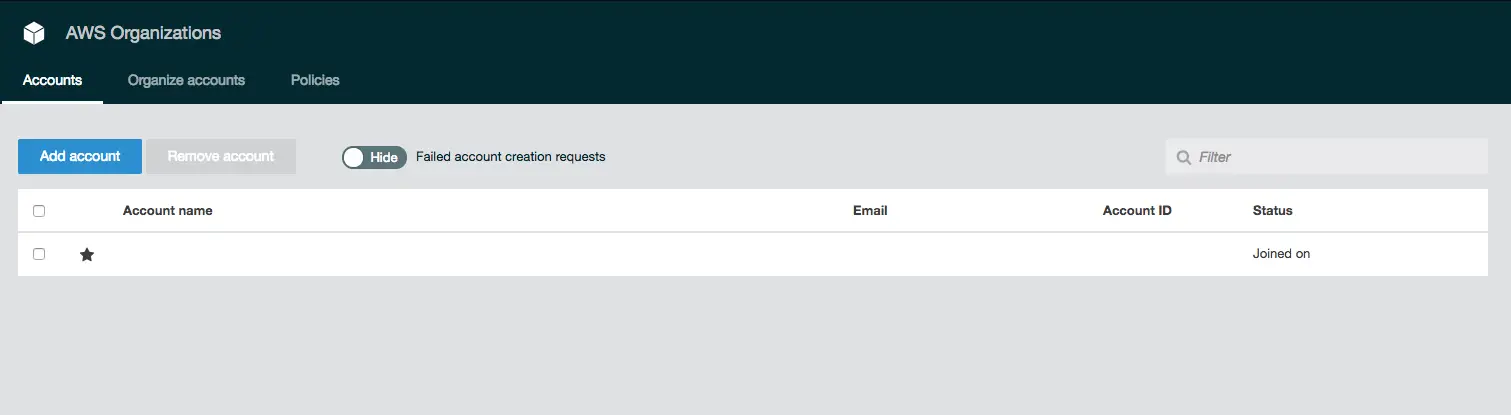
The star next to the account indicates it is the master account.
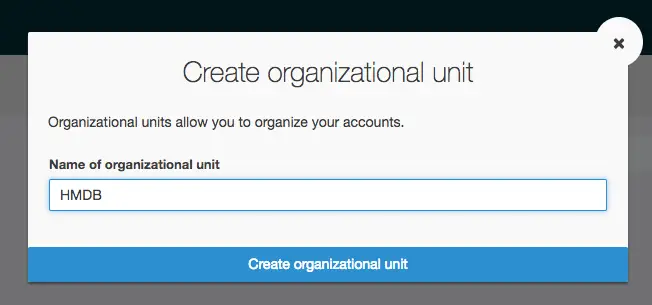
Organizational Unit: You can use organizational units (OUs) to group accounts together to administer as a single unit. This can be any logical grouping such as team, project, environment etc.
Service Control Policies (SCPs): Enables you to restrict, at the account level of granularity, what services and actions the users, groups, and roles in those accounts can do
Managing Projects and Environments
First I was tempted to separate projects as well but I’d end up with too many accounts so abandoned that idea and adopted an environment-based organizational structure. I ended up having these AWS accounts in my organization:
- Dev
- Integration
- UAT (User Acceptance Test)
- Sandbox
- Production
Then I created an organizational unit named Stages and moved all these accounts under that OU. This is just one way of structuring projects. Based on organizational needs it can be customized. In my case I decided to keep all shared services (logging, auditing, source code) in the master account.
Logging into accounts
This baffled me at first. Initially I created a test account which I wanted to delete later on. But I wasn’t able to do that until I completed the sign up steps which in turn I wasn’t able to because I didn’t have the credentials to log in!
As stated in this document:
When you create a new account, AWS Organizations initially assigns password
to the root user that is a minimum of 64 characters long. All characters
are randomly generated with no guarantees on the appearance of certain
character sets. You can't retrieve this initial password. To access the
account as the root user for the first time, you must go through the
process for password recovery.
So when you follow the sign-in link it redirects you to IAM login page. I needed to switch to root account login and recover my password by using the Forgot My Password link. On that note: Don’t use fake email addresses as you will need the confirmation email to recover your password.
Removing account issues
This one was tricky. In order to leave an organization first you need to enter a payment method and select a support plan. This way the account becomes eligible to be a standalone account. Only after that, you can Leave organization. But not right away!
After I entered all the data and completed the setup steps, I clicked Leave organization and I got this error:
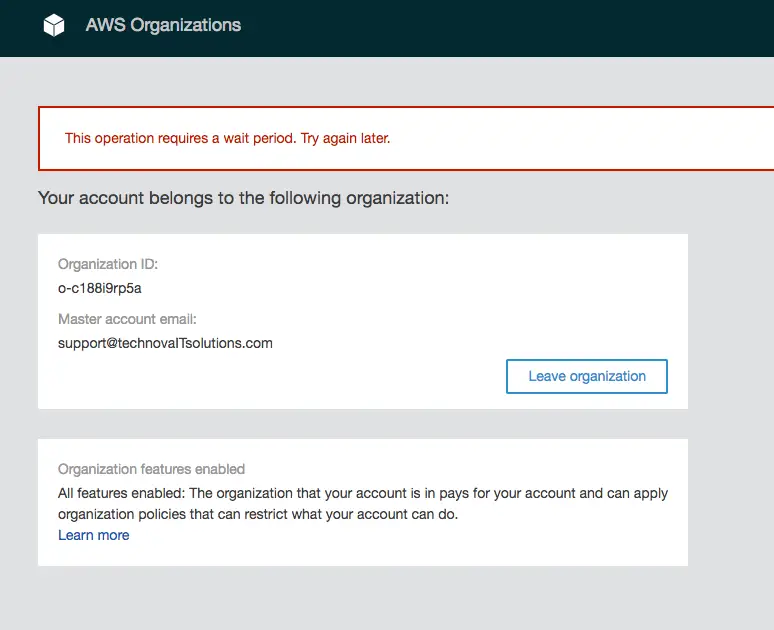
I waited almost a full day after getting this error but to no avail. I kept getting the same error: “This operation requires a wait period. Try again later.”
I had a chat with a support engineer and created a case for this. Nothing helped at first but after a few days I tried again and it worked! So either the waiting period was very long or they fixed something in my account unbenownst to me.
Deleting the account without removing
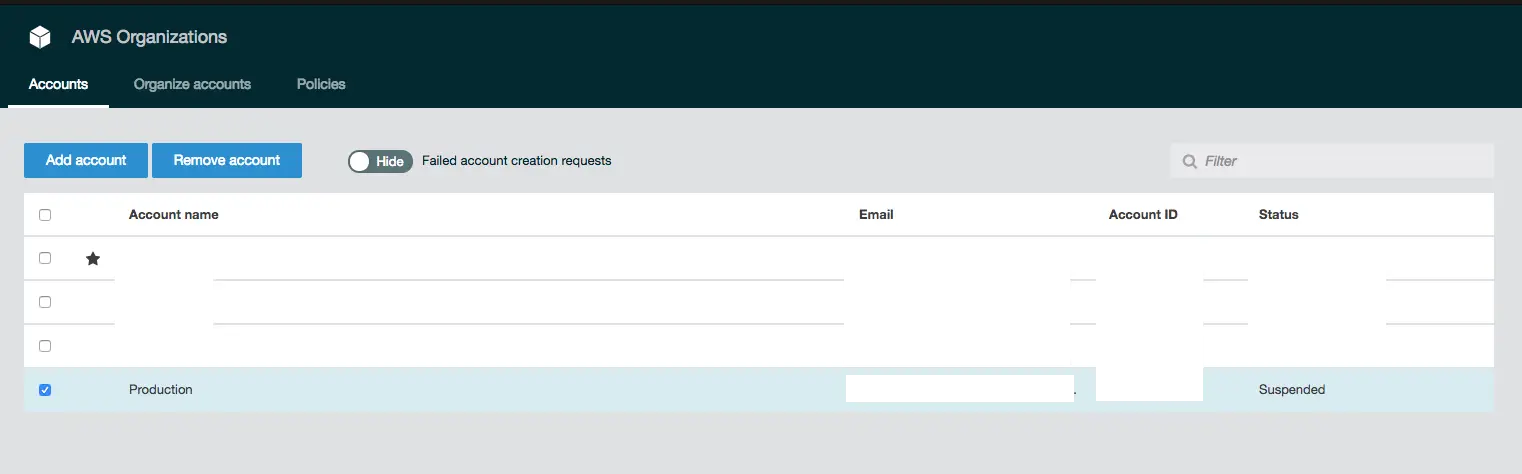
Another issue I had was deleting an account before removing from the organization. I was assuming that if the account was closed permanently it would be removed from the organization as well. This was not the case. It remains listed as Suspended
Unfortunately, once this happens there is no way of resolving it using the tools at our disposal. The only solution is to contact AWS support, reactivated the suspended account, leave the organization and close it again!
But you have to do it from the suspended account, not from the master account. Since technically you’re requesting support for another account, they won’t do it (as they told in their response). Good news is that we still have access to support even though the account is suspended. Si I went to support page and created a support request to reinstate my account (so that I could close it again shortly after!)
Another option might be just to wait. I haven’t tried it myself bu in the account closure email it states “After 90 days, you will not be able to reopen your account, and any remaining content in your closed account will be deleted.” So I’m guessing it will be gone completely if I could just for 90 days.
Managing Accounts Programmatically
The coolest thing about AWS Organizations is accounts can be created via command line. It’s easy as this:
JOTUNHEIM:~ volkan$ aws organizations create-account --account-name {NAME}  --email {EMAIL}
{
    "CreateAccountStatus": {
        "Id": "xyz-abcabcabcabcabcabcabcabcabcabcab",
        "AccountName": "{NAME}",
        "State": "IN_PROGRESS",
        "RequestedTimestamp": 1532494396.633
    }
}
Notes
- Free tier is shared among all accounts in the organization: “If your company creates your AWS account through AWS Organizations, free tier eligibility for all member accounts begins on the day the organization is created.”
Conclusion
This post is meant to be an introduction to AWS Organizations rather than a complete guide. I will post similar ones as I use this as basis of my infrastructure and build on this.
Resources