Alarm Pi
The Problem
Snoozing is the worst possible thing you can do to yourself! You start the day with a feeling of guilt and being late for everything from the start. To avoid this I’ve been working on improving my toolkit and techniques. I posted this as a list of my current methods and tools.
Whilst these methods worked for me a while I’ve started having an issue with Alexa playing my playlist from Spotify: It always starts with the same song. My idea was to have a different song every morning so this bug in Spotify impeded me from achieving my goal.
The Idea
As the saying goes: If all you have is a hammer, everything looks like a nail!
Even though I have other means of developing tools and software, I wanted to use another Raspberry Pi to replace Alexa morning routine (it still turns on the light though).
The Execution
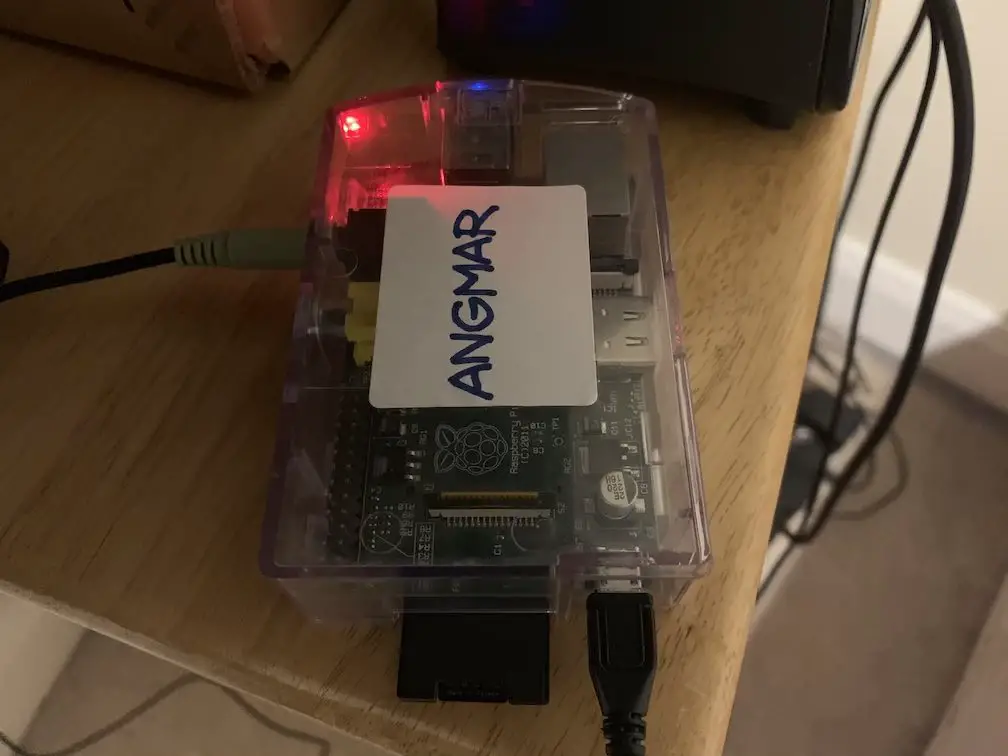
So I decided to dust off my OG Raspberry Pi 1 Model B and implement my own custom solution for playing a random song every morning to help wake me up.
Here’s how I implemented it from start to finish:
Step 01: Download Raspbian image and prepare SD/MicroSD card
I downloaded Raspbian Buster Lite as I don’t need desktop and other extra software for this project.
I followed the official guide from raspberrypi.org to burn the image. It’s basically just a few commands:
Insert the card and run the following to identify the card:
diskutil list
Then
sudo dd bs=1m if=path_of_your_image.img of=/dev/rdiskn conv=sync
where n is the number of disk which I found from the first step.
If you get “resource is busy” error, then run the following
diskutil unmountDisk /dev/diskn
Step 02: Carry Out Necessary Configuration Updates
It’s a good practice to change the default passwords so I ran
passwd
and updated the password.
Also for remote installations I enabled SSH:
sudo systemctl enable ssh
sudo systemctl start ssh
And I like to give a specific name to all my devices so that I can keep an eye on the machines connected to my network more easily.
To achieve that I ran:
sudo hostname NEW_HOSTNAME
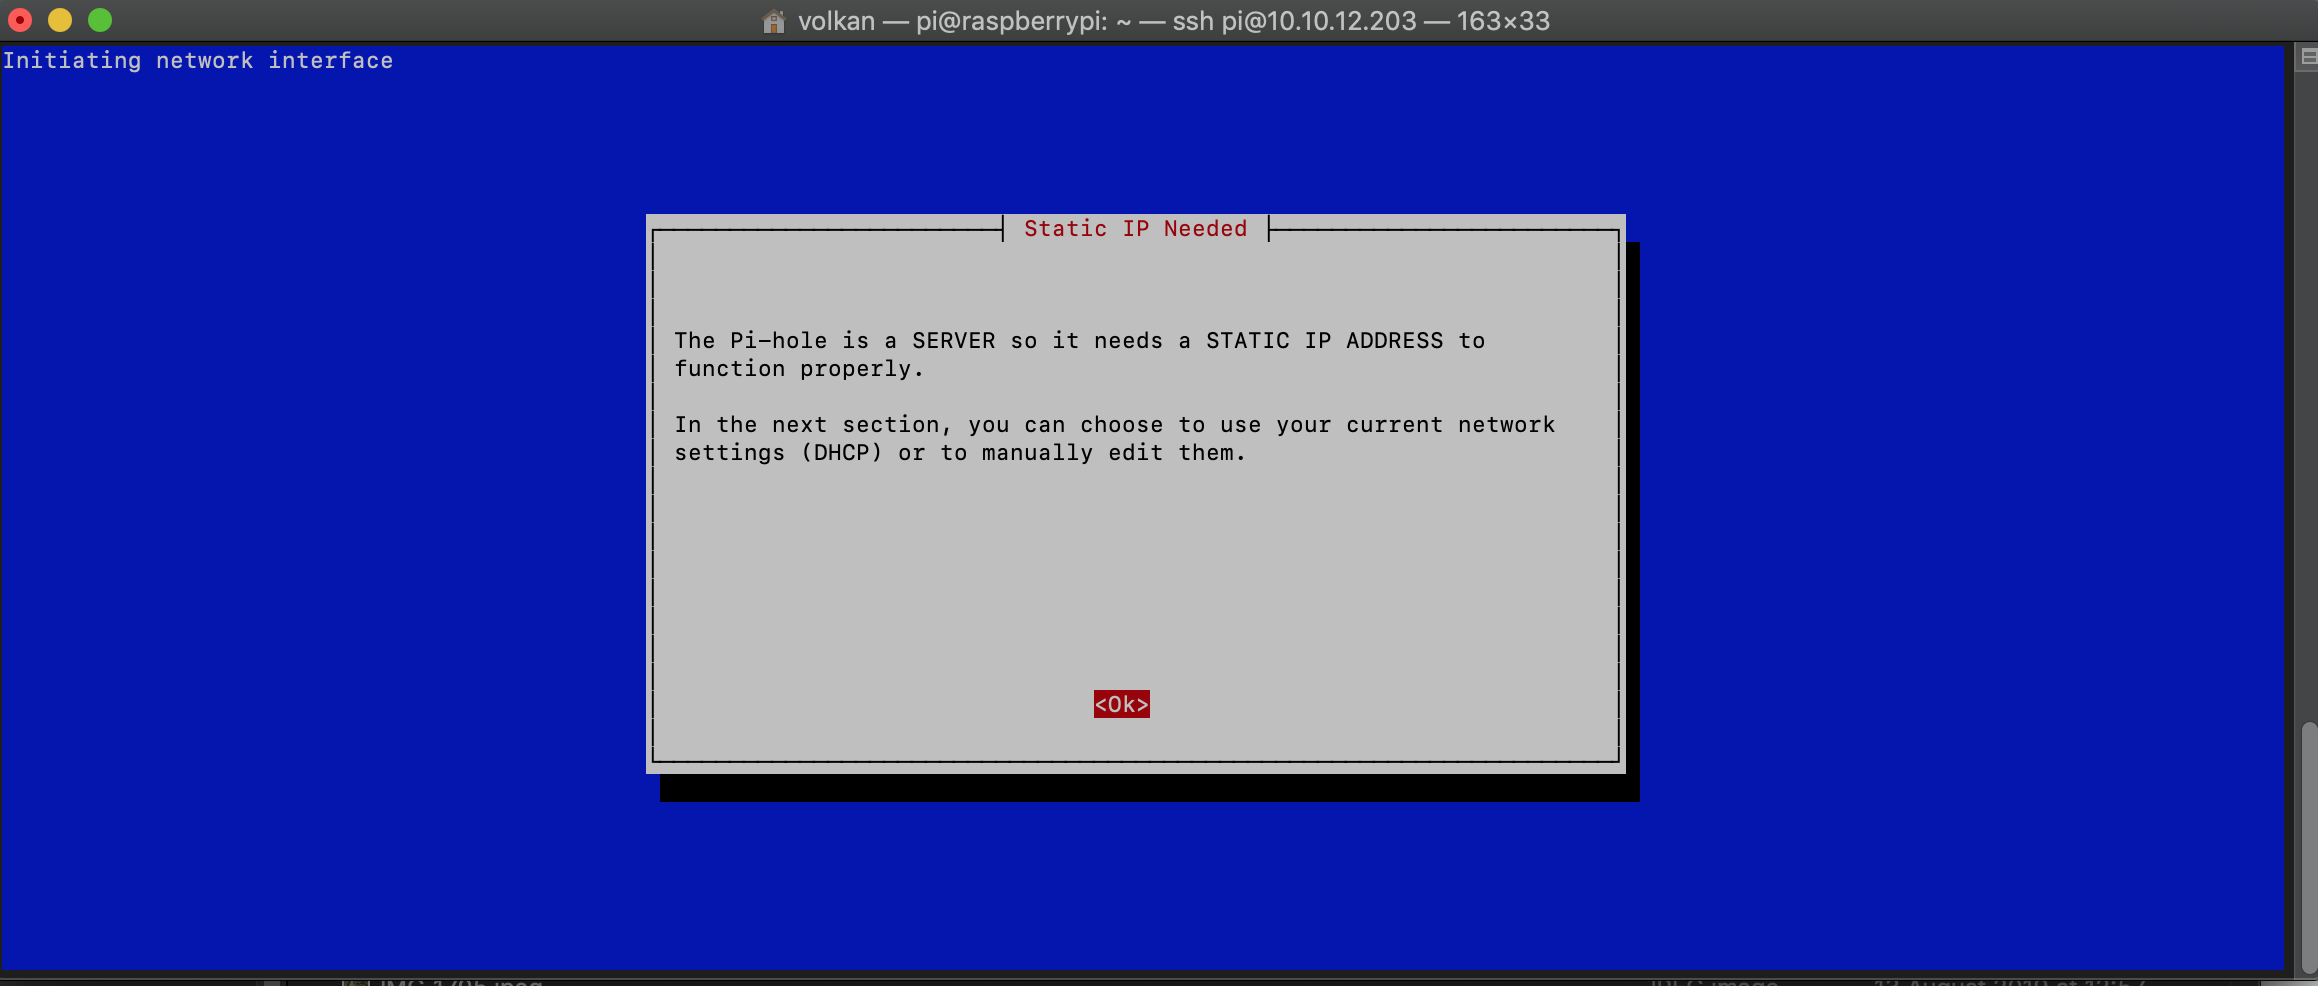
I used raspi-config to connect to WiFi network
sudo raspi-config
and enter the details and rebooted to connect to the network.
In this MVP implementation I don’t even need Internet connectivity (after the initial installations below) as all my MP3 files are on the device already. But in my tests I noticed that when the Pi is disconnected the system time wasn’t updating so scheduled job wasn’t being triggered. This is probably because I’m using a Pi 1. I’m guessing the newer version can work offline as well.
Step 03: Install MP3 Player Software
In this simple project I’m going to install mpg123 and run it via a Python script
Installation is as simple as this:
sudo apt-get install mpg123 -y
Step 04: Develop the script
The following script points to a folder which supposedly have all the local MP3 files, picks one randomly and starts playing.
import os
import random

path ='/path/to/mp3/folder'
files = os.listdir(path)
index = random.randrange(0, len(files))

os.system(f'/usr/bin/mpg123 {files[index]}')
Step 05: Copy music and script to Raspberry Pi
Save the script above in a USB drive along with the MP3 files. To copy the files from USB drive to Pi microSD card, I inserted my USB and ran the following:
sudo fdisk -l
sudo mkdir /media/usb
sudo mount /dev/sda1 /media/usb
Then
mkdir /home/pi/music
cp /media/usb/*.mp3 /home/pi/music
and copy the script to home folder
cp /media/usb/alarm-pi.py /home/pi
Step 06: Schedule the script
crontab -e
Then add to run at a certain time. The example below runs at 7:30am everyday:
30 7 * * * /usr/bin/python3 /home/pi/alarm-pi.py
If you want to run the script multiple times you can another one (like another one after 10 minutes as a snooze-prevention mechanism!)
Step 07: Test the schedule
Update your schedule temporarily and set it to a few minutes later and start playing the waiting game! Once you hear a random song playing make sure to set it back to your actual alarm time.
Conclusion
I meant to run this in a Docker container and develop the application with dotnet core but turns out playing MP3 with dotnet core in Linux is not easy. Also playing sound from inside a container has its own issues. So for those reasons I chose the easiest possible path to achieve the goal. If I find time I’ll improve this and make it more flexible but for the time being it does the job so I’ll assume MVP is done now.