-->

docker synology, nas

As a big fan of Raspberry Pis, I have been running multiple Pis with multiple Docker containers. They can serve a lot of different purposes for your home lab. The problem is you have to make sure you backup your data frequently. You can use a NAS as your backup system but what’s even better is to utilize the compute power of your Synology NAS and run your Docker containers directly on the NAS. This way you can have built-in redundancy assuming you did set up redundancy with your NAS which is generally the common goal.

Getting Started

To run Docker containers on your Synology NAS, you need to install a package called Container Manager. You can check if your Synology is compatabile with this package on his page: Container Manager compatability

In this tutorial, I’ll be using a Synology DS1821+ model.

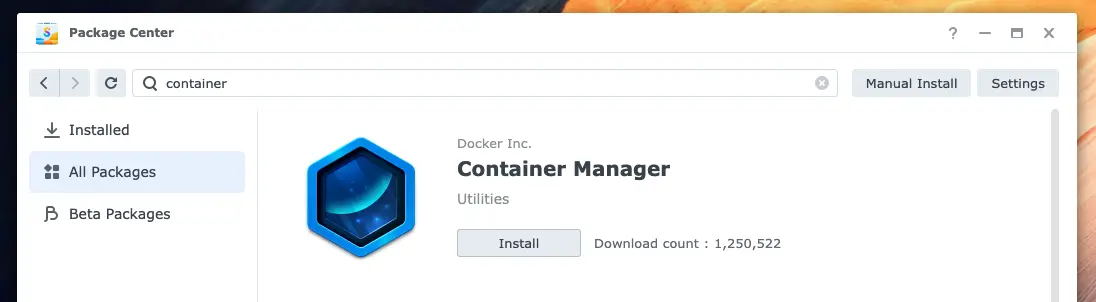
Open Package Center, and search for “container”.

Search results for container in the package center

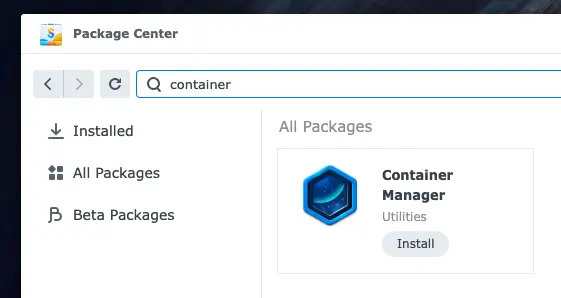
Click Install on Container Manager package or you can click on somewhere else on the box to read the details of the package. Then you can click Install on that page too.

Container manager package details

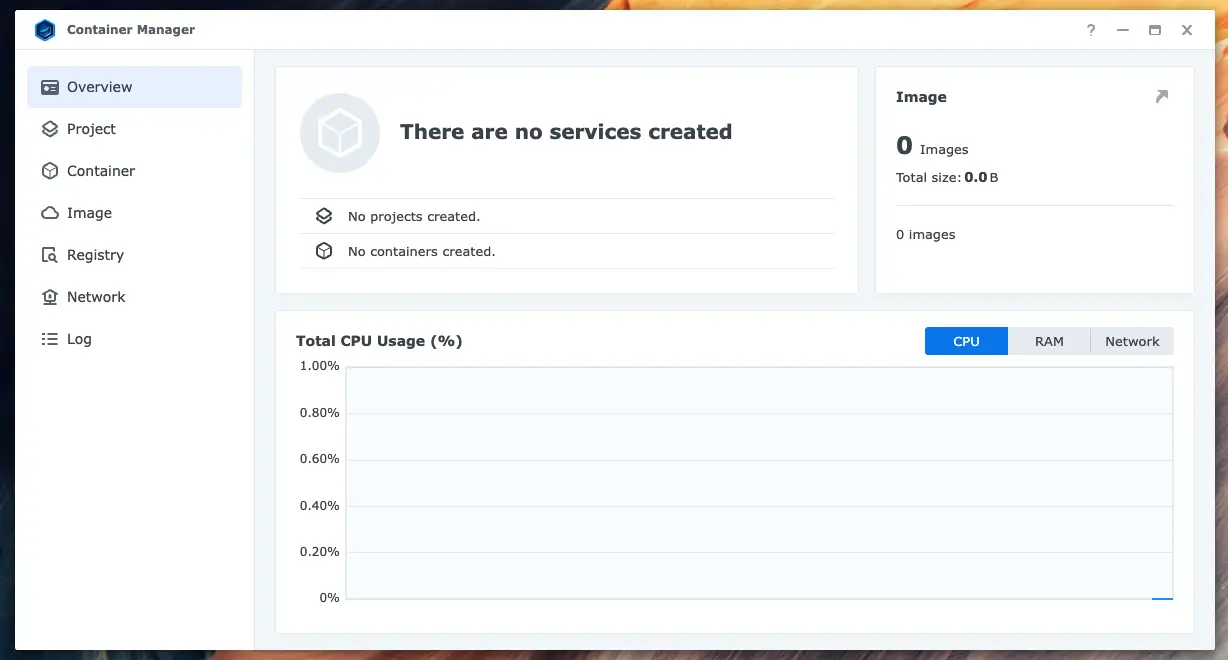
Once installed, click Open to see the details

Container manager installed

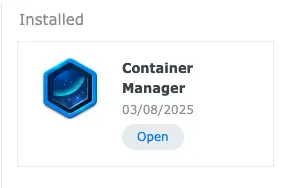
You can now that the Container Manager is ready to use:

Container manager ready to use

## Running Containers To run a container off of a Docker image, first you need to pull the image from a Docker registry. By default, the container manager uses DockerHub as its Docker registry but you can sutomize it by clicking Registry –> Settings.

Docker registry settings

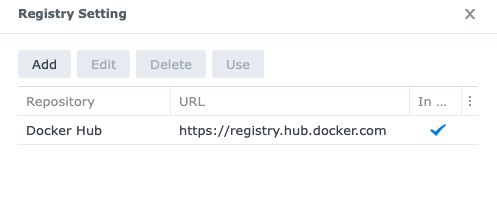
Here you can add other registries from other providers.

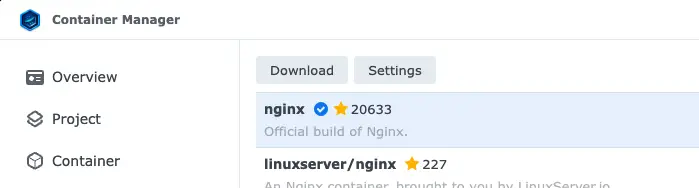
To test your setup, click on nginx package and click Download.

nginx on container manager

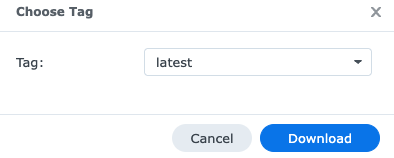
When asked to choose a tag, accept the default which is “latest” and click Download again.

Choose tag dialog

Once the image is downloaded, you can see it in the Image section

Image details

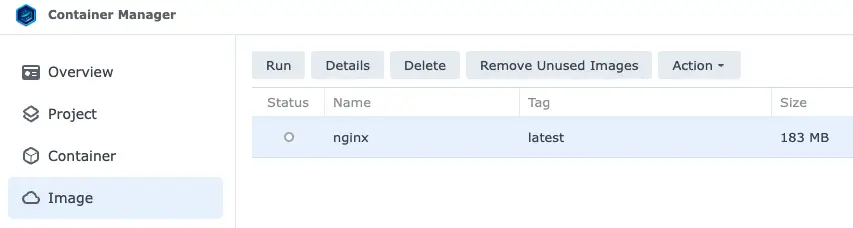
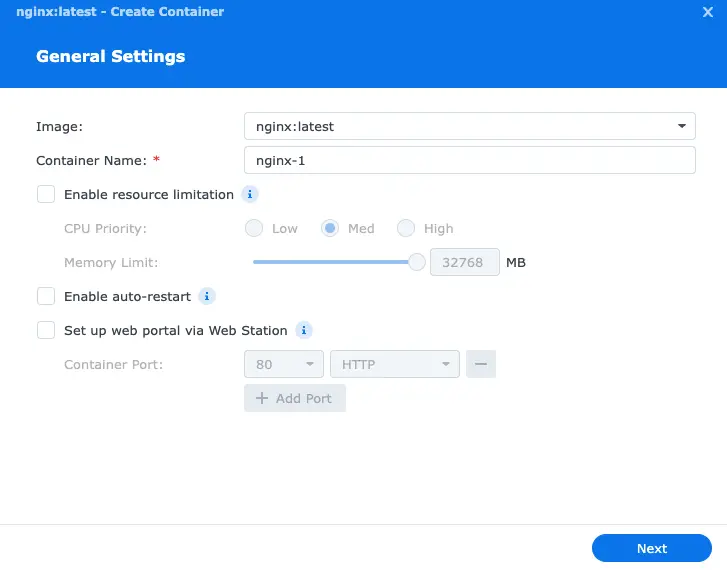
Click Run button. You should a settings dialog window. Here you can customize the resouce allocation of your container.

General settings while running a container

Click Next and you will be presented with the Advanced Settings such as port mapping, environment variables etc.

Advanced settings while running a container

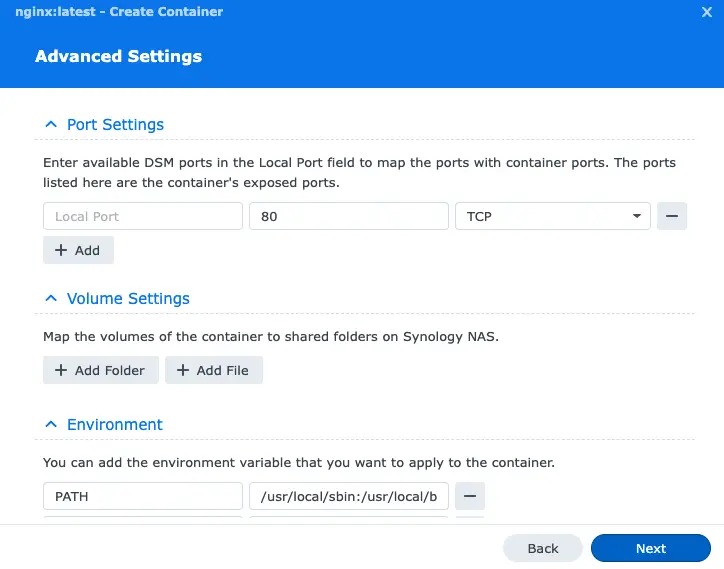
Here enter a local port to be able to access your web server. In this example, I will use port 6500 to access the nginx on this container.

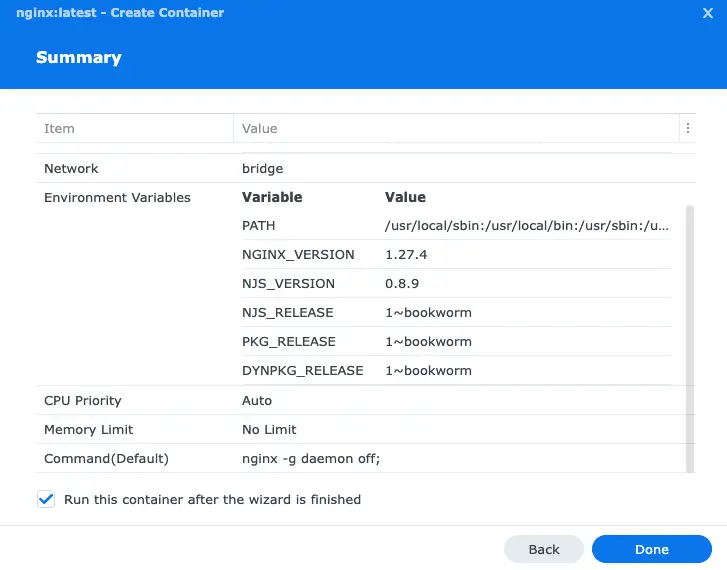
Click Next again, review the Summary and click Done.

Container settings summary

You can now view your container by switching to the container tab.

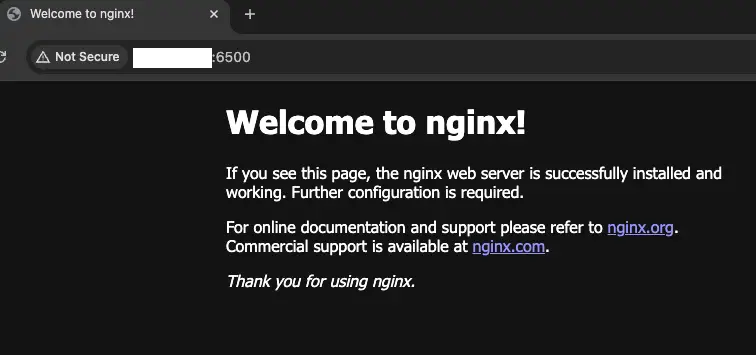
You view your new Nginx server running on your Synology NAS at port 6500, simply go to your NAS address followed by :6500 to indicate the port and you should see it in action:

nginx running on port-6500

Summary

In this beginners tutorial, you learned how to install the Container Manager package on your Synology NAS and ran your first container. In the upcoming articles, we will cover running Docker containers in more depth with more real-life examples.

Resources

dev nuget, dotnet

Package management is quite easy with .NET as we have NuGet as the default package manager. We have direct access to hundreds of thousands of packages freely hosted at NuGet.org.

Recently, a free package called FluentAssetions, which is a very popular NuGet package, became a paid product. So if you upgrade from the free version 7 to paid version 8 you have to pay for the package.

Normally when you start using a package it’s easy to upgrade. NuGet automatically upgrades everything to the latest version. This made me think, if you are using FluentAssertions, it may cause some issues if you have developers who aren’t aware of the licensing issue. They may without realizing license difference, automatically upgrade to a paid version.

To avoid this issue, you can control the version of your packages. Let’s see how it works in a demo application. Open a terminal and choose a directory that you want to work in.

Then run the following commands:

mkdir NuGetVersioningDemo
cd NuGetVersioningDemo
dotnet new console

Now you should have a new Console Application created in your directory. Open it with your IDE.

Add Newtonsoft.Json package to work with package versions by running the following command:

dotnet add package Newtonsoft.Json

At this point, your project should look like this (I’m using JetBrains Rider in this example but it the project structure and the NuGet package should look similar if you’re using a different IDE):

Screenshot of the project setup with a NuGet package added

If you don’t specify the version, NuGet automatically fetches the latest version which in this case is 13.0.3. To get a specific version you can use the same dotnet command and provide the version as shown in the example below:

dotnet add package Newtonsoft.Json --version 12.0.1

So for the sake of demonstrating version control, let’s assume Newtonsoft.Json became a paid product as of version 13 and you want to upgrade to all versions up to v13. I didn’t use actual FluentAssertions in this example because I didn’t want anyone to make a mistake and accidentally upgrade to the paid version.

The way to manage the versions is using square brackets and parentheses.

For example, the following command installs the latest package up until v13

dotnet add package Newtonsoft.Json --version "[*,13)"

This way you can lock in the maximum version you want to install for a specific version.

Resources

dev powershell, tip, match, contains, aws, lightsail, wordpress

I was working on a WordPress project recently. The project is to set up a WordPress blog using Amazon Lightsail service. I ended up blogging it here, but I want to talk about something else in this post.

Use Case: Filter results using -Contains operator

Amazon Lightsail comes with pre-packed applications, and you can create an instance by providing the blueprint id. You can search for blueprints by using the Get-LSBlueprintList cmdlet. It returns a list like this:

Screenshot of the terminal showing the results of Get-LSBlueprintList cmdlet

WordPress comes in two different blueprints: Single-site vs multi-site.

So my initial action was to filter the list based on the name containing the word “wordpress”. So I ran this script to get the results:

$applicationName = "wordpress"
Get-LSBlueprintList | Where-Object { 
    ($_.IsActive -eq $TRUE) -and
    ($_.Name -contains $applicationName)
}

To my surprise, this command returned the following result:

Screenshot of the terminal showing the results of Get-LSBlueprintList cmdlet with contains filter, filtering by the word wordpress and isactive set to true

The problem: Missing Wordpress blueprint

In the Amazon Lightsail dashboard, I can see the Wordpress Multisite exists:

Screenshot of Amazon Lightsail dashboard instance selection page with wordpress-multisite highlighted

I even captured the API call the dashboard makes when creating a WordPress Multisite instance and it looks like this:

Screenshot of captured API call showing wordpress_multisite as blueprintid

So how was it possible that wordpress_multisite blueprint id existed but I couldn’t get it via Get-LSBlueprintList? I thought there was something wrong with the cmdlet and even created a supported ticket for AWS!. To my surprise the problem was somewhere else.

The root cause: Contains operator works in mysterious ways!

As a C# developer, when I see “Contains”, I think of checking the existence of a substring in a string.

For example, check out this simple example:

Screenshot of C# application showing Contains function results

It’s checking whether or not the word “wordpress_multisite” contains the word “wordpress” and the answer is yes!

Now, let’s take a look at the Powershell-equivalent:

$wordpressMultisite = "wordpress_multisite"
$containsWordpress = $wordpressMultisite -contains "wordpress"
$containsWordpress

and here is the result:

Screenshot of Powershell script showing Contains operator results with substring

In this case, the answer is no!

The reason is contains operator is by design meant to be used to search collections for a string. For example, the following example illustrates the intended use:

$listOfApplications = "wordpress", "lamp", "nodejs"
$listOfApplicationsContainsWordpress = $listOfApplications -contains "wordpress"
$listOfApplicationsContainsWordpress

and the result is:

Screenshot of Powershell script showing Contains operator results over a list of strings

The solution: Match Operator

The solution is using the match operator for substrings. In my original script, all I had to do was replace contains with match and got the expected results.

Final script:

$applicationName = "wordpress"
Get-LSBlueprintList | Where-Object { 
    ($_.IsActive -eq $TRUE) -and
    ($_.Name -match $applicationName)
}

Output of the script:

Screenshot of Powershell script showing both wordpress and wordpress_nultisite results

Conclusion

So there you have it: Always read the documentation!

As Powershell is based on the .NET framework, I instinctively assumed contains would search a string for substrings, but it works entirely differently.

I lost some time but learned a valuable lesson. I hope you find this post useful too, and it prevents the same thing from happening to you too.

Resources