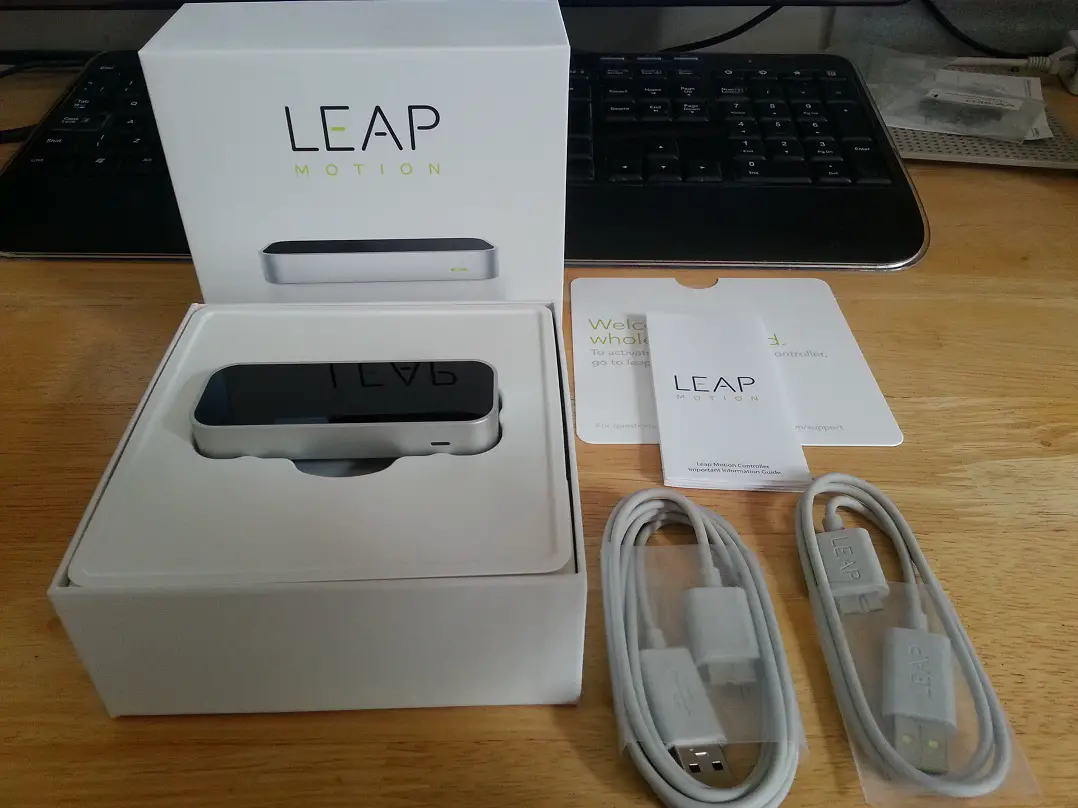
Electronics Tool Update
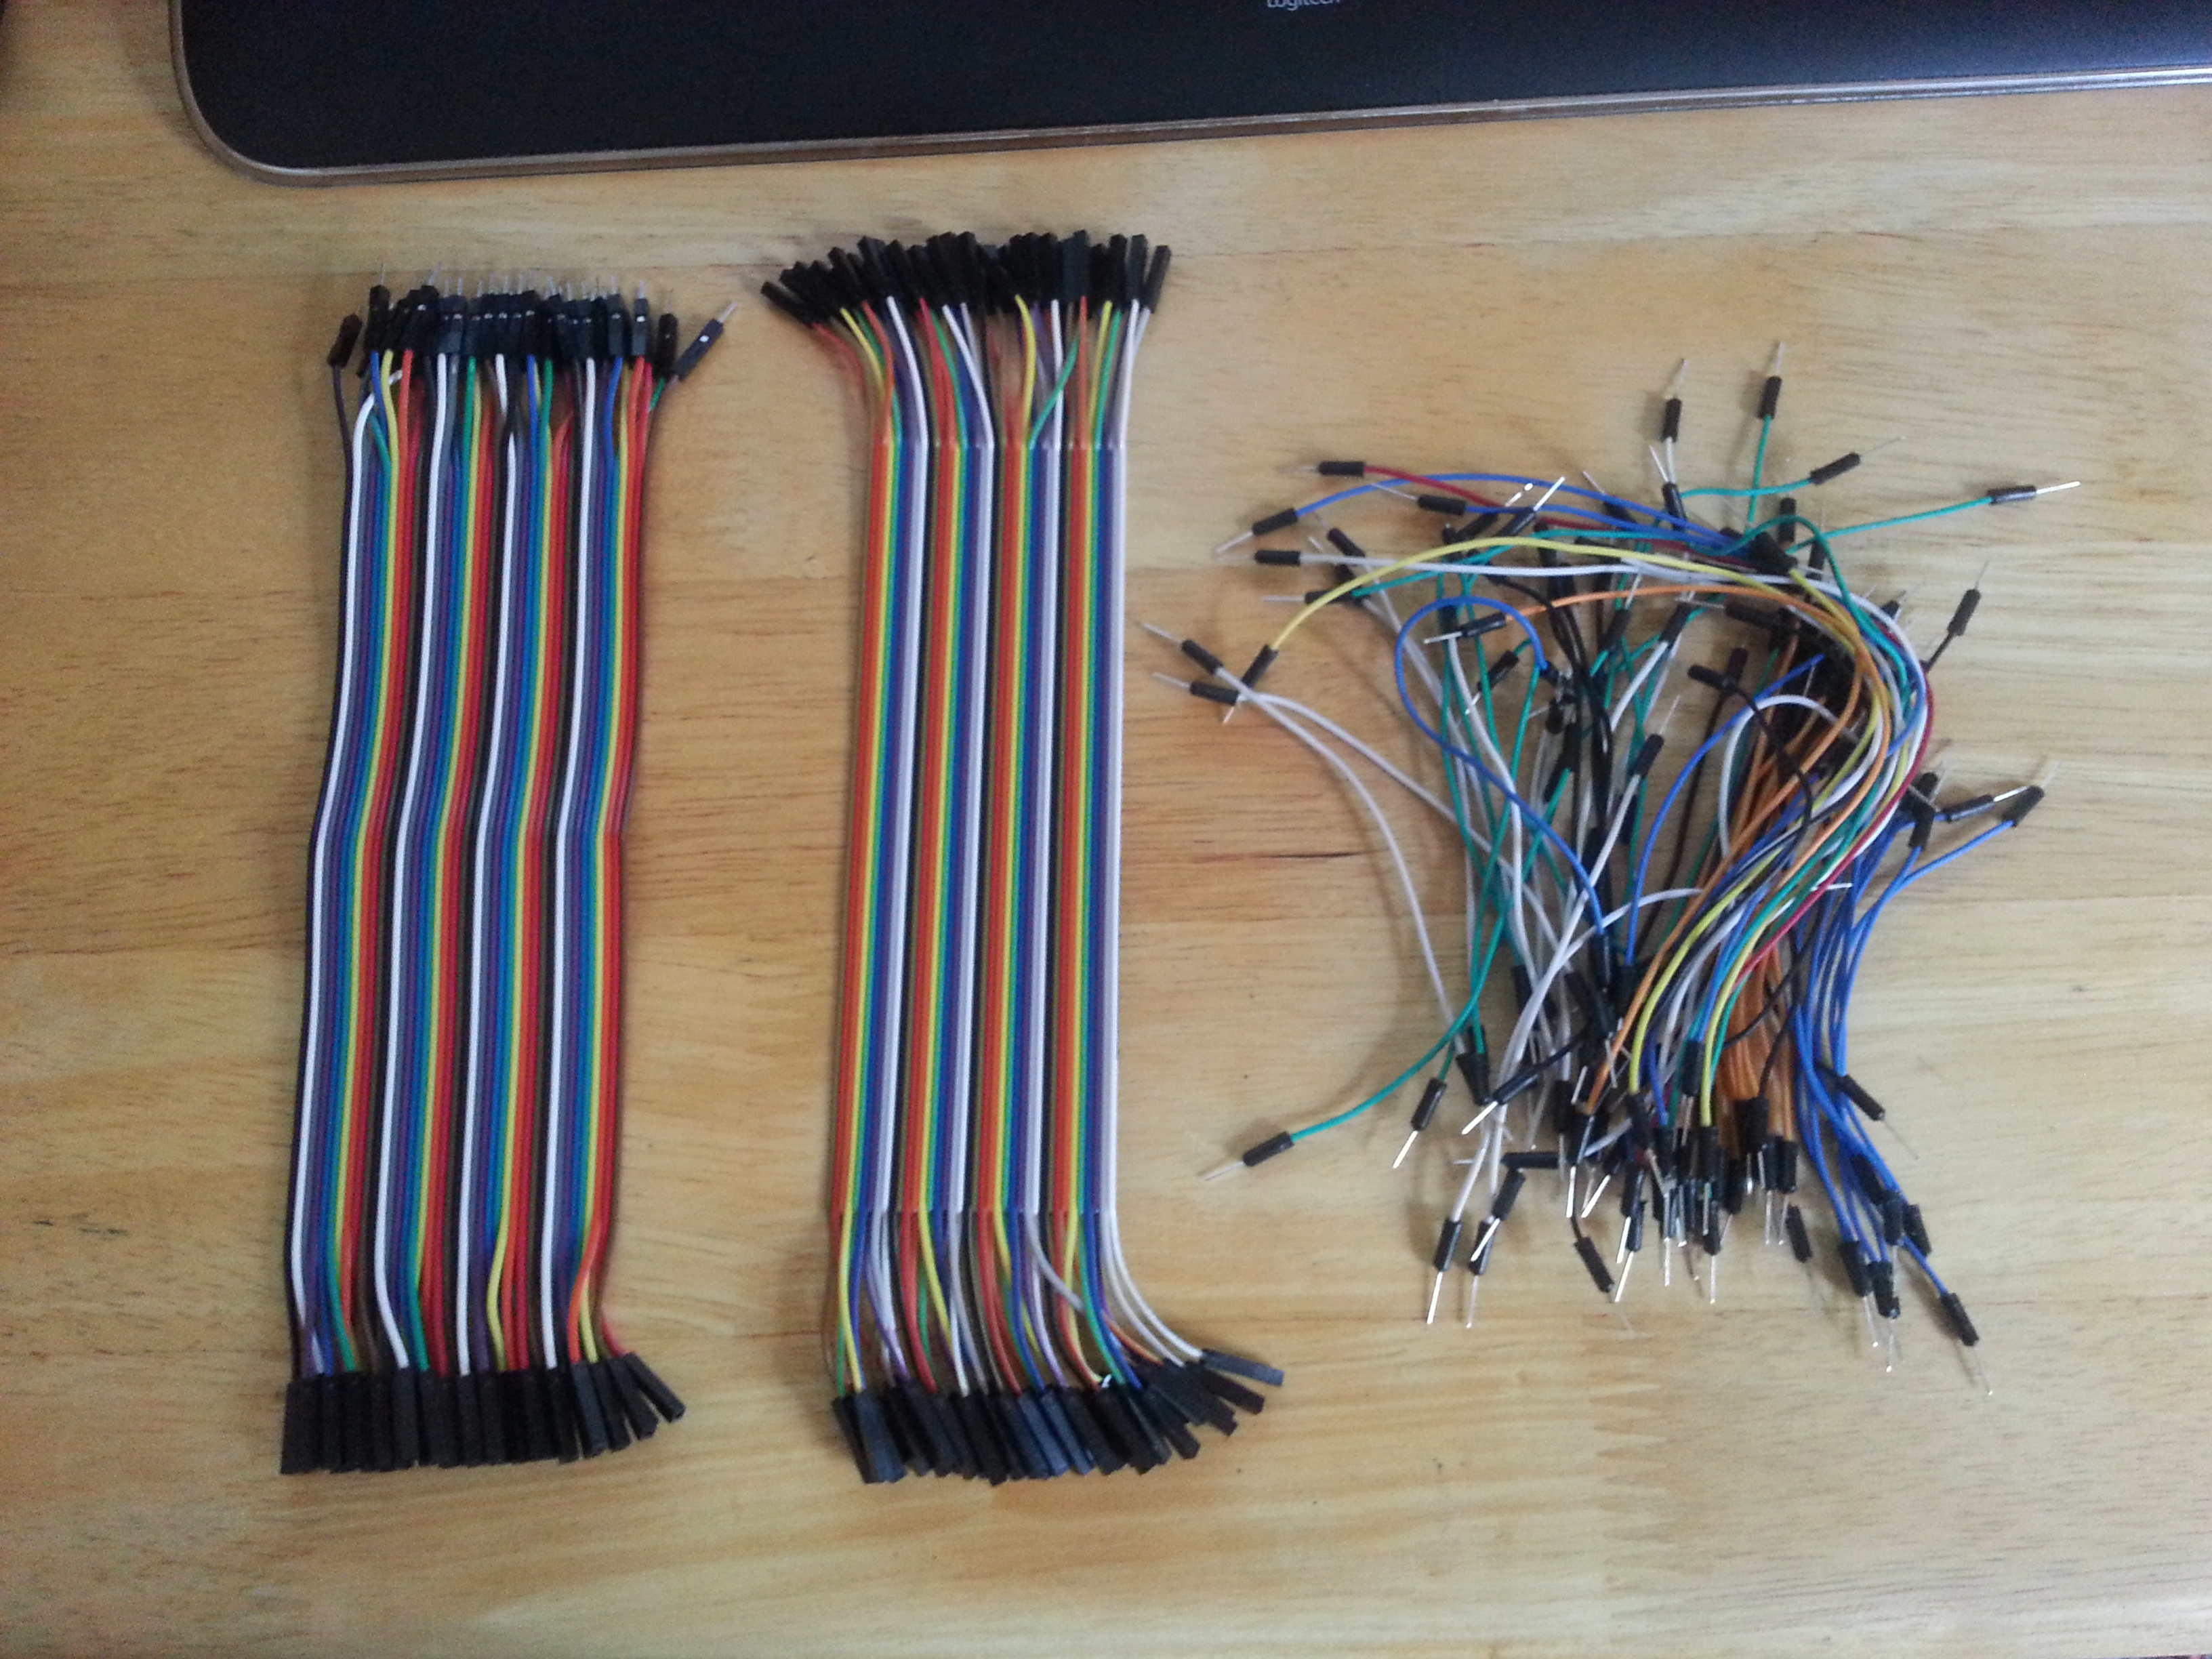
If you’re going to do something you need the right tools. The last time I was dabbling with I didn’t quite enjoy it but that was mostly because I didn’t have the right tools. The most daunting part for me was cabling. With the jumper cable set I had it was just too painful.
Get your cables right
This time I’m prepared for all occasions: I have Male – Male, Male – Female and Female – Females cables which cover all combinations.
Essentials
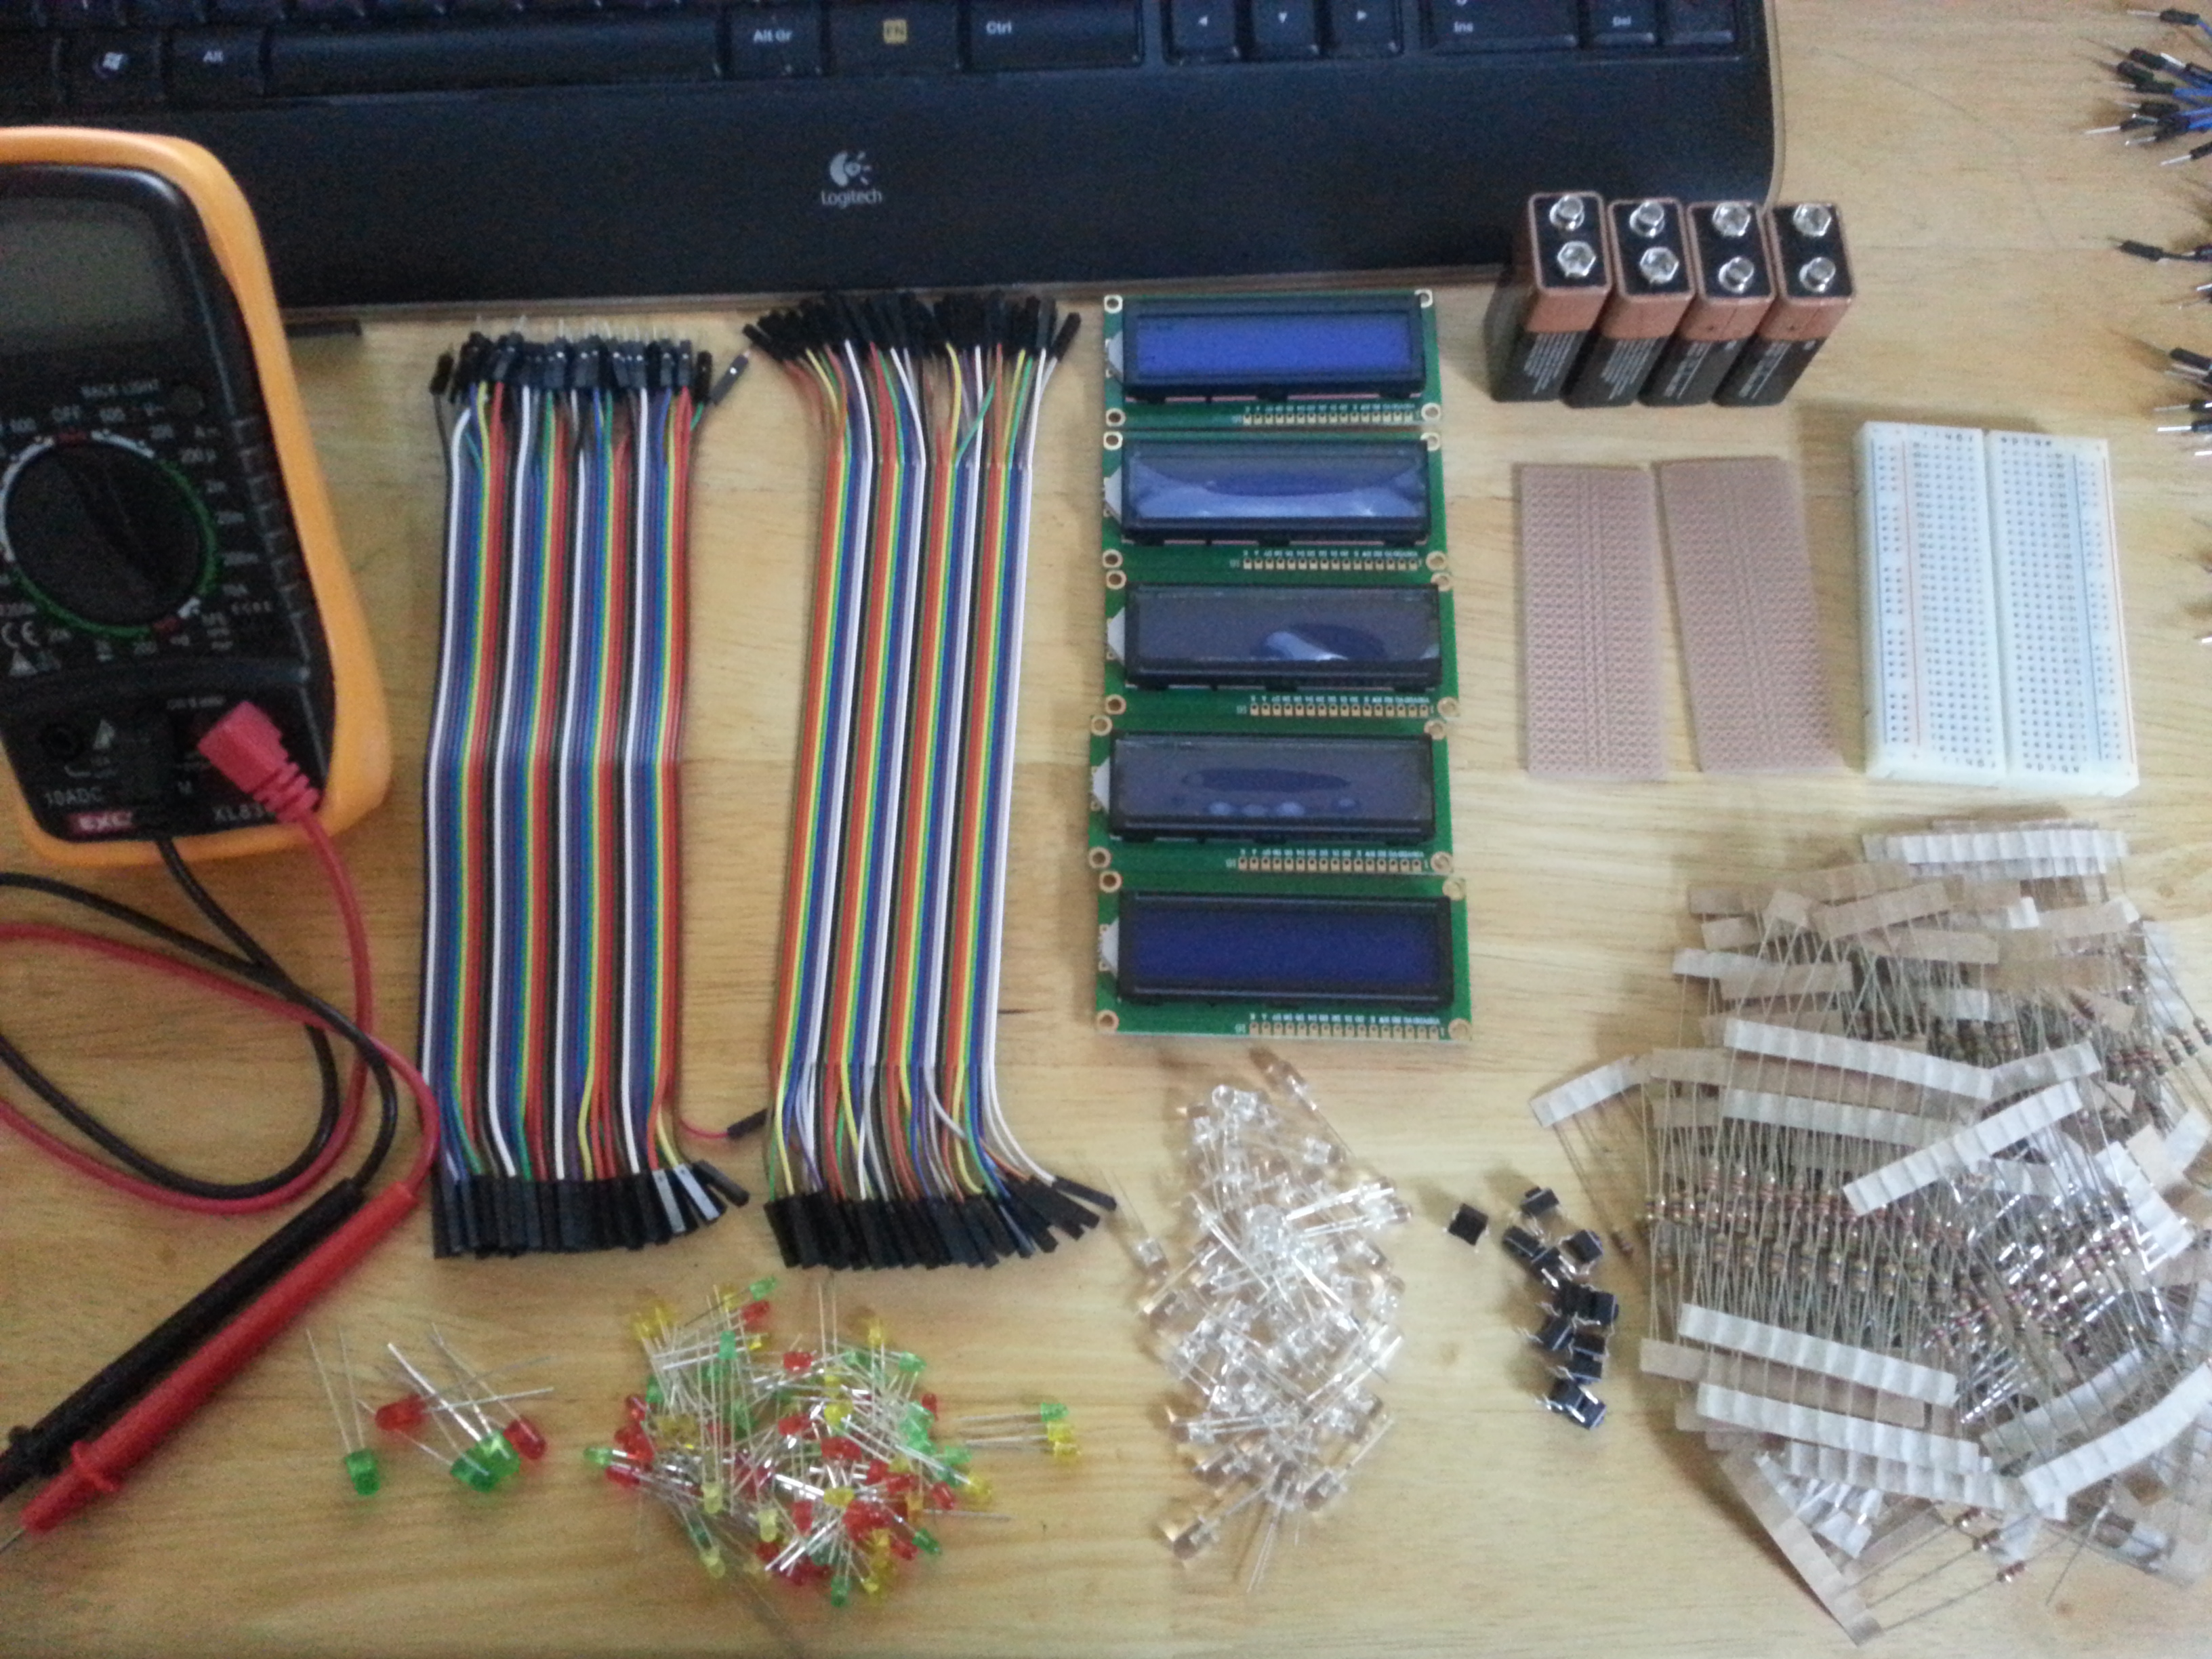
Multimeter: I realized a multimeter is an essential tool if you want to build your own circuits. I added a reference for an excellent tutorial which teaches you how to use one in a few minutes. By using it, I was able to measure voltage and resistor values in no time.
LCD Display: Also, I think it’s almost impossible to build a cool project without a display. It can be used for debugging and informing the user so very helpful to have it in the mix. They are so cheap that I ordered 5 of them for about £7 on eBay. So I guess there is no excuse for not buying one!
Resistors: Real resistors! I hated my old blue resistors with 5 bands. I couldn’t read the values. Colors were not clear. But now finally I got a bunch of standard 3-band yellow ones which make it easier to read. (Actually I have a multimeter now, so I can just use it to measure the resistance anyway.)
Breadboards: I had a big nice one but I think in order to run things in parallel I’ll need a few more of the smaller ones. Also I’m trying to learn how to solder so I now have a couple of solder boards to practice. Push buttons: I think to control the flow they are definitely needed.
Let’s get crackin’
I just built a simple circuit to light a LED when the push button is pressed. I know it’s not impressive by any means but I enjoyed building something from scratch. Familiarized myself with my tool shed and looking forward to build more complicated things.