Swift Notes - The Basics
When I started learning Swift for iOS development I also started to compile some notes along the way. This post is the first instalment of my notes. First some basic concepts (in no particular order):
REPL
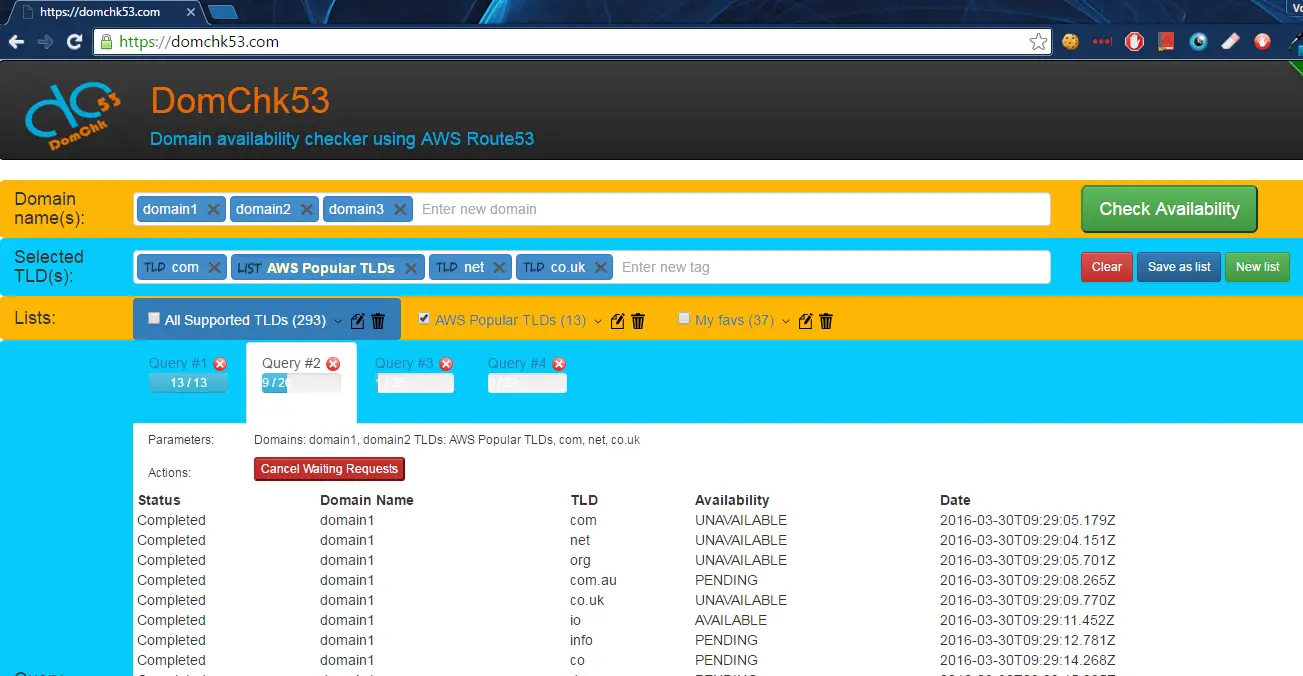
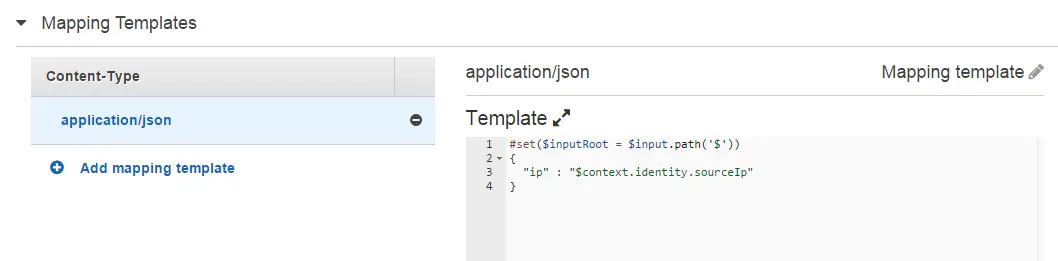
- Swift supports REPL (Read Evaluate Print Loop) and you can write code and get feedback very quickly this way by using XCode Playground or command line.
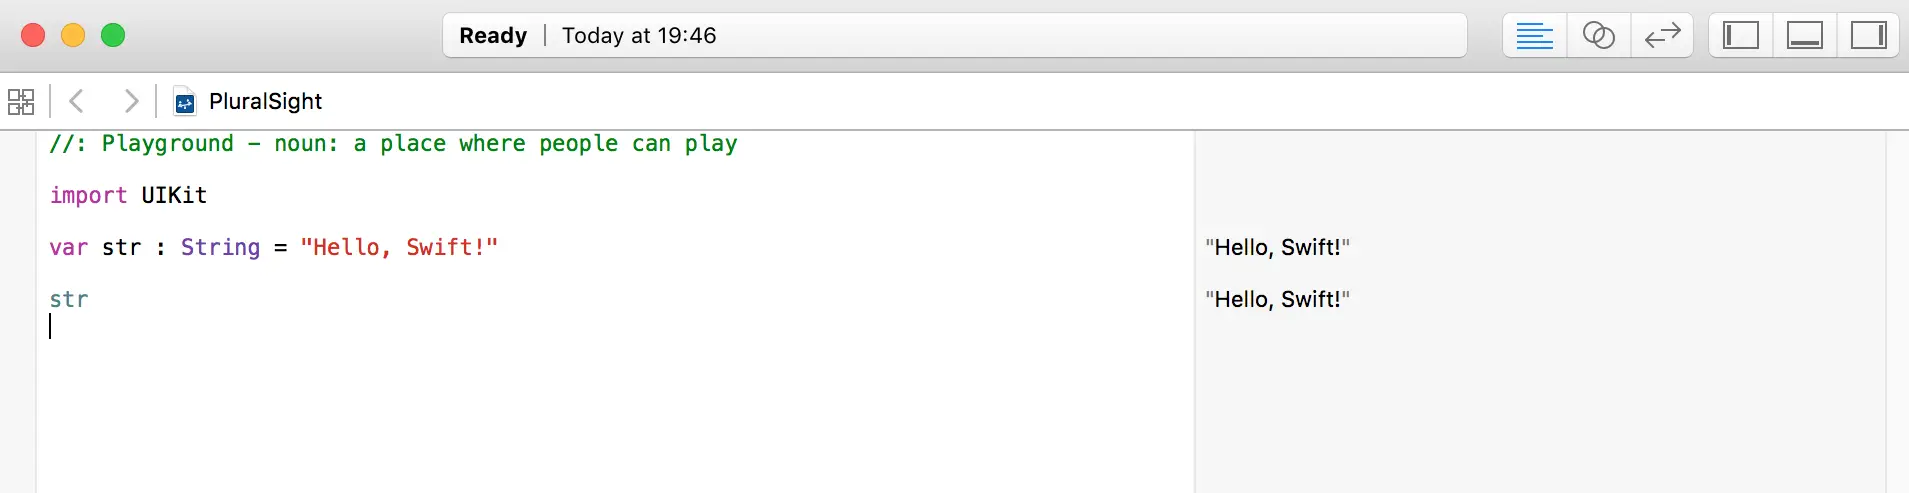
As seen in the screenshot there is no need to explicitly print the values, they are automatically displayed on the right-hand side of the screen.
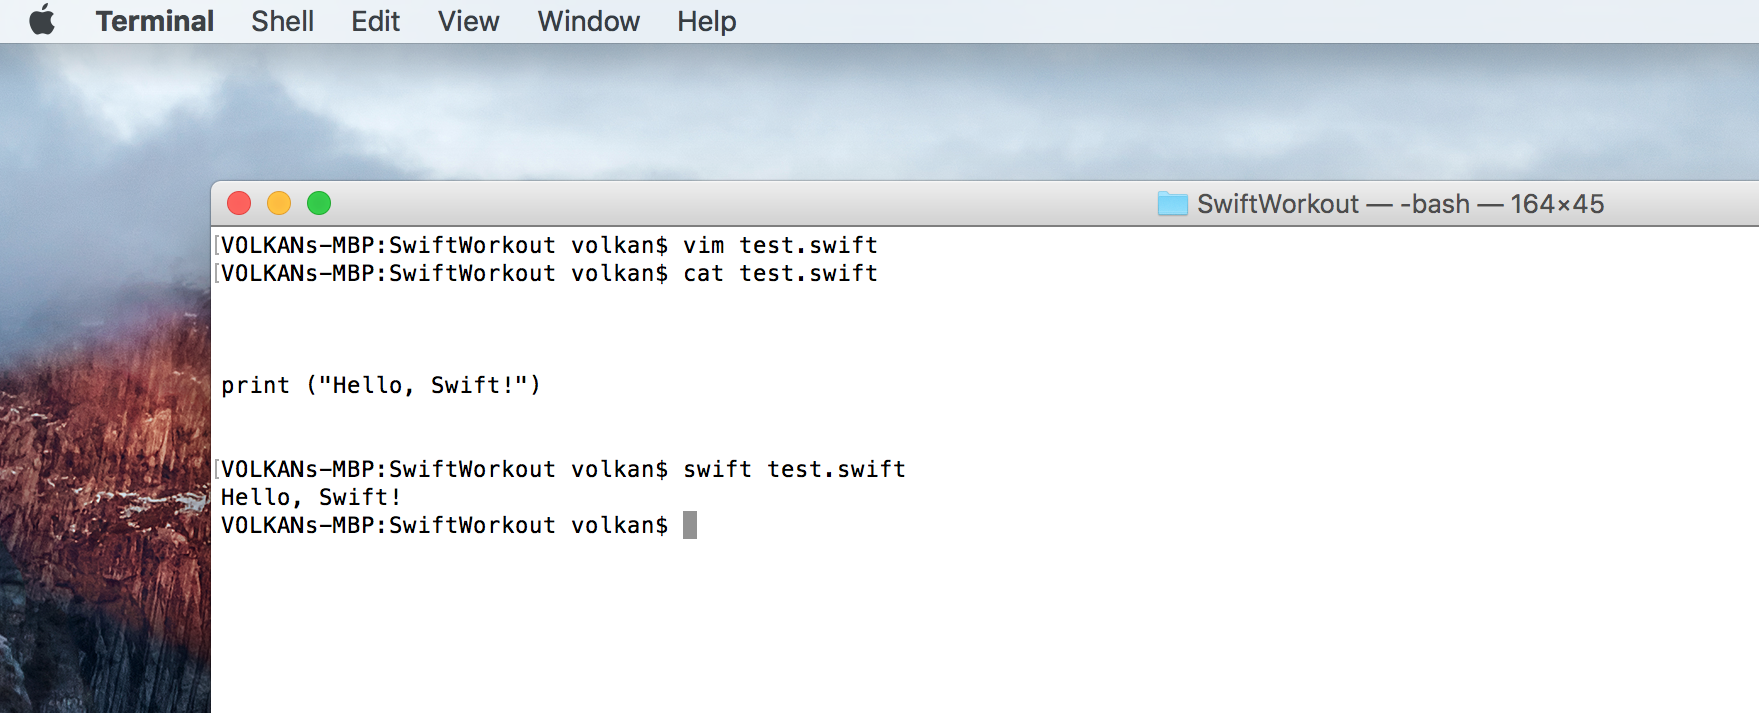
It can also be executed without specifying the interpreter by adding #!/usr/bin/swift at the top of the file.
Comments
Swift supports C-style comments like // for single-line comments and /* */ for multi-line comments.
The great thing about the multi-line comments is that you can nest them. For example the following is a valid comment:
/* This is a
    /* valid mult-line */
    comment that is not available in C#
*/
Considering how many times Visual Studio punished me while trying to comment out a block of code that had multi-line comments in it, this feature looks fantastic!
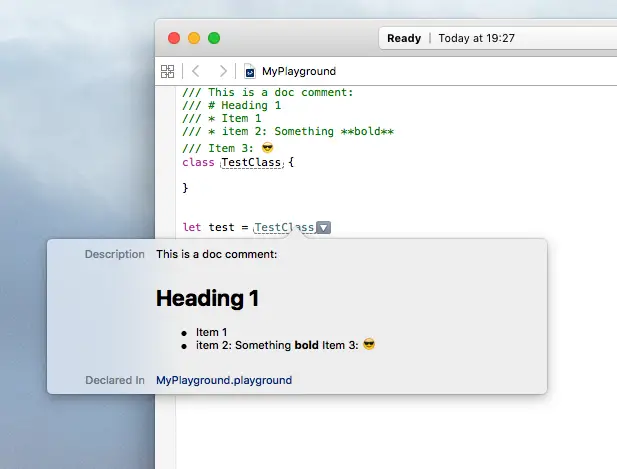
It also supports doc comments (///) and supports markdown. It even supports emojis (Ctrl + Cmd + Space for the emoji keyboard)
Imports
Standard libraries are imported automatically but the main frameworks such as Foundation, UIKit need to be imported explicitly.
Swift 2 supports a new type of import which is preceded by @testable keyword.
@testable import CustomFramework
It allows to access non-public members of a class. So that you can access them externally from a unit test project. Before this they all needed to be public in order to be testable.
Strings
Built-in string type is String. There is also NSString in the Foundation framework. They can be used interchangably sometimes, for example you can assign a String to a NSString but the opposite is not valid. You have cast it explicitly to String first:
import Foundation

var string : String = "swiftString"
var nsString : NSString = "foundationString"

nsString = string // Works fine
string = nsString as String // Wouldn't work without the cast
- startIndex is not an int but an object. To get the next character
s[s.startIndex.successor()]
To get the last character
s[s.startIndex.predecessor()]
For a specific position s[advance(s.startIndex, 1)]
let vs. var
Values created with let keyword are immutable. So let is used to create constants. Variables can be created with var keyword. If you create a value
let x1 = 7
x1 = 8 // won't compile

var x2 = 10
x2 = 11 // this works
The same principle applies to arrays:
let x3 = [1, 2, 3]
x3.append(4) // no go!
Type conversion
Types are inferred and there is no need to declare them while declaring a variable.
let someInt = 10
let someDouble = 10.0
let x = someDouble + Double(someInt)
Structs and Classes
-
Structs are value objects and a copy of the value is passed around. Classess are reference objects.
-
Constructors are called initializers and they are special methods named init. Must specify an init method or default values when declaring the class.
class Person {
  var name: String = ""
  var age: Int = 0

  init (name: String, age: Int) {
    self.name = name
    self.age = age
  }
}
- There is no new operator. So declaring a new object looks simply like this:
let p = Person()
- The equivalent of destructor is deinit method. Only classes can have deinitializers.
Collections
Array: An ordered list of items
-
An empty array xan be declared in a verbose way such as
var n = Array<Int>()or with the shorthand notation
var n = [Int]() -
An array with items can be intialized with
var n = [1, 2, 3] -
Arrays can be concatenated with +=
n += [4, 5, 6] -
Items can be added by append method
n.append(7) -
Items can be inserted to a specific index
n.insert(8, atIndex: 3) print(n) // -> "[1, 2, 3, 8, 4, 5, 6, 7]" -
Items can be deleted by removeAtIndex
n.removeAtIndex(6) print(n) // -> "[1, 2, 3, 8, 4, 5, 7]" -
Items can be accessed by their index
let aNumber = n[2] -
A range of items can be replaced at once
var n = [1 ,2, 3, 4] n[1...2] = [5, 6, 7] print(n) // prints [1, 5, 6, 7, 4]" -
2-dimensional arrays can be declared as elements as arrays and multiple subscripts can be used to access sub items
  var n = [ [1, 2, 3], [4, 5, 6] ]
  n[0][1] // value 2
Dictionary: A collection of key-value pairs
-
Can be initialized without items
var dict = [String:Int]()or with items
var dict = ["key1": 5, "key2": 3, "key3": 4] -
To add items, assign a value to a key using subscript syntax
dict["key4"] = 666 -
To remove an item, assign nil
dict["key2"] = nil print(dict) // prints ["key1": 5, "key4": 666, "key3": 4]" -
To update a value, subscript can be used as adding the item or updateValue method can be called.
updateValue returns an optional. If it didn’t update anything the optional has nil in it. So it can be used to check the value was actually updated or not.
  var result = dict.updateValue(45, forKey: "key2")
  if let r = result {
      print (dict["key2"])
  } else {
      print ("could not update") // --> This line would be printed
  }
The interesting behaviour is that if it can’t update it, it will add the new value.
  var dict = ["key1":5, "key2":3, "key3":4]
  var result = dict.updateValue(45, forKey: "key4")
  if let r = result {
      print (dict["key4"])
  } else {
      print ("could not update")
  }

  print(dict) // prints "["key1": 5, "key4": 45, "key2": 3, "key3": 4]"
                // key4 has been added after calling updateValue
After a successful update it would return the old value
  result = dict.updateValue(45, forKey: "key1")
  if let r = result {
      print (r) // --> This would run and print "5"
  } else {
      print ("could not update")
  }
This is consistent with the unsuccessful update returning nil. It always returns the former value.
-
To get a value subscript syntax is used
var i = dict["key1"] // 45
Set: An unordered list of distinct values
-
Initialization notation is similar to the others
var emo : Set<Character> = [ "😡", "😎", "😬" ] -
If duplicate items are added it doesn’t throw an error but prunes the list automatically
var emo : Set<Character> = [ "😡", "😎", "😬", "😬" ] emo.count // prints 3 -
New items can be added with insert method
  var emo : Set<Character> = [ "😡", "😎", "😬", "😬" ]
  emo.insert("😱")
  emo.insert("🤔")
  print(emo) // prints "["😱", "😎", "🤔", "😬", "😡"]"
There is no atIndex parameter like array and the index is unpredicatable as shown above
Among the three, only arrays have ordered and can have repeated values.
Miscellaneous
-
Semi-colons are not required at the end of each line
-
Supports string interpolation
-
Swift uses reference counting and there is garbage collection.
-
Curly braces are required even if there is only one statement inside the body. For instance the following block wouldn’t compile:
let x = 10 if x == 10 print("Ten!") -
println function has been renamed to print. print adds a new line to the end automatically. This behaviour can be overriden by explicitly specfying appendNewLine attribute
print ("Hello, world without a new line", appendNewLine: false) -
#available can be used to check compatibility
if #available(iOS 9, *) { // use NSDataAsset } else { // Panic! } -
Range can be checked with … and ~= operators. For example:
  let x = 10

  if 1...100 ~= x {
      print(x)
  }
The variable is on the right in this expression. It wouldn’t compile the other way around.
-
There is Range object that can be used to define, well, ranges!
  var ageRange = 18...45
  print(ageRange) // prints "18..<46"
  print(ageRange.count) // prints "28"
The other range operator is ..< which doesn’t include the end value
  var ageRange = 18..<45
  ageRange.contains(45) // prints "false"