To me a technology that enables you to collect data about your brain activity sounds fascinating. It always felt like Sci-Fi and unreachable. So when I heard about the affordable MindWave I immediately ordered it.
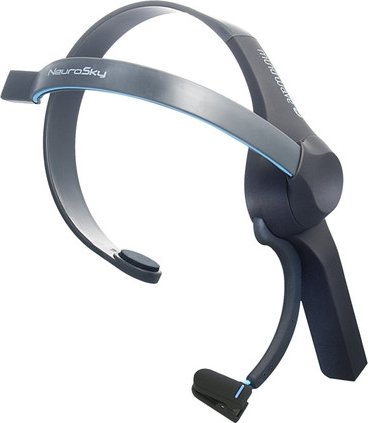
This gizmo is manufactured by a company called NeuroSky focusing on brainwave technologies. I bought the MindWave mobile version as it has support to mobile devices which increases the possibilities of creating something cool. The best thing about it is that it comes with an SDK and you can develop your own applications on the platform. To get more info about the SDK visit http://developer.neurosky.com They even have an app store that you can sell your applications. But the developer program costs $1500 so I don’t think I will sign up for that quite a while.
How does it work
The gadget communicates via Bluetooth. It supports lots of platforms and comes with an API ported to different languages. I prefered .NET and it worked without any problems. The real power of the device comes from the ThinkGear chipset. The API lets the developer to get results from the ThinkGear chipset. When you install the software bundled with the device, it installs ThinkGear connector and a bunch of games. First thing to do is pair the headset with your PC or iOS/Android device. Frankly, I didn’t quite like the applications that come with it. But it is not that important. After all I bought this thing to write my own programs against it.
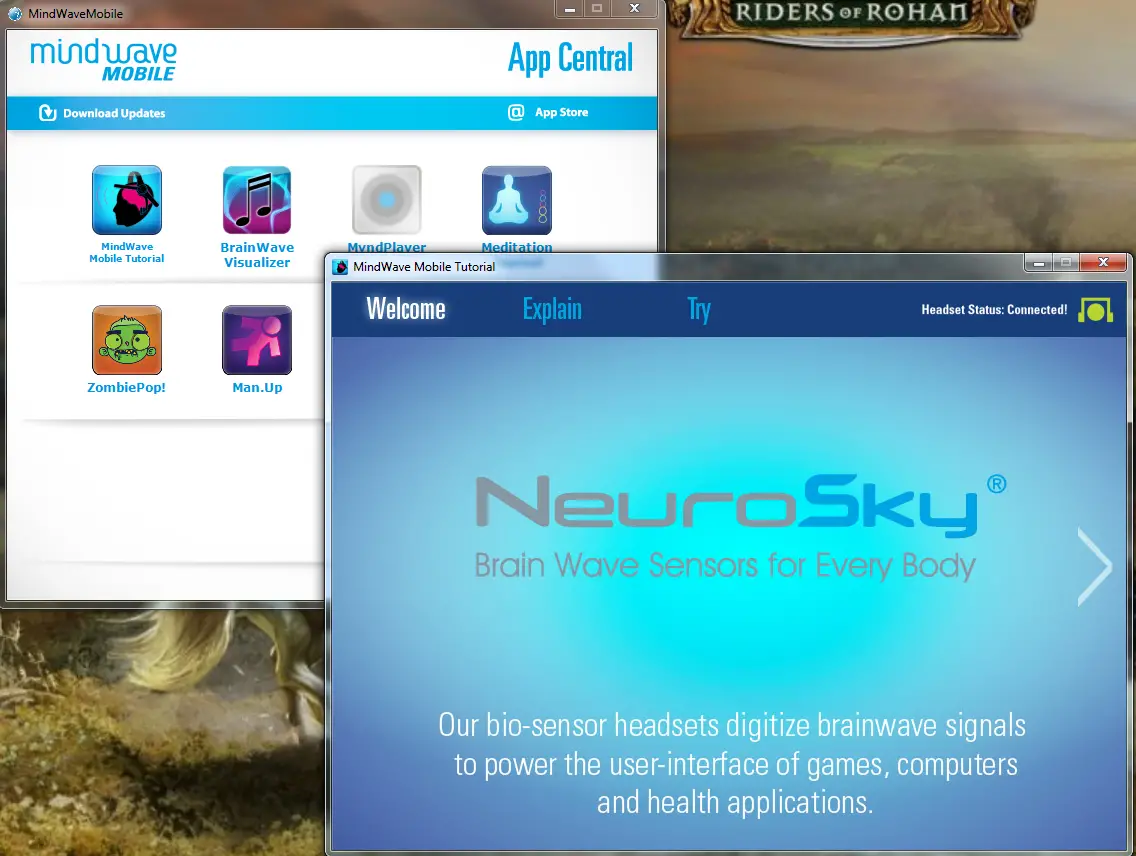
The tutorial application, on the other hand, is very useful for testing the device and connection status.
Developing with MindWave
The starting point is definitely here: http://developer.neurosky.com/
The site steers the user very well so that you can select your goals and start developing right away. Actually the API is quite easy to use. After you connect you start receiving values from the sensor. In .NET wrapper the values are encapsulated in a class called ThinkGearState, which looks like this (I got this from its metadata):
public class ThinkGearState
{
    public float Alpha1;
    public float Alpha2;
    public float Attention;
    public float Battery;
    public float Beta1;
    public float Beta2;
    public float BlinkStrength;
    public float Delta;
    public bool Error;
    public float Gamma1;
    public float Gamma2;
    public float Meditation;
    public int PacketsRead;
    public float PoorSignal;
    public float Raw;
    public float Theta;
    public int Version;

    public ThinkGearState();

    public override string ToString();
}
The key fields for me are Attention and Meditation. BlinkStrength is also interesting. If you blink intentionally and strongly, the value wanders around 150 – 200. For normal blinks that we do quite often, it is around 50 – 60. So it is easy to differentiate if someone blinks. I wondered if this could be used as a communication method for Hector Salamanca in Breaking Bad. Instead of ringing a bell he could just blink. Admittedly it wouldn’t provide any extra functionality but it would look much cooler.

I don’t know how the Attention and Meditation values are calculated. The device also returns values for the various brain waves such as alpha, beta, theta, gamma and delta. I had no clue what these meant so here’s what I’ve learned from here and here.
- Alpha: Increases in the state of physical and mental relaxation
- Beta: Increases when we are consciously alert, or we feel agitated, tense, afraid
- Theta: Shows the state of reduced consciousness
- Delta: Increases when there is unconsciousness, deep sleep or catalepsy
- Gamma: These waves are associated with peak concentration and extremely high levels of cognitive functioning
I don’t know why Alpha, Beta and Gamma waves return 2 values whereas Delta and Theta have only 1. As my knowledge on this subject is almost zero, I’ll just concentrate on the already-calculated Attention and Meditation values. I’ll try to develop a project using this gizmo and post it when it’ is ready. I think it is a very cool thing to have the ability to measure brain waves and write programs using those values. I guess the only problem for me is that I already constantly wear a wireless headset so it’s a bit hard to have them both on my head!
Resources