How to manage NuGet Packages with AWS CodeArtifact
CodeArtifact is the software artifact repository service provided by AWS. In the previous article, you covered the basics of NuGet - Microsoft’s package management platform for .NET applications. You looked into the basics of package consumption using NuGet.org (the default package repository). In this article, you will learn more about creating and publishing your packages to your private repository using AWS CodeArtifact.
Prerequisites
-
An AWS account
-
An IDE such Visual Studio, JetBrains Rider or Visual Studio Code
Why host your own NuGet Repository?
You can create a free account on NuGet Gallery and publish your packages freely. So why would you want to host your own repository instead of this option?
Privacy
When you publish your packages to the NuGet gallery (or any other public repository), you instantly expose your code to the world. Anyone can download and examine your code (it may require decompiling .NET assemblies to code but it’s still possible). This may be your intention in the first place, especially if you’re working on an open-source project, but if you want to keep your code private, having your own private repository would be the preferred option.
Access Control
When you have your own private repository, you can control who can access your code. You can also host it in isolated networks so your automation can work without Internet access.
Security
When you publish your packages on a public repository and download from there, your system’s security is tied to that remote system’s security. Any package you download can be compromised and risk your entire system’s security.
Auditing
If you only allow your applications and developers to download packages from pre-approved and audited locations, you won’t have to worry about rogue packages sneaking in.
CodeArtifact Basics
When working with AWS CodeArtifact, you need to be familiar with 2 concepts:
-
Domains
-
Repositories
Domain
A domain is a logical unit for grouping repositories. In most cases, you would need only one domain for your company or team. The idea of having an artifact repository is to share code between projects. So if you lock down your repositories too much you might end up having constant access issues or duplicating packages.
Repository
A repository contains software artifacts such as packages, libraries, and scripts that are stored in a centralized manner and meant to be shared among projects.
Set Up CodeArtifact
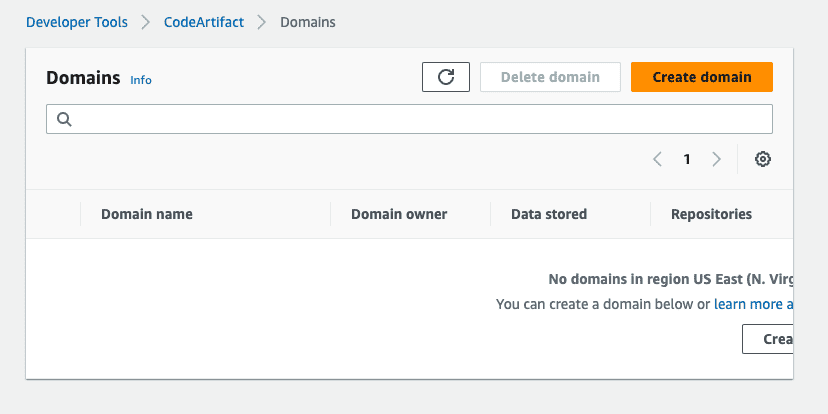
Go to AWS CodeArtifact in AWS Management Console.
This article uses the us-east-1 (N.Virginia) region. Feel free to use whatever AWS region you prefer. Make sure to check the CodeArtifact pricing page too although the difference between regions should be negligible for the purposes of the demo project.
Click the Create domain button.
Enter the name of your domain. It doesn’t have to be too specific. you will create repositories later which should be more specific to the project but the domain can be more generic such as your company name.
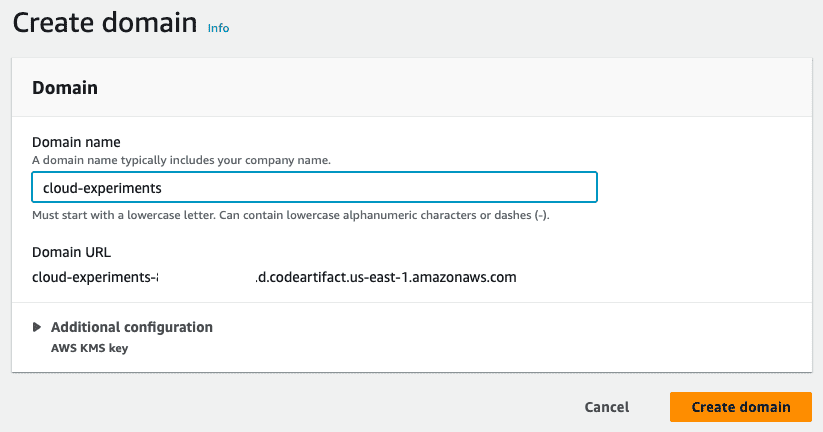
AWS CodeArtifact uses the domain name and your account ID to generate a unique domain URL. You will use this when pulling and pushing packages.
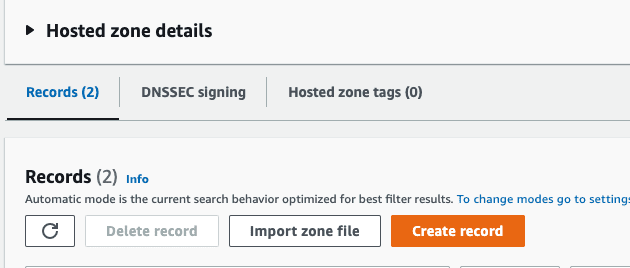
Then go to Repositories and click the Create repository button.
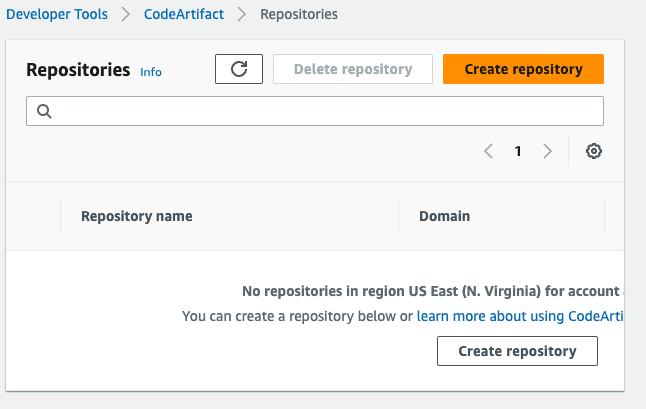
The repository name can be the name of your project or something more generic such as shared or common. In this example, I’ll use common. You can give it a description too to explain the purpose.
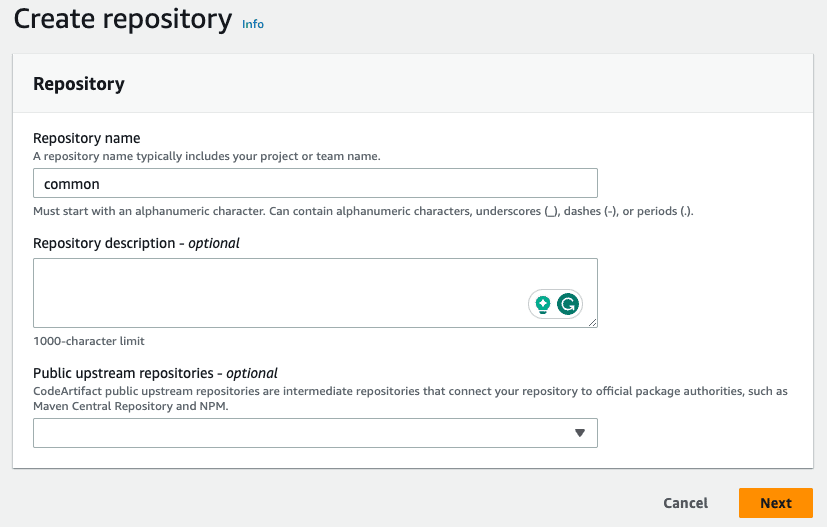
You can also select an upstream repository (nuget-store for .NET which uses NuGet.org). Public upstream repositories are intermediate repositories to download packages from the public repository and cache them. This allows the user to automatically use the missing packages from the private repository. In this example, leave the public upstream repository empty and click Next.
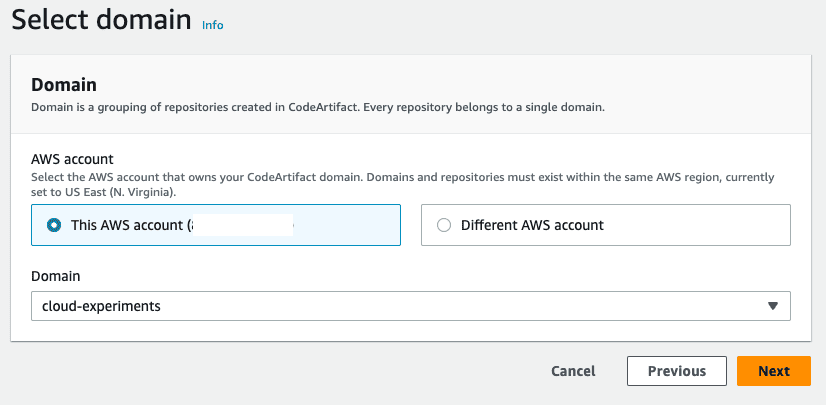
Next, you choose the domain this repository will belong to. Each repository is part of a domain. You can use cross-account domains as well by selecting the Different AWS account option. In this example, select your own account and select the domain you created in the previous step.
Review your selection in the next screen and click Create repository to finish the setup.
If you click on the repository details, you should see the details such as the ARN of the repository and the domain it belongs to. So far, it’s just a generic repository as you haven’t specified anything about .NET. Next, you will set up the .NET client connection.
Set Up Client Connection
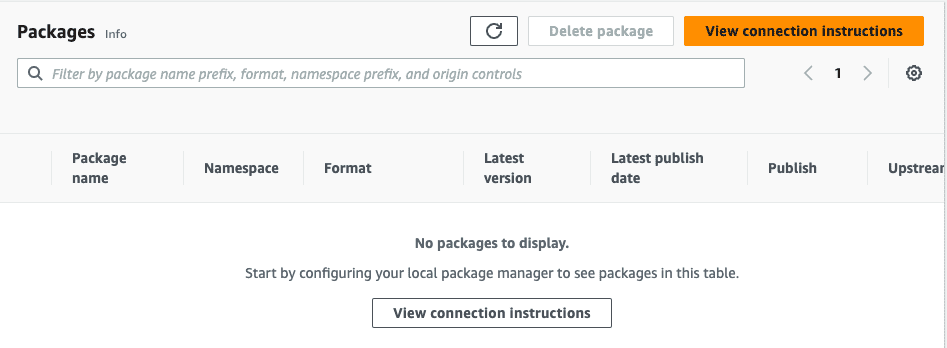
In the packages section, you can see the View connection instructions button. This is very useful for setting up your client.
AWS CodeArtifact supports various package managers such as Maven, Python, npm and NuGet. For this example, select .NET from the list. NuGet is more suitable for Windows-based legacy .NET Framework projects. .NET CLI works best if you’re using a Mac or Linux for a .NET Core or later project.
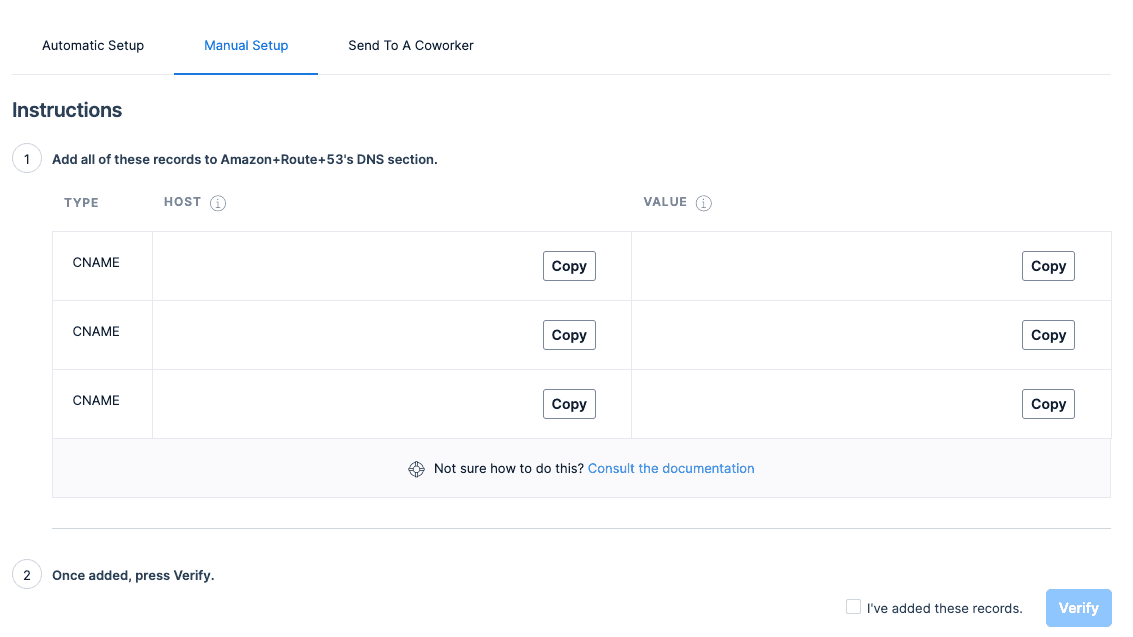
In the next section, 3 options are provided. I recommend using the manual setup. This gives you more control over how you set things up. It’s likely you will need to have this kind of setup in your CI/CD pipeline as well to be able to restore packages during the build process. So it’s a good practice to be able to replicate these steps later.
The next step is to obtain the auth token. The guide shows the command suitable for your platform. On Mac, it should look something like this:
export CODEARTIFACT_AUTH_TOKEN=`aws codeartifact get-authorization-token --domain cloud-experiments --domain-owner {YOUR AWS ACCOUNT ID} --region us-east-1 --query authorizationToken --output text`
Run the command and assuming your default profile credentials are valid and have permission to carry out the request, then it should obtain the auth code and assign it to the CODEARTIFACT_AUTH_TOKEN variable that is valid for 12 hours.
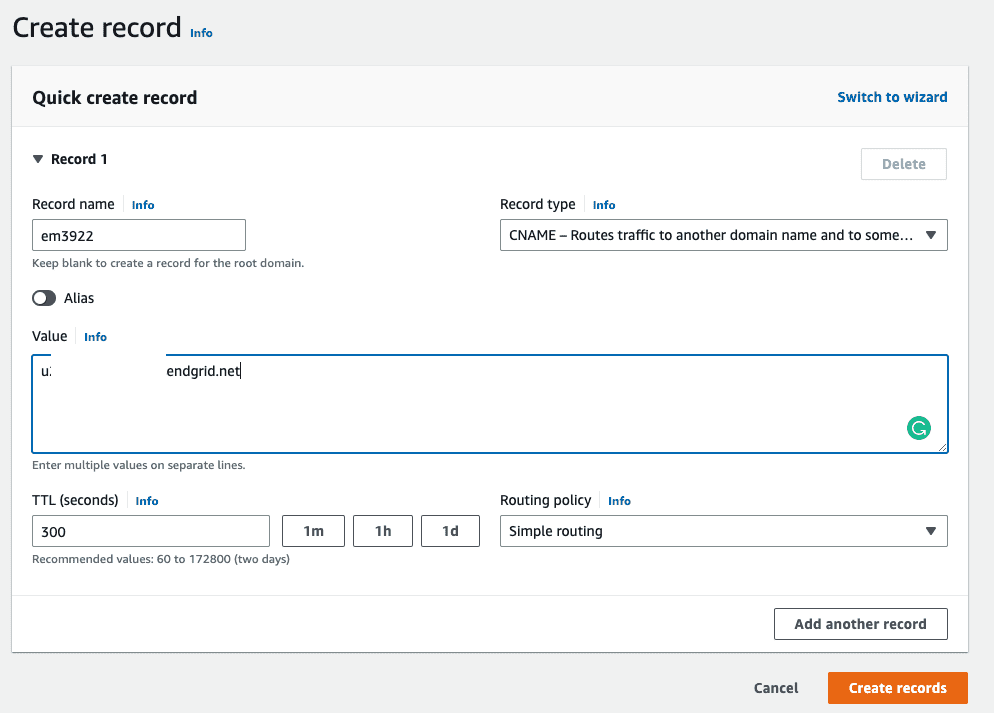
The final step is to add your repository to your repository list by running the following command:
dotnet nuget add source "https://{YOUR DOMAIN NAME}-{YOUR AWS ACCOUNT ID}.d.codeartifact.us-east-1.amazonaws.com/nuget/common/v3/index.json" -n "{YOUR DOMAIN NAME}/{YOUR REPO NAME}" -u "aws" -p "${CODEARTIFACT_AUTH_TOKEN}" --store-password-in-clear-text
The store-password-in-clear-text flag is only required on non-Windows platforms as encryption is not supported.
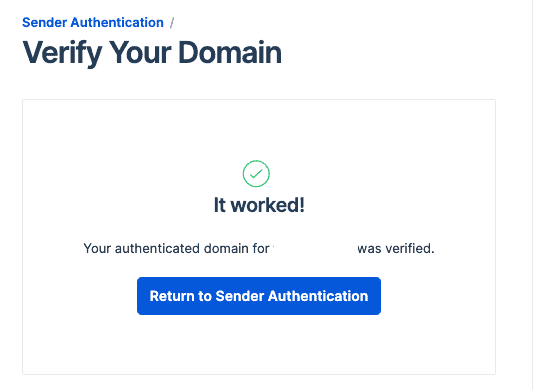
Once you’ve run the command, you should see a confirmation on your terminal saying the repo is added successfully.
To verify your setup, run the following command:
dotnet nuget list source
You should see both the default NuGet.org and your private repository:

Publish Package to Your Repository
Now that you have a private NuGet repository of your own, take advantage of it and publish your first package.
Create a new .NET class library by running the following command:
mkdir CodeArtifactBasics
cd CodeArtifactBasics
dotnet new classlib
Open the project in your IDE and rename Class1.cs to Calculator.cs and update the contents with below:
namespace CodeArtifactBasics;

public class Calculator
{
    public int Add(int x, int y)
    {
        return x + y;
    }
}
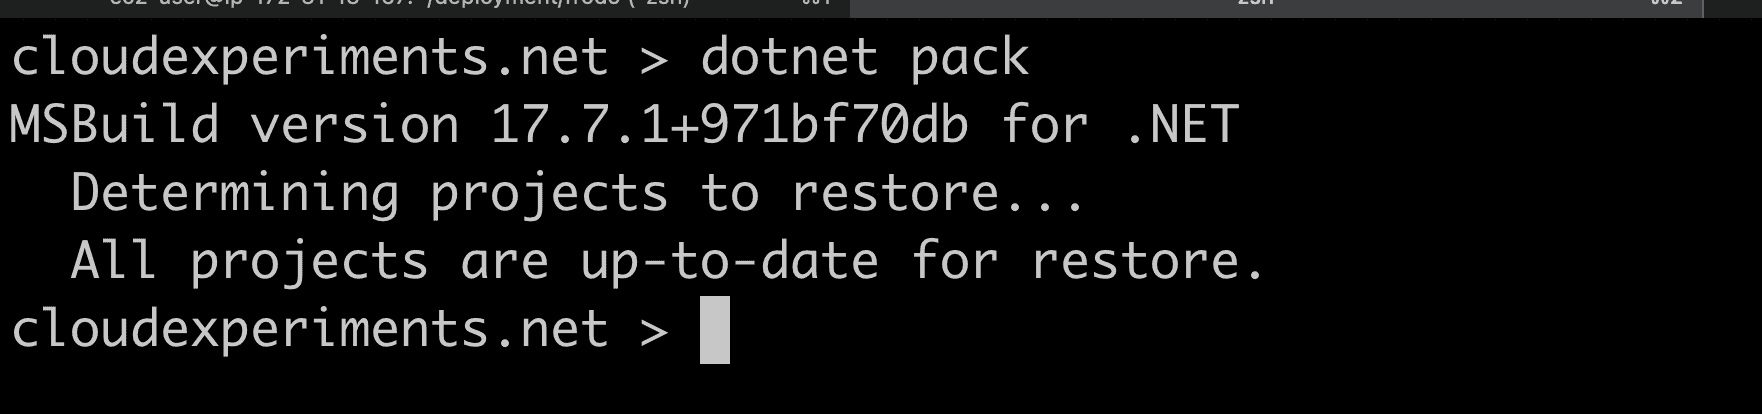
Run the following command to create a NuGet package for your project:
dotnet pack
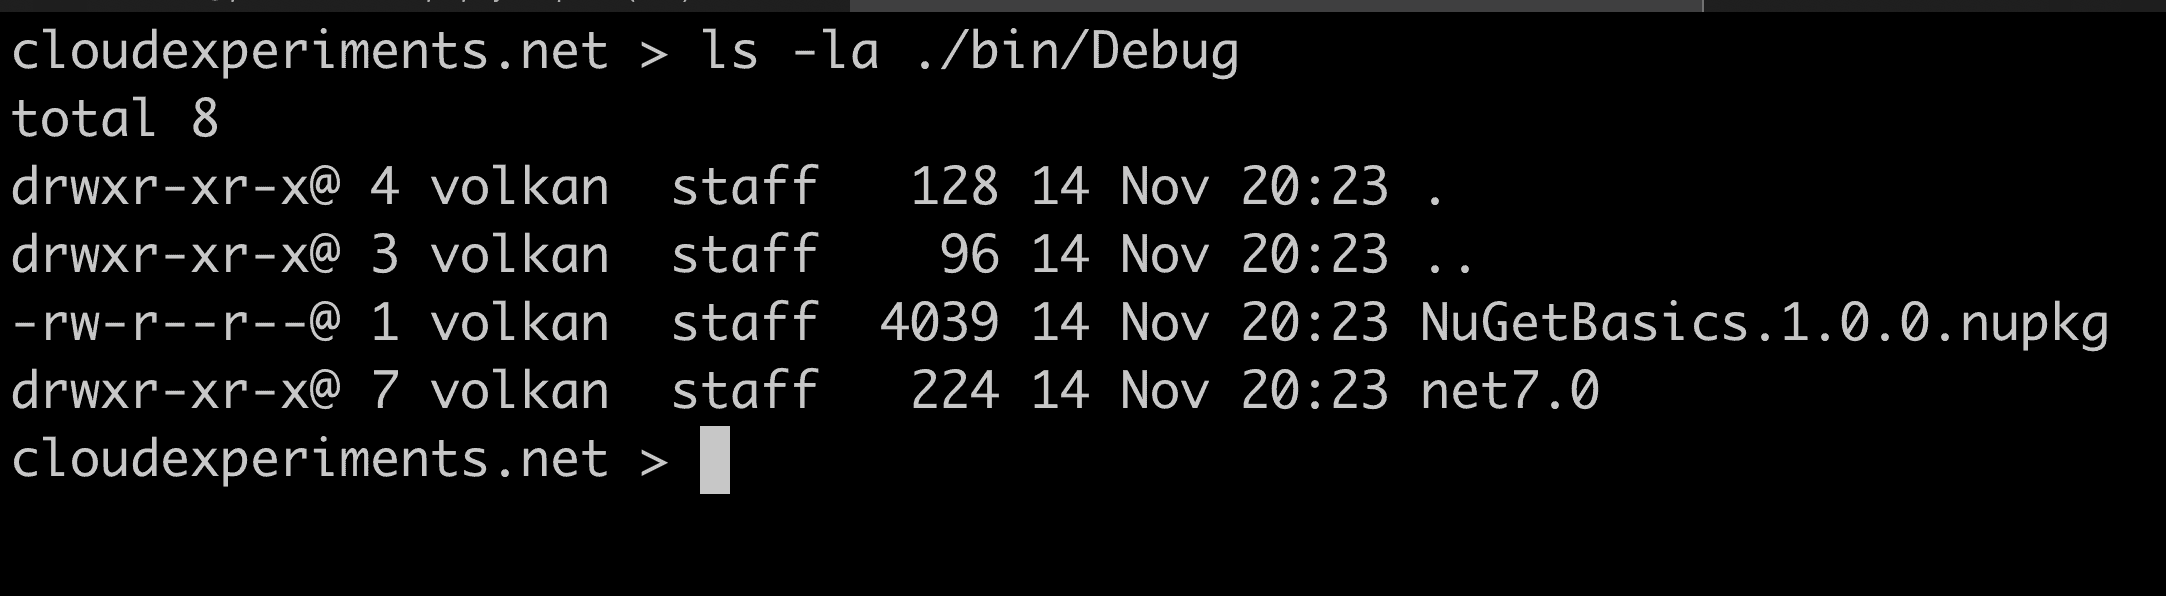
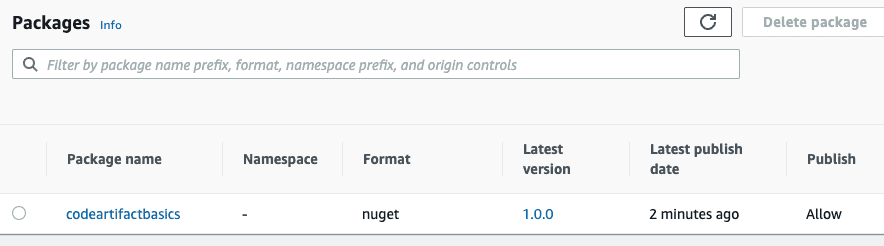
You should have version 1.0.0 of your package created under the bin/Debug directory. The final step is to push it to your CodeArtifact repository by running the following command:
dotnet nuget push ./bin/Debug/CodeArtifactBasics.1.0.0.nupkg --source {YOUR DOMAIN}/{YOUR REPO}
If you refresh your package list on the CodeArtifact page, you should now see your newly published package:
Consume Packages From Your Private Repository
So your calculator library is in your package repository available to be consumed in your projects. Create a consumer project by running the following command:
dotnet new console --name CalculatorClient
Then, open the project in your IDE.
To consume the NuGet package, run the following command in a terminal at the root of the new console project:
dotnet add package codeartifactbasics
If you take a look at the command output, you should notice that it queries both nuget.org and your private repository:

You can see the 2 GET requests sent to both repositories. Since there is no codeartifactbasics package in nuget.org, it returns a NotFound response while your CodeArtifact repository returns a successful result. It then goes ahead and fetches the actual package and adds to your project.
You can check the package in your IDE as well. It depends on the IDE but in Rider it looks like this:
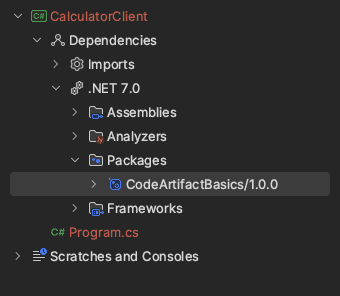
You can now update the Program.cs with the following code and you should be able to run your program without any issues:
using CodeArtifactBasics;

var calc = new Calculator();
var result = calc.Add(1, 2);
Console.WriteLine(result);
Conclusion
In this article, you covered the basics of AWS’s package management service. You learned how to create a new private repository, authenticate against the repo and publish and consume packages. In later articles, we will dive deeper into the NuGet protocol and CodeArtifact.