Using Raspberry Pi as Plex Server
Raspberry Pis these days are powerful computers that can run a lot of tasks at home with very efficient electricity usage. In this post I’m going to show how to use a Raspberry Pi 4 8GB as a Plex server and serve your own media files in your own network.
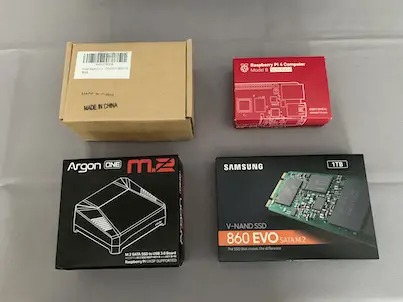
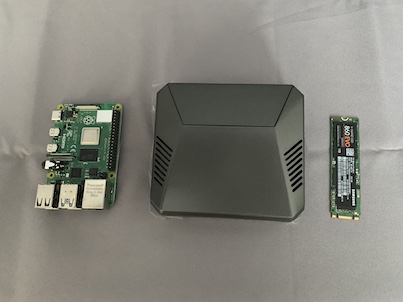
Hardware
- Raspberry Pi 4 (8 GB)
- Argon ONE case (with M.2 adapter)
- M.2 SATA SSD (1TB)
- Standard pi power supply
Getting Started
In this project I used an Argon ONE M.2 Case for Raspberry Pi 4 as it allowed me to use an SSD drive with the Pi which is a lot faster than a microSD card.
Argon ONE comes with a comprehensive used guide and take about 10 minutes to put everything together so it’s not too different than using a regular Pi case. The added benefits are:
- You get to use a M.2 SATA SSD (Be mindful about the SATA here. It doesn’t work with NVMe SSDs even though it fits. So make sure to buy a M.2 SATA SSD)
- You get 2 full-sized HDMI ports instead of the micro ones that come with a Pi 4
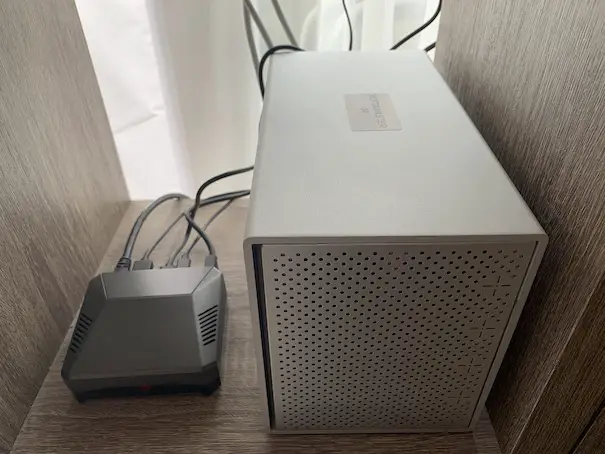
The final build looks like this with a 5-bay YottaMaster enclosure attached to it:
Software Installation
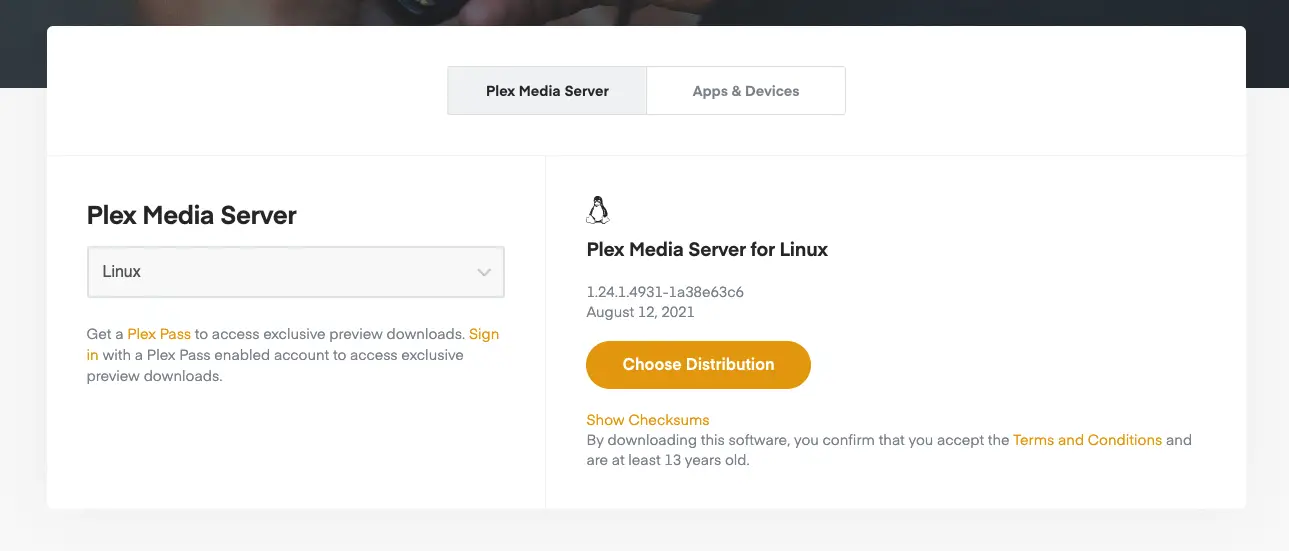
The easiest installation way I could find is downloading the Plex Media Server for Linux package from Plex Downloads Page
First choose Linux from the OS list
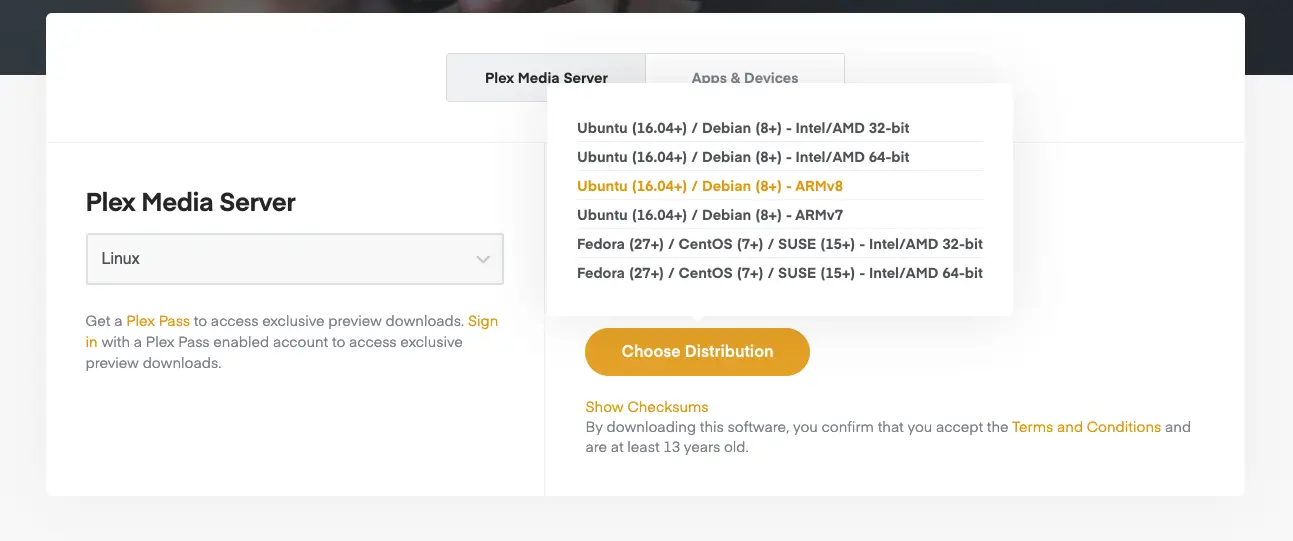
and click Choose Distribution
Once you’ve downloaded the installation package right click and select Package install
After the installation open http://localhost:32400/web and you’re ready to go!
Plex Account
I already had an account so I just logged in with my credentials. This automatically adds the new server to your account so you can see the libraries in other server instances in your account as well.
File Share
Because I attached a 5-bay hard drive enclosure to the Pi, I wanted to use it for a general file server as well. This also helps if your media files are located somewhere else on the network and you want to copy them over the network if you’re not able to attach the source drive directly to the Plex Server Pi.
To create the file server I followed this guide to install Samba on my Pi: Samba: Set up a Raspberry Pi as a File Server for your local network
Troubleshoot File Permission Issue
One issue I had when I tried to add some test folders was that Plex wasn’t able to list the folders in a selected drive. I found the solution here: Plex Media Server cannot see sub folders.. Permissions issue?
Basically added the permissions to the folders in the path as shown in the accepted answer:
sudo chmod a+rX /mnt
sudo chmod a+rX /mnt/sda
sudo chmod a+rX /mnt/sda/will
Client
I’m not going to go into much detail on the client side as there are a vast number of ways to consume content from a Plex Server. In my case, I’m using a Kodi on another Raspberry Pi and as soon as I added the new Plex Server to my Plex account I was able to view the content on my client Kodi Pi.
Conclusion
Overall it was quite straightforward as the server package came ready to install. The only issue I had was to figure out the folder permission issue and after that’s been resolved I was able to enjoy a brand new Plex Server instance in my own network. Hope this helps if you’re after similar results.