In this post, I’d like to show how to achieve continuous integration using CodeBuild service.
Main goals to achieve:
- Run unit tests in a Docker container
- Kick off build automatically when code is pushed
- Show build status
- Send notifications when tests fail
Codebuild Setup
Step 01: Project Configuration
Specify a unique name and make sure to tick “Enable build badge” checkbox

Step 02: Source Selection
In this step select GitHub as source provider and select “Repository in my GitHub account” option. AWS will use OAuth and redirect to GitHub to ask for authoization to access your repositories. After granting access you should be able to see your repositories in the dropdown list:

I left “Source version” field blank as I want the build to run for all branches and for all commits.
Step 03: Webhook Configuration
Tick the “Rebuild every time a code change is pushed to this repository” checkbox and select PUSH from the event type list. You can select more events to trigger builds for CI purposes it should be enough to run after every time code is pushed.

What this does is add a CodeBuild webhook in GitHub that looks like this:

Whenever a push happens in the repository, GitHub posts the details to CodeBuild webhook and that triggers a build.
Step 04: Environment configuration
The build takes place in a Docker container so we have to provide a Docker image with build tools installed. Alternatively we can use one of the managed images that AWS provides. In this example I’ll use a managed image:

Step 05: Other configuration
In this example, I will accept the defaults for the rest of the settings because I don’t need to generate artifacts to run unit tests. It’s generally wise to enable CloudWatch logs so that you can monitor the build process closely. Since I accept the default path for buildspec.yml, I have to place it at the root of the repository.

Running the tests
The core responsibility of CI pipeline is to run the unit tests. CodeBuild is a generic service and it doesn’t come with any tools to run unit tests as it’s application and environment dependent. The way we configure is by using buildspec.yml file. In this example I’m running a dotnet core project and making sure the unit tests are run first is as easy as this:
version: 0.2

phases:
  install:
    runtime-versions:
        dotnet: 2.2
  build:
    commands:
      - dotnet restore
      - dotnet test
      - dotnet publish Sample.UI.Web -c Release -o ./output
This way CodeBuild will execute the steps above and all the unit tests in the solution will be run.
Run build automatically
Now that the GitHub repository and CodeBuild projects are both ready, let’s see if we can kick off a build by pushing some code changes:
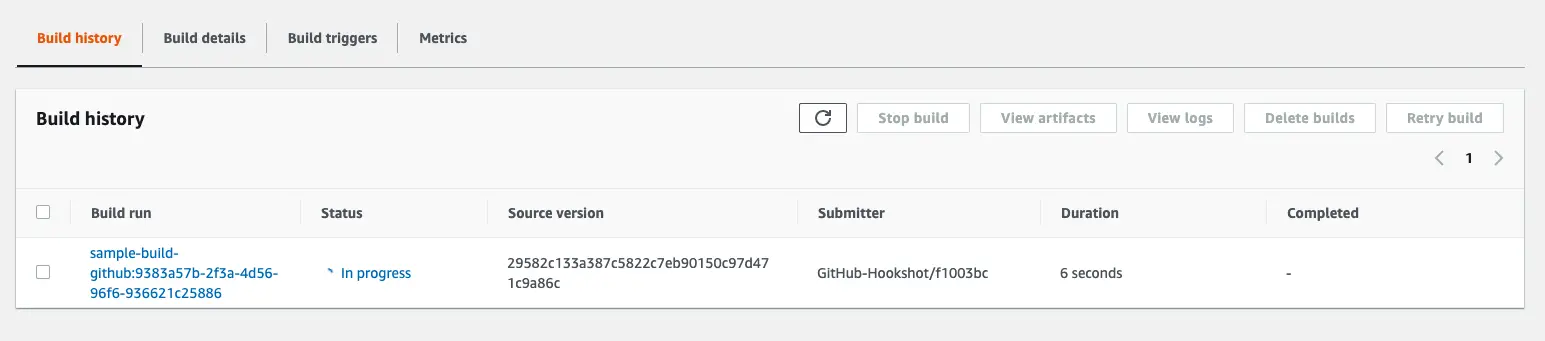
Also after pushing code to a feature branch I was able to see that build was triggered.
So now I could confirm running the build automatically.
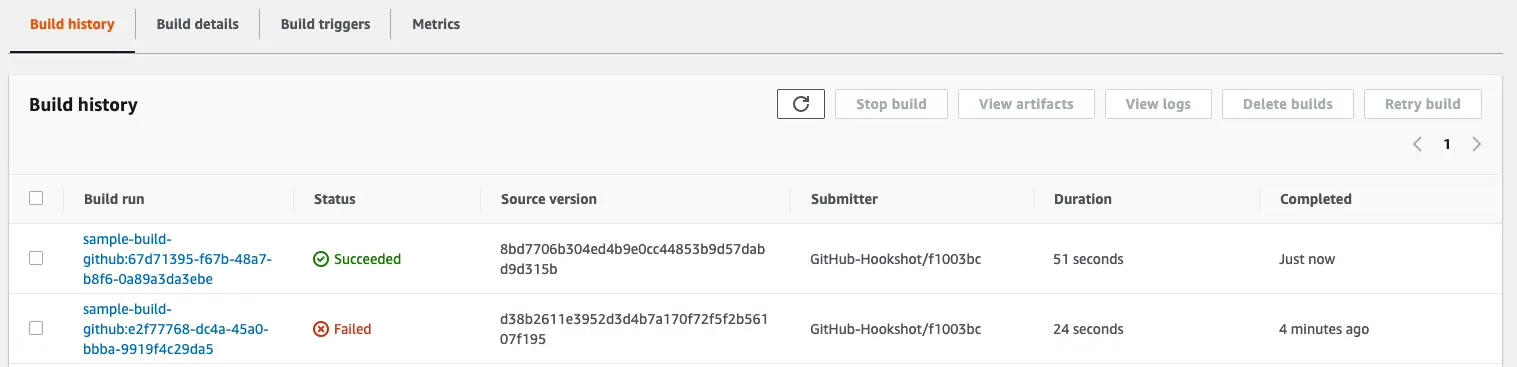
As a side note, the failed ones were failing due to this error
YAML_FILE_ERROR: This build image requires selecting at least one runtime version.
The solution was to specify the runtime in the buildspec.yml file explicitly by adding this bit:
install:
  runtime-versions:
      dotnet: 2.2
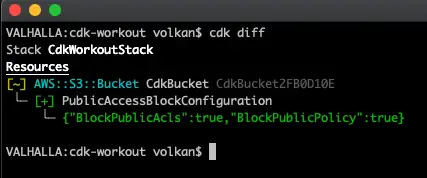
Also it’s worth noting that the source version value in Codebuild corresponds to commit hash. For example the commit hash shown below
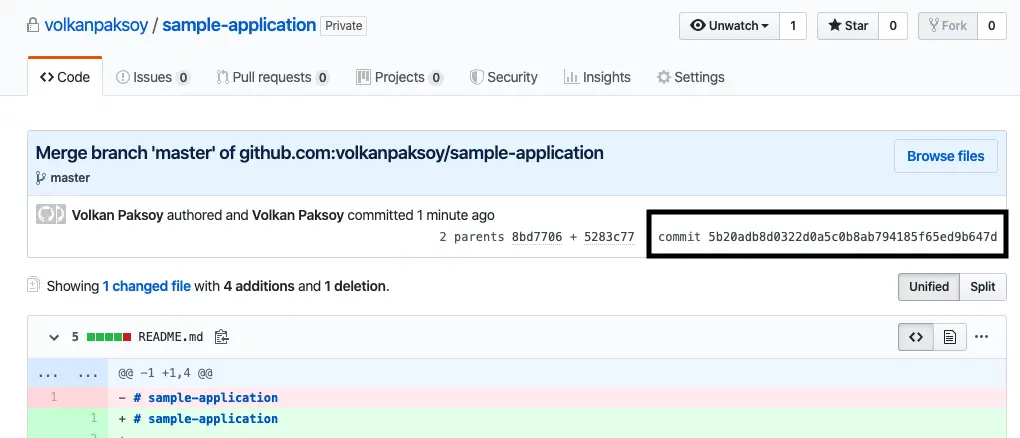
appears on CodeBuild as

Showing build status
Showing the build status on GitHub repository is very easy. We already enabled build badge while creating the build project. Now we have to copy the badge URL as shown below:

Then in the GitHub repository, edit the readme.md file and add the following:

Now if you go to the GitHub repository page and refresh you can see the latest status of the build (of master branch):

After I fixed the error and merged into master branch I could see the build passing badge as well:

Notifications
It would be nice to have a direct integration with notifications. This can be achieved using CloudWatch Events. In this sample project I’m going to use SNS to send email notifications.
First, I went to CloudWatch and created a rule and added the build state changed events. Just gave it a name and created the rule so that it looked like this:

After that I broke the test intentionally and received email for build failure in JSON format.

Conclusion
In this post I wanted to show a continuous integration pipeline using GitHub and CodeBuild. It can further be improved by posting the build status to Slack so that the whole team can get the notifications instantly. For the time being I achieved the goals I set out for initially so I’ll wrap it up here.
Source Code
Source code can be found in the repo below under blog/CodeBuild_CI_Pipeline folder
Resources