
Object expiration on AWS S3
We all know backups are good but most of the time you won’t need a backup from a year ago. Just keep enough copies to recover from a possible failure and get rid of the rest. The other day I was working on cleaning up old security camera images which become meaningless very quickly. The images are uploaded to Amazon S3. My first approach was to delete the older ones by a scheduled script but then I discovered an easier and more effective way.
Let AWS do the work!
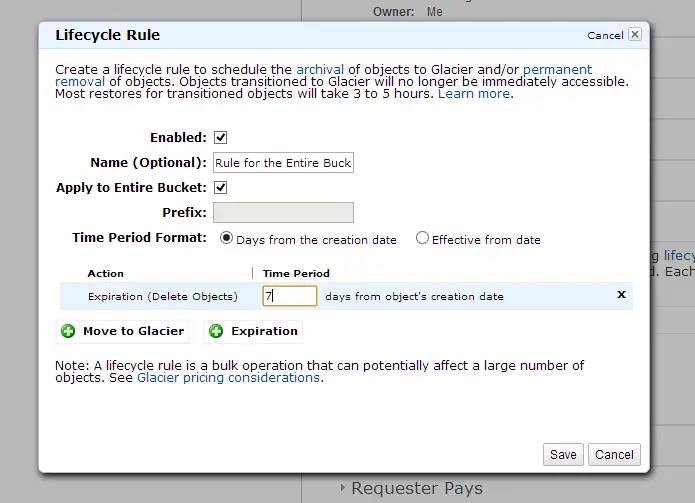
It’s possible to loop through thousands of objects and delete them but the alternative is to set an expiration date for each object. To activate this select the folder and make sure the properties panel is visible. Expand the Lifecycle section and click Add rule. Add a number of days for the expiration. Make sure “Apply to Entire Bucket” is checked so that any newly uploaded files comply with this rule. It’s easy as that!
One thing to note is that this process runs once a day. So don’t expect to get your bucket cleaned up immediately. But also don’t forget to check the next to ensure everything is working as expected!