Adventures in F# - Rock Paper Scissors Lizard Spock
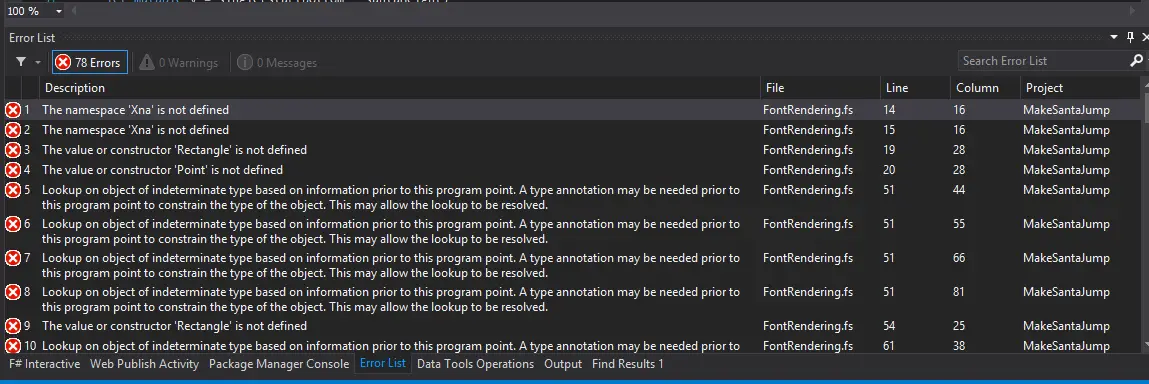
I can learn by doing so after I’ve started learning F# I had to develop some application to practice. The one I came up with is a simple game: Rock Paper Scissors Lizard Spock. First version only gets a bunch of moves from the player, generates random moves for the computer and displays the outcome as shown below:

Implementation
First, it gets a list of moves from the user. It should be a space-separated list of moves: R (Rock), P (Paper), S (Scissors), L (Lizard) and M (M for Mr. Spock as S was taken!)
Then it converts the characters to corresponding moves and generates equal number of moves for the computer.
Next it compares both lists of moves. It uses overloaded “-“ operator of the discriminated union. If the difference is 1 it means first player won, if it’s 2 then the second move won. 0 means draw.
Finally it displays the output of each round the score after that.
Source code
Program has two files only and basic game implementation is as follows:
module Game

type Move =
    | Rock
    | Paper
    | Scissors
    | Lizard
    | Spock

    static member (-) (x, y) =
        match x, y with
        | Move.Scissors, Move.Paper -> 1
        | Move.Scissors, Move.Lizard -> 1
        | Move.Scissors, Move.Rock -> 2
        | Move.Scissors, Move.Spock -> 2
        | Move.Lizard, Move.Paper -> 1
        | Move.Lizard, Move.Rock -> 2
        | Move.Lizard, Move.Scissors -> 2
        | Move.Lizard, Move.Spock -> 1
        | Move.Paper, Move.Lizard -> 1
        | Move.Paper, Move.Rock -> 2
        | Move.Paper, Move.Scissors -> 2
        | Move.Paper, Move.Spock -> 1
        | Move.Spock, Move.Paper -> 2
        | Move.Spock, Move.Rock -> 1
        | Move.Spock, Move.Scissors -> 1
        | Move.Spock, Move.Lizard -> 2
        | Move.Rock, Move.Paper -> 2
        | Move.Rock, Move.Spock -> 2
        | Move.Rock, Move.Scissors -> 1
        | Move.Rock, Move.Lizard -> 1
        | (x, y) when (x = y) -> 0

let GetRandomMove n =
    let rnd = System.Random();
    let output = [ for i in 1 .. n ->
        let index = rnd.Next(0, 5)
        match index with
        | 0 -> Move.Rock
        | 1 -> Move.Paper
        | 2 -> Move.Scissors
        | 3 -> Move.Lizard
        | 4 -> Move.Spock
    ]
    output

let GetRoundOutputText moves =
    match moves with
    | (Move.Scissors, Move.Paper) | (Move.Paper, Move.Scissors) -> "Scissors cuts Paper"
    | (Move.Paper, Move.Rock) | (Move.Rock, Move.Paper) -> "Paper covers Rock"
    | (Move.Rock, Move.Lizard) | (Move.Lizard, Move.Rock) -> "Rock crushes Lizard"
    | (Move.Lizard, Move.Spock) | (Move.Spock, Move.Lizard) -> "Lizard poisons Spock"
    | (Move.Spock, Move.Scissors) | (Move.Scissors, Move.Spock) -> "Spock smashes Scissors"
    | (Move.Scissors, Move.Lizard) | (Move.Lizard, Move.Scissors) -> "Scissors decapitates Lizard"
    | (Move.Lizard, Move.Paper) | (Move.Paper, Move.Lizard) -> "Lizard eats Paper"
    | (Move.Paper, Move.Spock) | (Move.Spock, Move.Paper) -> "Paper disproves Spock"
    | (Move.Spock, Move.Rock) | (Move.Rock, Move.Spock) -> "Spock vaporizes Rock"
    | (Move.Rock, Move.Scissors) | (Move.Scissors, Move.Rock) -> "Rock crushes scissors"
    | (x, y) when (x = y) -> "Draw"
    | (_, _) -> "Unknown move pair"

let GetMovesFromInput (input : string) =
    let inputList = Array.toList (input.Trim().Split [|' '|])
    let moves = List.map (fun (x: string) ->
        match x.ToUpper() with
        | "R" -> Move.Rock
        | "P" -> Move.Paper
        | "S" -> Move.Scissors
        | "L" -> Move.Lizard
        | "M" -> Move.Spock ) inputList
    moves
And the entry point of the program that gets user input and displays the results is :
open Game
open System

[<EntryPoint>]
let main argv =

    let mutable playerScore = 0
    let mutable computerScore = 0

    let playerMoves = GetMovesFromInput (Console.ReadLine())
    let n = playerMoves.Length
    printfn "You played: "
    for i in 0 .. n - 1 do
        printfn "%A" (playerMoves.Item(i))

    printfn ""
    printfn "Generating computer moves"
    let computerMoves = GetRandomMove n
    printfn "Computer played: "
    for i in 0 .. n - 1 do
        printfn "%A" (computerMoves.Item(i))

    printfn ""
    printfn "Results:"

    for i in 0 .. n - 1 do
        printfn  "%s" (GetRoundOutputText (playerMoves.Item(i), computerMoves.Item(i)))
        let diff = (int)(playerMoves.Item(i) - computerMoves.Item(i))
        if diff = 1 then playerScore <- playerScore + 1
        elif diff = 2 then computerScore <- computerScore + 1
        printfn "Player: %d \t Computer: %d" playerScore computerScore

    let s = Console.ReadLine()
    printfn "%s" s

    0
Conclusion
This is just the initial version (v0.1). I will keep improving it but for the time being I’m satisfied that I have a fully-working program developed in F# that uses the basics like discriminated unions, operator overloading and pattern matching. More to come soon…