Dynamic DNS with AWS Route 53
If you don’t have a static IP and you need to access your home network for some reason you may find Dynamic DNS services useful. I was using No-IP until its limitations became offputting. Since I love DIY stuff and AWS I thought I could build the exact same service on my own using Route 53.
Enter DynDns53
It’s a simple application. What it does is basically:
- Get current external IP
- For each subdomain in the configuration, call AWS API and get domain info
- Check if the recorded IP is different than the current one
- If so, call AWS API to update it with the new one, if not do nothing.
In a different post on setting up Calibre on a Raspberry Pi I developed a script that did the same thing:
import boto.route53
import urllib2
currentIP = urllib2.urlopen("http://checkip.amazonaws.com/").read()

conn = boto.connect_route53()
zone = conn.get_zone("volki.info.")
change_set = boto.route53.record.ResourceRecordSets(conn, '{HOSTED_ZONE_ID}')

for rrset in conn.get_all_rrsets(zone.id):
    if rrset.name == 'calibre.volki.info.':
        u = change_set.add_change("UPSERT", rrset.name, rrset.type, ttl=60)
        rrset.resource_records[0] = currentIP
        u.add_value(rrset.resource_records[0])
        results = change_set.commit()
The difference of DynDns53 is that it can run as a background service and it has a cute logo! The C# equivalent of above code is like this:
public void Update()
{
    var config = _configHandler.GetConfig();
    string currentExternalIp = _ipChecker.GetExternalIp();

    foreach (var domain in config.DomainList)
    {
        string subdomain = domain.DomainName;
        string zoneId = domain.ZoneId;

        var listResourceRecordSetsResponse = _amazonClient.ListResourceRecordSets(new ListResourceRecordSetsRequest() { HostedZoneId = zoneId });
        var resourceRecordSet = listResourceRecordSetsResponse.ResourceRecordSets.First(recordset => recordset.Name == subdomain);
        var resourceRecord = resourceRecordSet.ResourceRecords.First();

        if (resourceRecord.Value != currentExternalIp)
        {
            resourceRecord.Value = currentExternalIp;

            _amazonClient.ChangeResourceRecordSets(new ChangeResourceRecordSetsRequest()
            {
                HostedZoneId = zoneId,
                ChangeBatch = new ChangeBatch()
                {
                    Changes = new List<Change>()
                    {
                        new Change(ChangeAction.UPSERT, resourceRecordSet)
                    }
                }
            });
        }
    }
}
That’s it. The rest is just user interface, a Windows service and some basic uni tests.
Usage
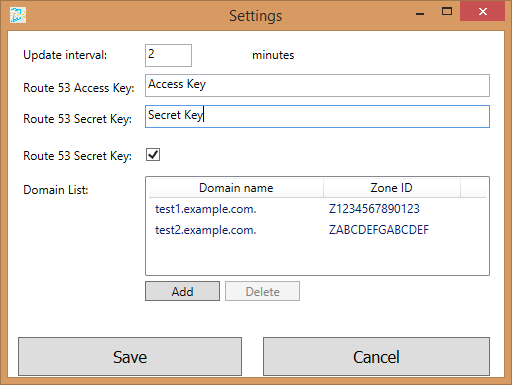
The project has a WPF user interface and a Windows service. Both are using the same library (DynDns53.Core) so the functionality is the same. Using the user interface is pretty straightforward.
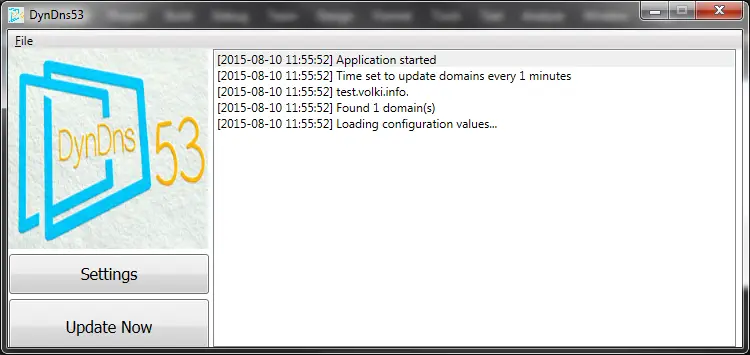
Just add your AWS keys that have access privileges to your domains. You can set it to run at system start so you don’t have to start it manually.
I built the Windows service using Topshelf. To install it, build the application and on an elevated command prompt just run
DynDns53.Service.exe install
Similarly to uninstall:
DynDns53.Service.exe uninstall
What’s missing
- Landing page: I’ll update the project details on the site generated by GitHub Pages.
- Mac/Linux support: As the worlds are colliding I’d like to discover what I can do with the new .NET Core runtime. Since this is a simple project I think it’s a good place to start