Playing with Microsoft Band
I bought this about 6 months ago and in this post I’ll talk about my experiences so far. They released version 2 of it in last November so I thought I should write about it before it gets terribly outdated!
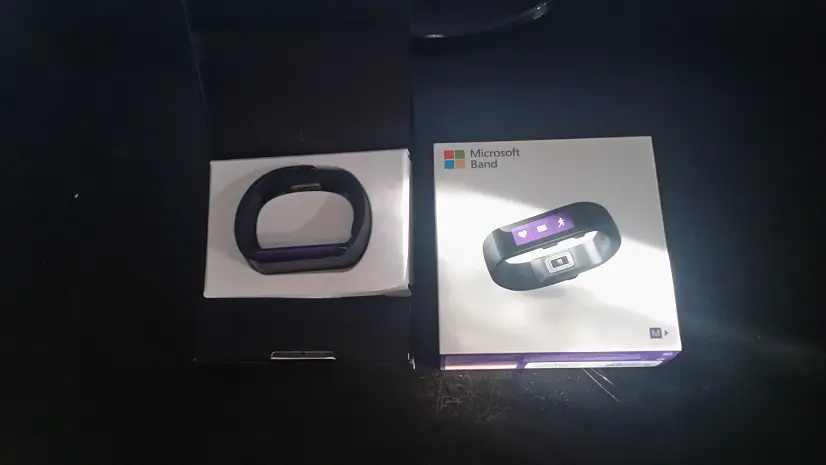
Choosing the correct size
It comes in 3 sizes: Small, Medium and Large and finding the correct size is the first challenge. They seem to have improved the sizing guide for version 2. In the original one they didn’t mention the appropriate size for wrist’s circumference.
To have the same effect I followed someone’s advice on a forum regarding the circumferences. Downloaded a printable ruler to measure mine. It was at the border of medium and laarge and I decided to go with medium but even at the largest setting it’s not comfortable and irritates my skin. Most of the time I have to wear it on top of a large plaster
Wearing notes
I hope they fixed it in v2 but the first generation Band is quite bulky and uncomfortable. To be honest most of the time I just kept wearing it because I had spent £170 and didn’t come to terms with making a terrible investment. I wear it when I’m walking but as soon as I arrive at home or work I take it off because it’s almost impossible to type something with it.
Band in action
For solely getting fitness data purposes you can use it without pairing with your phone but pairing is helpful as you can read your texts on it, see emails and answer calls.
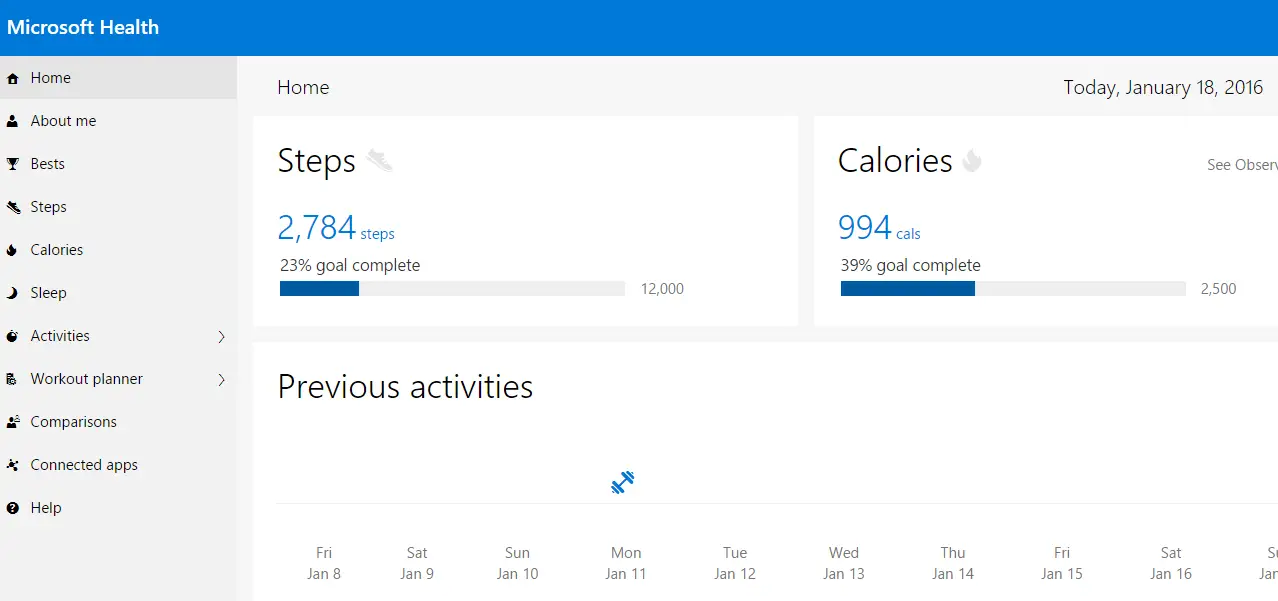
I also installed the Microsoft Health app and started using Microsoft Health dashboard:
Troubleshooting
As soon as I started using it I noticed a discrepancy with the step count on the Microsoft Health dashboard. Turns out by default it was using phone’s motion tracker as well so it was doubling my steps. After I turned it off started getting the exact same results as on Band.
![]()
Developing with Band and Cloud API
Recording data about something helps tremendously to make it manageable. That’s why I like using these health & fitness gadgets. But of course it doesn’t mean much if you don’t make sense of that data.
In my sample application I used Microsoft Health Cloud API to get the Band’s data. In order this to work Band needs to sync with Microsoft Health app on my phone and the app syncs with my MS account.
The API has a great guide here that can be downloaded as a PDF. It outlines all the necessary steps very clearly and in detail.
Long story short, firstly you need to go to Microsoft Account Developer Center and register an application. This will give you a client ID and client secret that will be used for OAuth 2.0 authentication.
API uses OAuth 2.0 authentication. After the token has been acquired, using the actual API is quite simple, in my example app I used /Summaries endpoint to get the daily step counts.
Implementation
The sample application is a simple WPF desktop application. Upon launch it checks if the user has an access token stored, if not then it shows the OAuth window and the user need to login to their account.
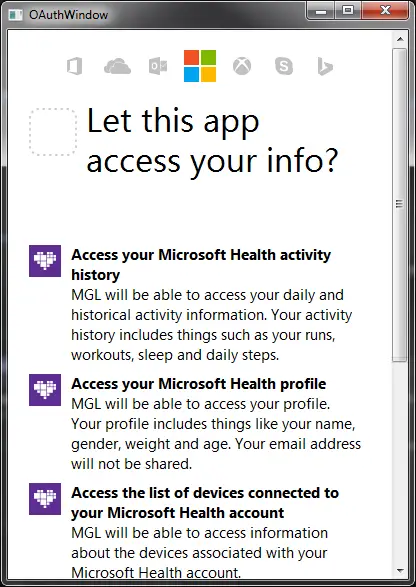
To let the user login to their Microsoft account I added a web browser control to a window and navigated to authorization page:
string authUri = $"{baseUrl}/oauth20_authorize.srf?client_id={Settings.Default.ClientID}&scope={_scope}&response_type=code&redirect_uri={_redirectUri}";
webBrowser.Navigate(authUri);
Once the authorization is complete, the web browser is redirected to with a query parameter code. This is not the actual token we need. Now, we need to go to another URL (oauth20_token.srf) with this code and client secret as parameters and redeem the actual access token:
private void webBrowser_Navigated(object sender, System.Windows.Navigation.NavigationEventArgs e)
{
    if (e.Uri.Query.Contains("code=") && e.Uri.Query.Contains("lc="))
    {
        string code = e.Uri.Query.Substring(1).Split('&')[0].Split('=')[1];

        string authUriRedeem = $"/oauth20_token.srf?client_id={Settings.Default.ClientID}&redirect_uri={_redirectUri}&client_secret={Settings.Default.ClientSecret}&code={code}&grant_type=authorization_code";

        var client = new RestClient(baseUrl);
        var request = new RestRequest(authUriRedeem, Method.GET);
        var response = (RestResponse)client.Execute(request);
        var content = response.Content;

        // Parse content and get auth code
        Settings.Default.AccessToken = JObject.Parse(content)["access_token"].Value<string>();
        Settings.Default.Save();

        Close();
    }
}
After we get the authorization out of the way we can actually call the API and get some results. It’s a simple GET call (https://api.microsofthealth.net/v1/me/Summaries/daily) and the response JSON is pretty straightforward. The only thing to keep in mind is to add the access token to Authorization header:
request.AddHeader("Authorization", $"bearer {Settings.Default.AccessToken}");
Here’s a sample output for a daily summary:
{
	"userId": "67491ecc-c408-47b6-a3ad-041edb410524",
	"startTime": "2016-01-18T00:00:00.000+00:00",
	"endTime": "2016-01-19T00:00:00.000+00:00",
	"parentDay": "2016-01-18T00:00:00.000+00:00",
	"isTransitDay": false,
	"period": "Daily",
	"duration": "P1D",
	"stepsTaken": 2784,
	"caloriesBurnedSummary": {
		"period": "Daily",
		"totalCalories": 1119
	},
	"heartRateSummary": {
		"period": "Daily",
		"averageHeartRate": 77,
		"peakHeartRate": 88,
		"lowestHeartRate": 68
	},
	"distanceSummary": {
		"period": "Daily",
		"totalDistance": 232468,
		"totalDistanceOnFoot": 232468
}
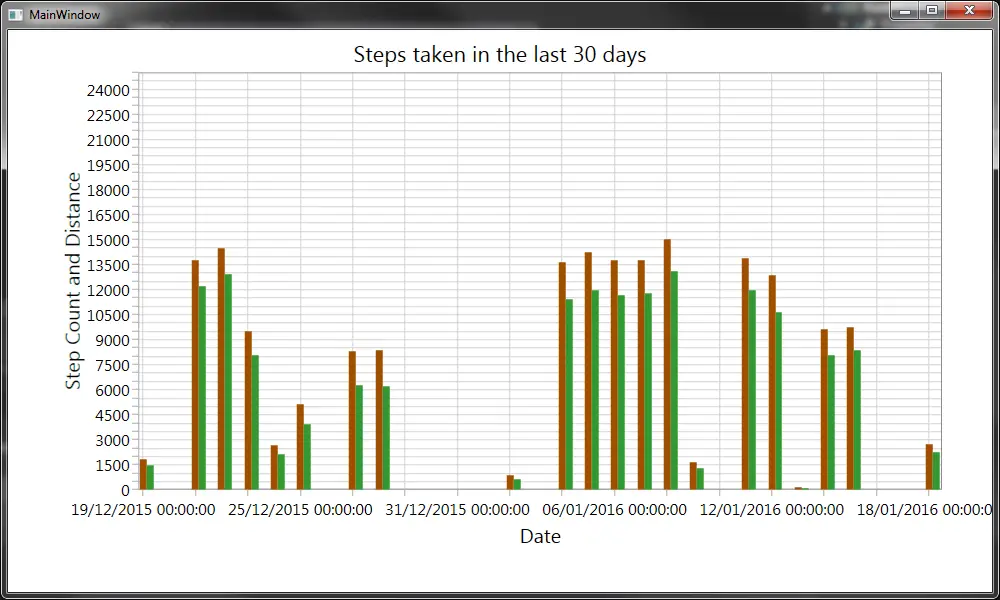
Since we now have the data, we can visualize it:
If you want to play with the sample code don’t forget to register an app and update the settings with your client ID and secret
Next
I guess the most fun would be to develop something that actually runs on the device. My next goal with my Band is to develop a custom tile using its SDK. I hope I can finish it while a first-gen device is still fairly relevant.