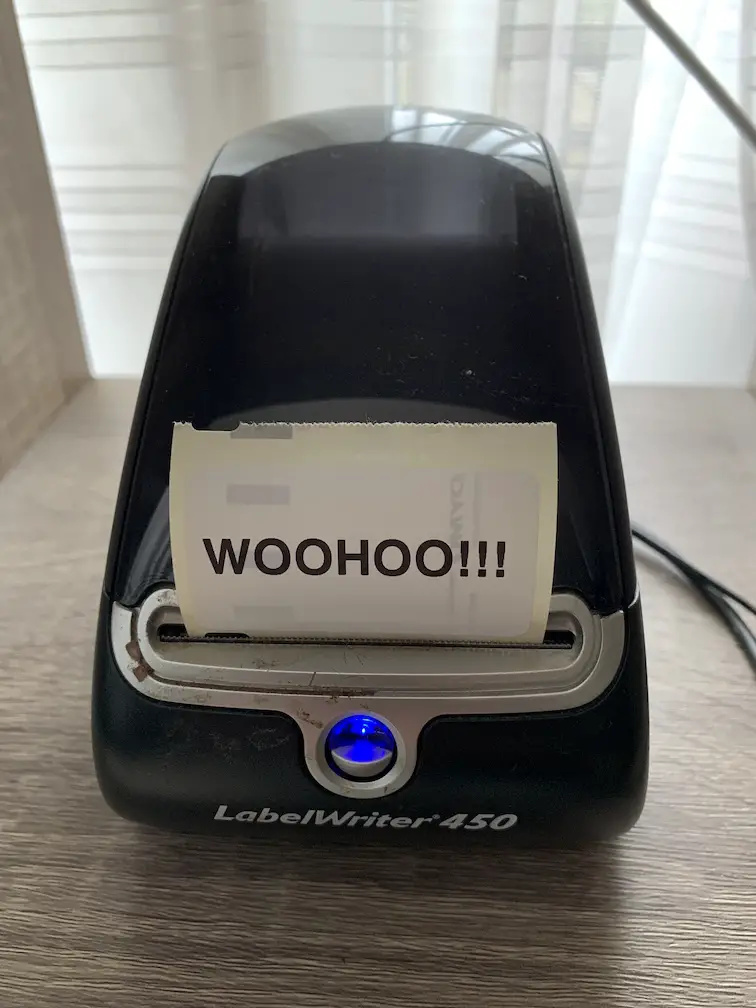
Using Dymo LabelWriter 450 with a Raspberry Pi
I have a Dymo LabelWriter 450 for years and I love using it. Especially it worked a miracle recently when I organised all ny shelves and bagged and labelled everything. To have the ability of keeping the printer online all the time and print easily I decided to plug it in a Raspberry Pi and share over the network. The steps below explain how it can be done easily:
Step 01: Plug in the printer to the Pi via USB
Simply plug it in and power it on.
Step 02:
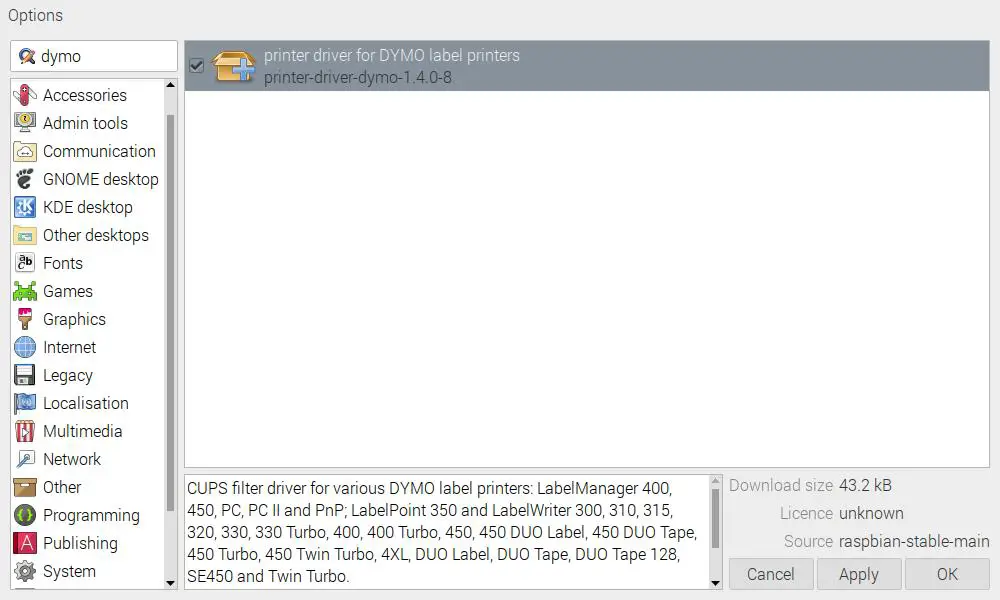
- Click Pi -> Preferences -> Add / Remove Software
- Search “dymo”
- Tick the checkbox next to “printer driver for DYMO label printers”
- Click Apply and wait for the installation to complete
Step 03: Configure printer
- On the Pi itself, open a browser and go to “http://localhost:631”
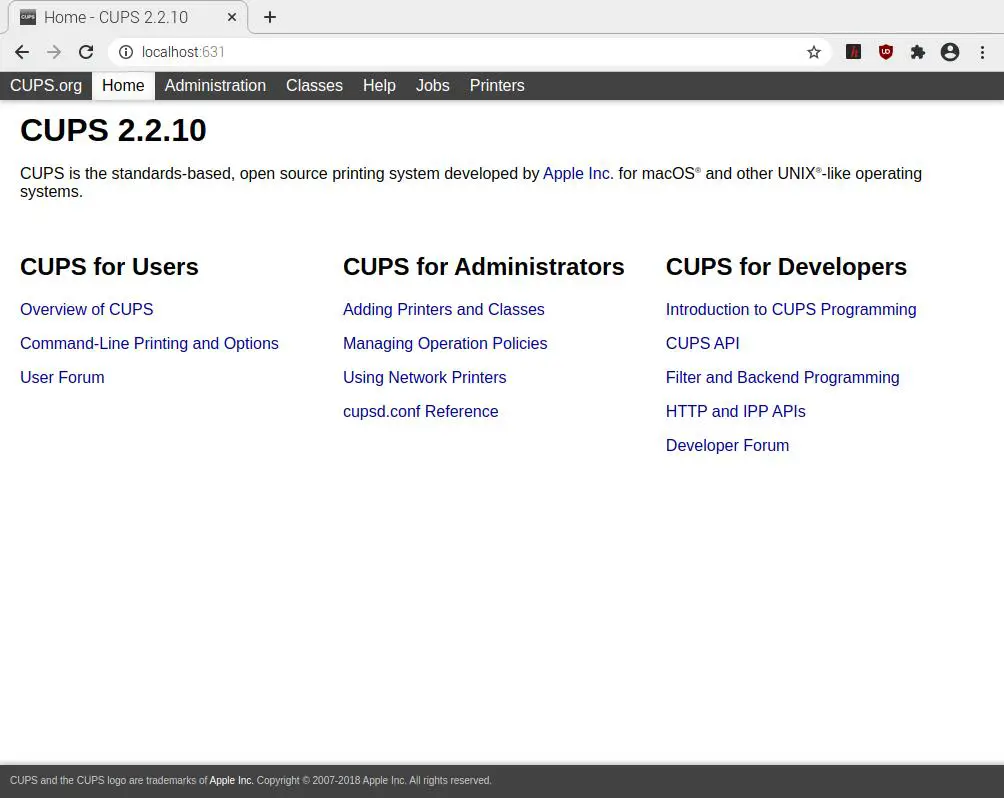
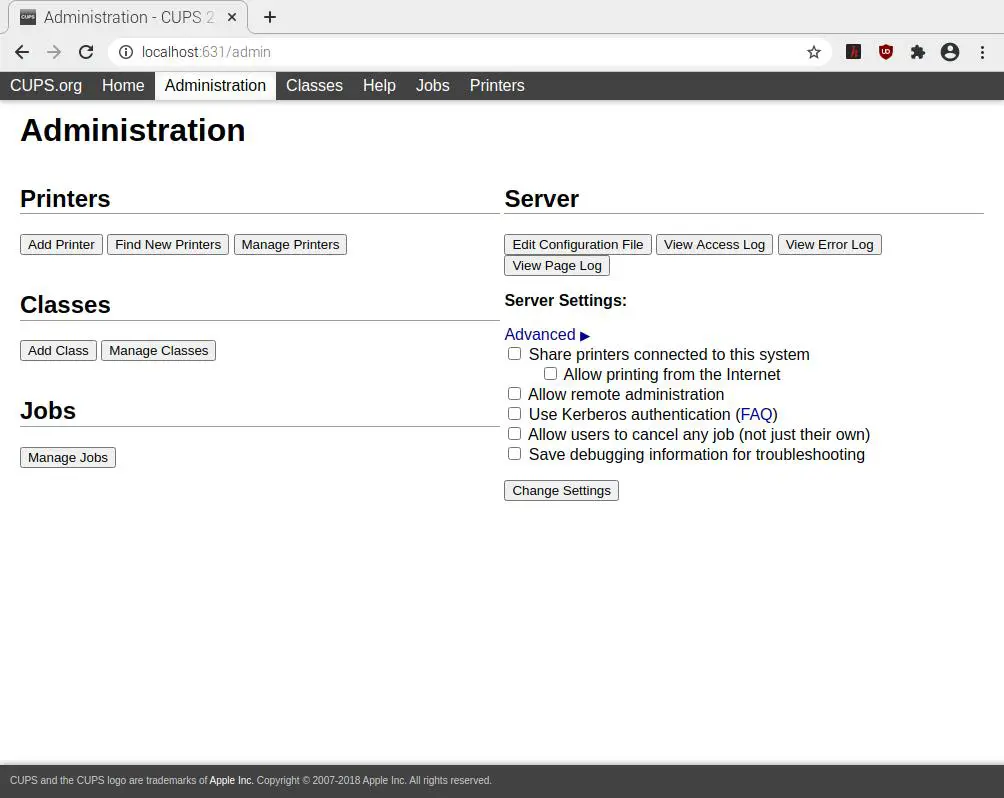
- Click Administration and Add Printer. In the username/password prompt, use the account you used to log in (most likely username “pi”)
- You should see DYMO printer in the list of Local Printers
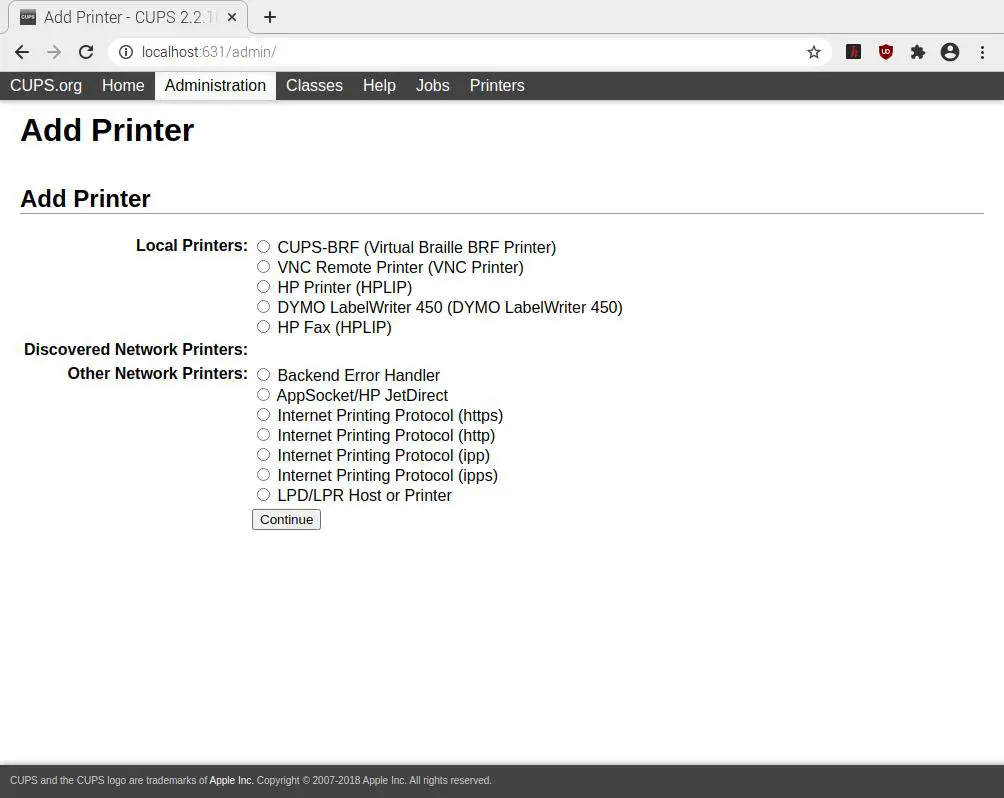
- Change the name of the printer if you like and click Continue
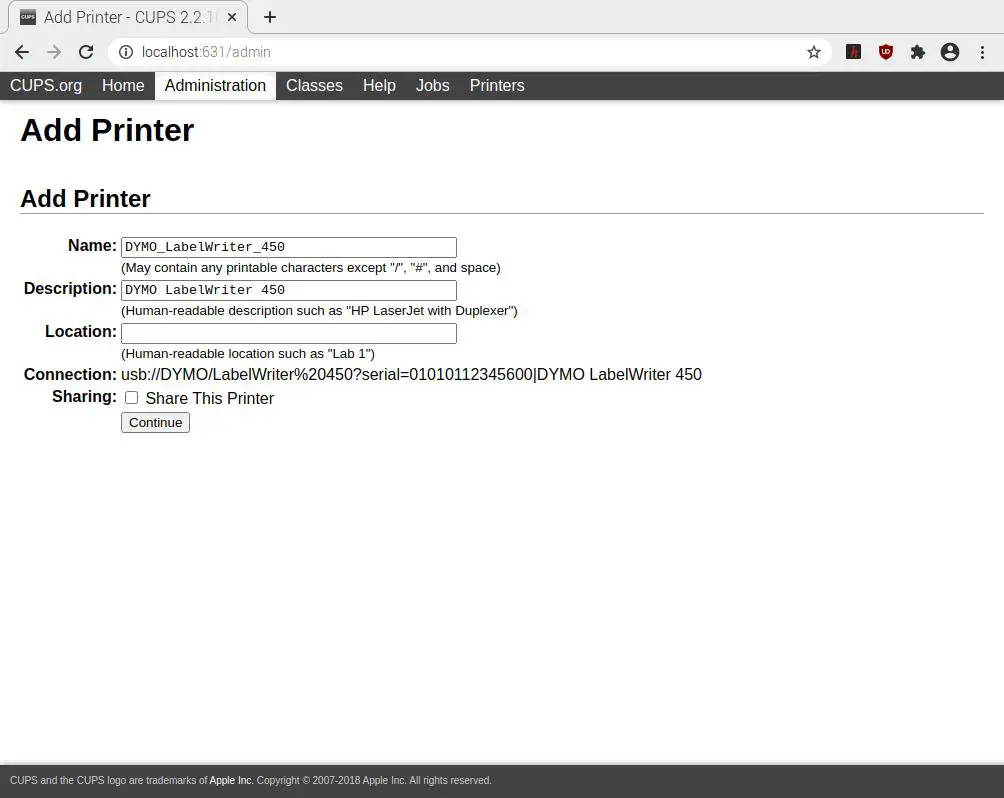
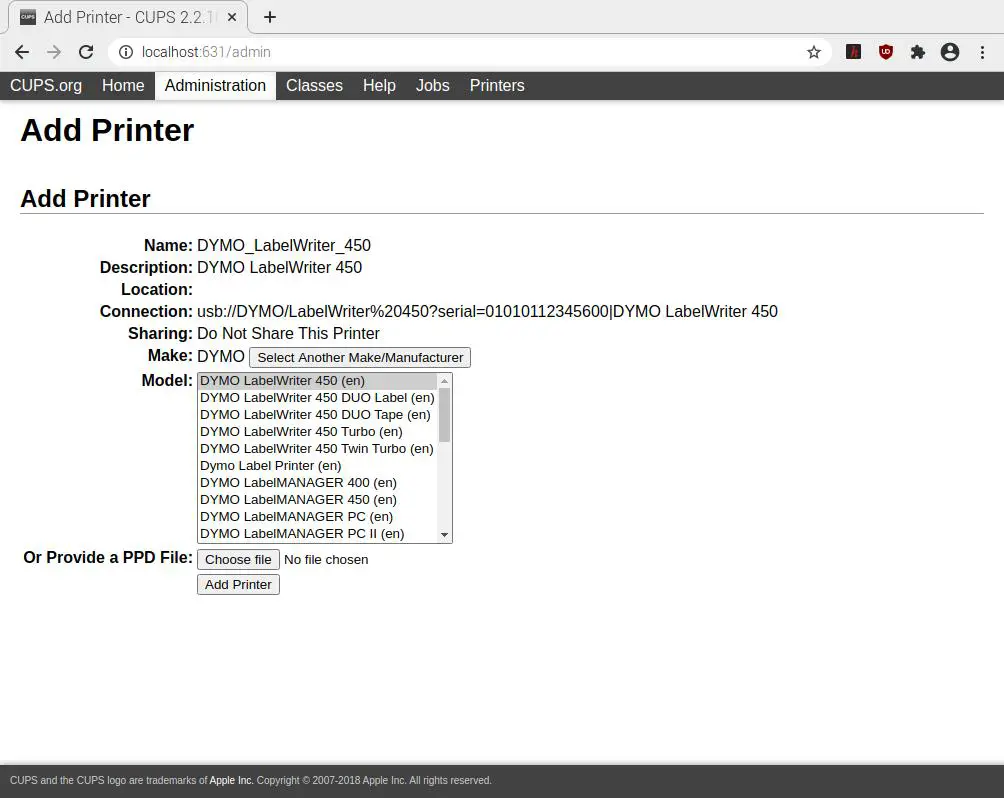
- Change the drivers if it’s incorrect and click Add Printer
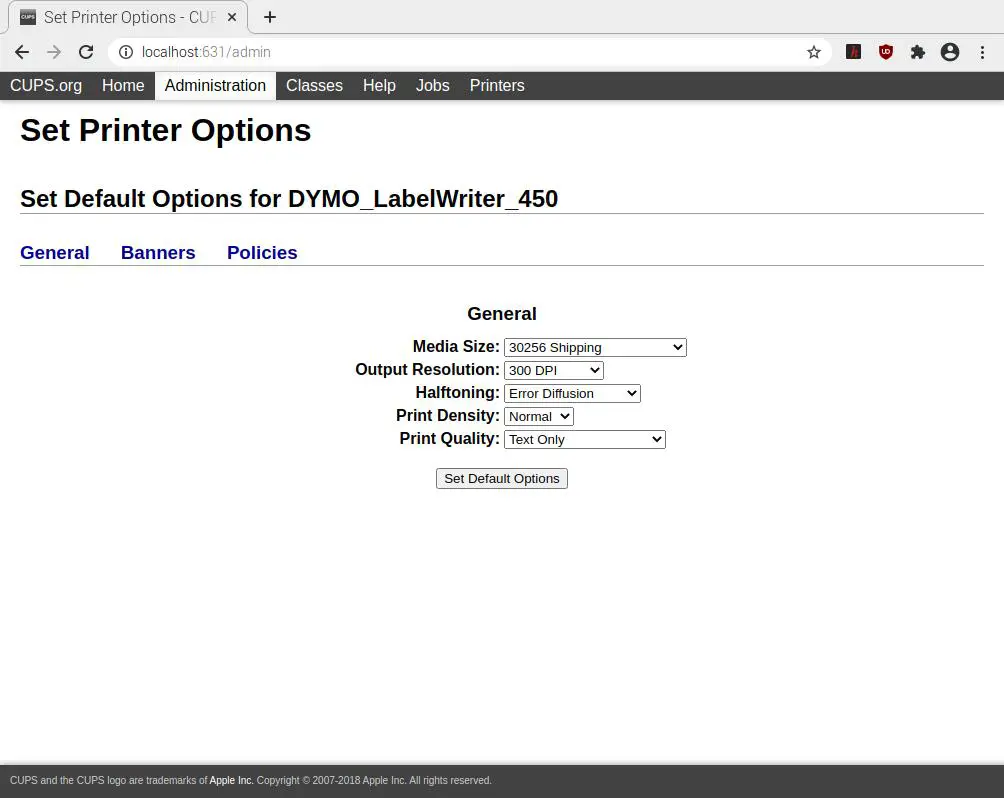
- Accept or modify the default options and click Set Default Options
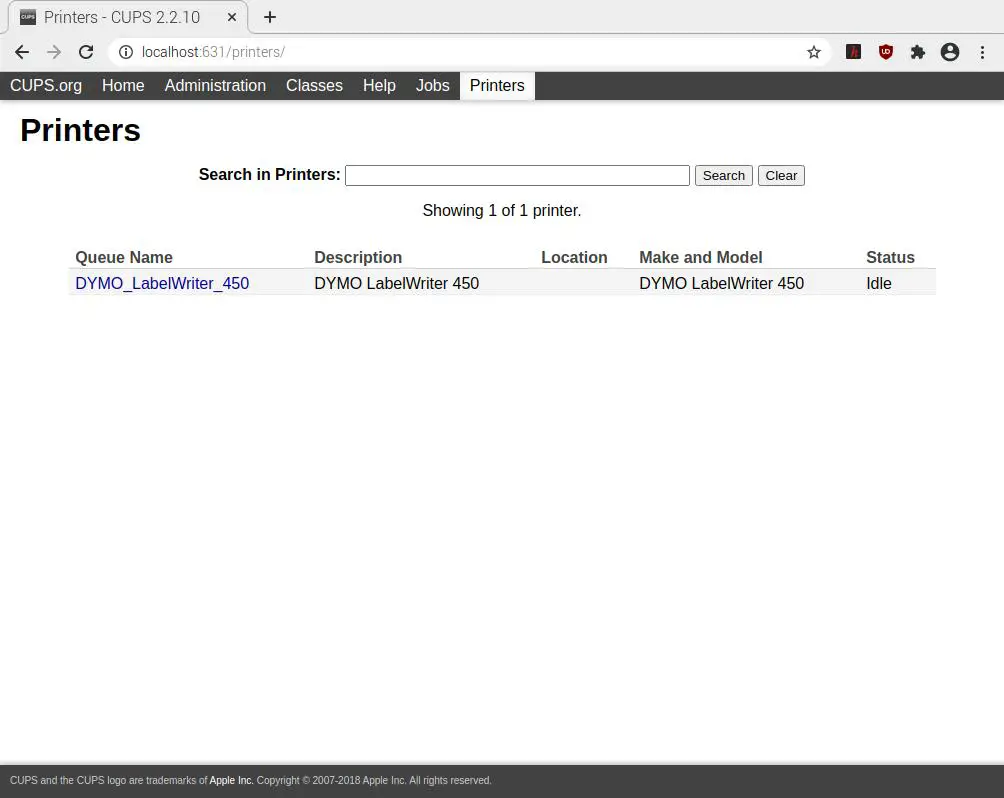
- Confirm the printer is listed in the printers list
Step 04: Share the printer
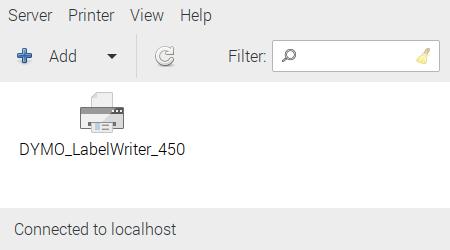
- Click Pi -> Preferences -> Print Settings
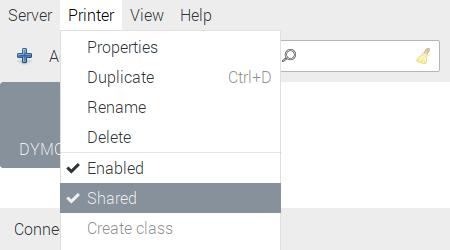
- From Printer menu select Shared to share it over the network
Step 05: Setup client machine
Option 1: Add network printer
- Download and install DYMO software
- Upon first run, application asks to run Add Network Printer Utility
- Click Yes
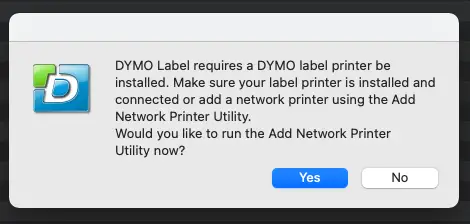
For me, this method did work on one machine and did not work on another one. So for the other machine I used Option 2
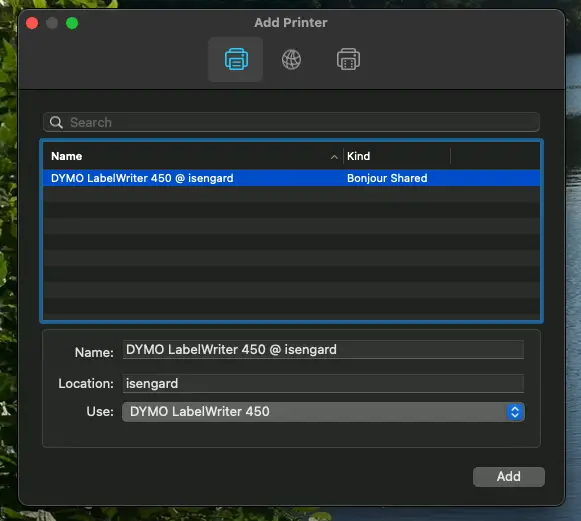
Option 2: Add printer using OS’s add printer functionality
I used a Mac for this but should be similar on Windows.
- Search for Printers & Scanners
- Click + button
- It should show the printer on the network:
Step 06: Test
Now that printer is recognized on the client machine, just design your labels and print using DYMO Label app.
