Developing a Web API with ASP.NET Core
Developing projects is fun and a great way to learn new stuff. The things is everything moves so fast, you constantly need to maintain the projects as well. In that spirit, I decided to re-write my old AngularJS DomChk53.
First, I developed an API. This way I won’t have to maintain my AWS Lambda functions. Even though nobody uses them, still opening a public API poses risks and maintenance hassle. Now everybody can run their own system locally using their own AWS accounts.
API Implementation
Full source code of the API can be found in DomChk53 repo under aspnet-api folder. There’s not much benefit in covering the code line by line but I want to talk about some of the stuff that stood out in one way or the other:
CS5001: Program does not contain a static ‘Main’ method” error
I started this API with the intention of deploying it to Docker so right after I created a new project I tested Docker deployment but it kept giving the error above. After some searching I found that the Dockerfile was in the wrong folder! I moved it one level up as suggested in this answer and it worked like a charm!
Reading config values
I appreciated the ease of using configuration files. IConfiguration provider is provided out-of-the-box which handles appsettings.json config file.
So for example I was able to inject it easily:
public TldService(IConfiguration configuration, IFetchHtmlService fetchHtmlService)
{
    this.configuration = configuration;
    this.fetchHtmlService = fetchHtmlService;
}
and use it like this:
var awsDocumentationUrl = configuration["AWS.DocumentationURL"];
Using dependency injection
ASP.NET Core Web API has built-in dependency injection so when I needed to use it all I had to do was register my classes in ConfigureServices method:
// This method gets called by the runtime. Use this method to add services to the container.
public void ConfigureServices(IServiceCollection services)
{
    services.AddMvc().SetCompatibilityVersion(CompatibilityVersion.Version_2_1);

    services.AddTransient<ITldService, TldService>();
    services.AddTransient<IFetchHtmlService, FetchHtmlService>();
}
Documentation
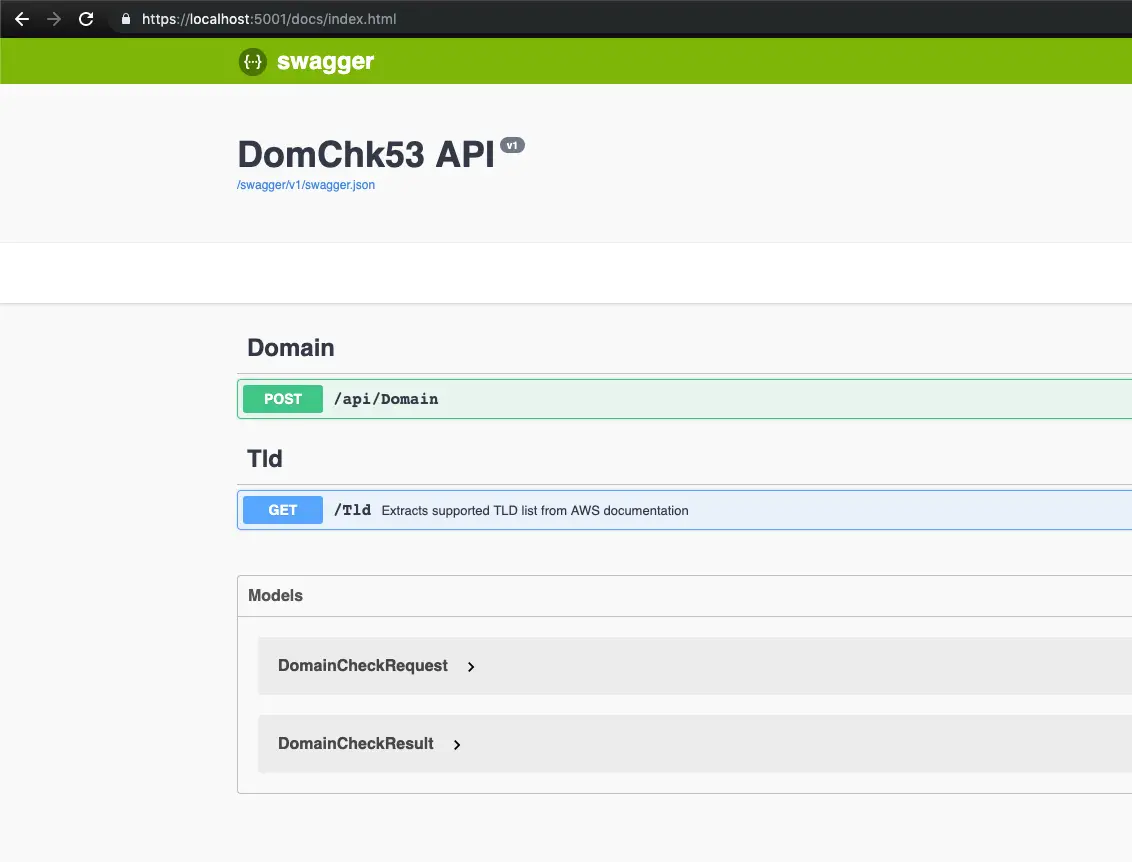
Adding Swagger documentation was a breeze. I just followed the steps in the documentation and now I have a pretty documentation. More on that in the usage section below.
AWS Implementation
Even though the code will run locally in a Docker container, you still need to setup an IAM user with the appropriate permissions. So make sure the policy below is attached to the user:
{
    "Version": "2012-10-17",
    "Statement": [
        {
            "Sid": "VisualEditor0",
            "Effect": "Allow",
            "Action": "route53domains:CheckDomainAvailability",
            "Resource": "*"
        }
    ]
}
Usage
Nice thing about Swagger is it can used as a full-blown API client as well. So instead of developing a dummy client I just used Swagger UI for simple domain availability enquiries. This is until I develop a better frontend on my own. For now at least it works.
To use Swagger, simply run the Domchk53.API application and change the URL to https://localhost:{port number}/docs, port number being whatever your local web server is running on.

curl usage:
Windows:
curl -i -X POST -H "Content-Type: application/json" -d "{\"domainList\": [\"volkan\"], \"tldList\": [\"com\", \"net\"]}" https://localhost:5001/api/domain
Mac:
curl --insecure -X POST -H "Content-Type: application/json" -d '{"domainList": ["volkan"], "tldList": ["com", "net"]}' https://localhost:5001/api/domain
Example Test data:
This is just a quick reference to be used as template:
{
  "domainList": ["domain1", "domain2"],
  "tldList": ["com", "net"]
}
{ "domainList": ["volkan"], "tldList": ["com", "net"] }