
Automated Email Processing with AWS SES and Lambda
A few years ago AWS announced a new SES feature: Incoming Emails. So far I have only used it once to receive domain verification emails to an S3 bucket but haven’t built a meaningful project. In this blog post my goal is to develop a sample project to demonstrate receiving emails with SES and processing those emails automatically by triggering Lambda functions.
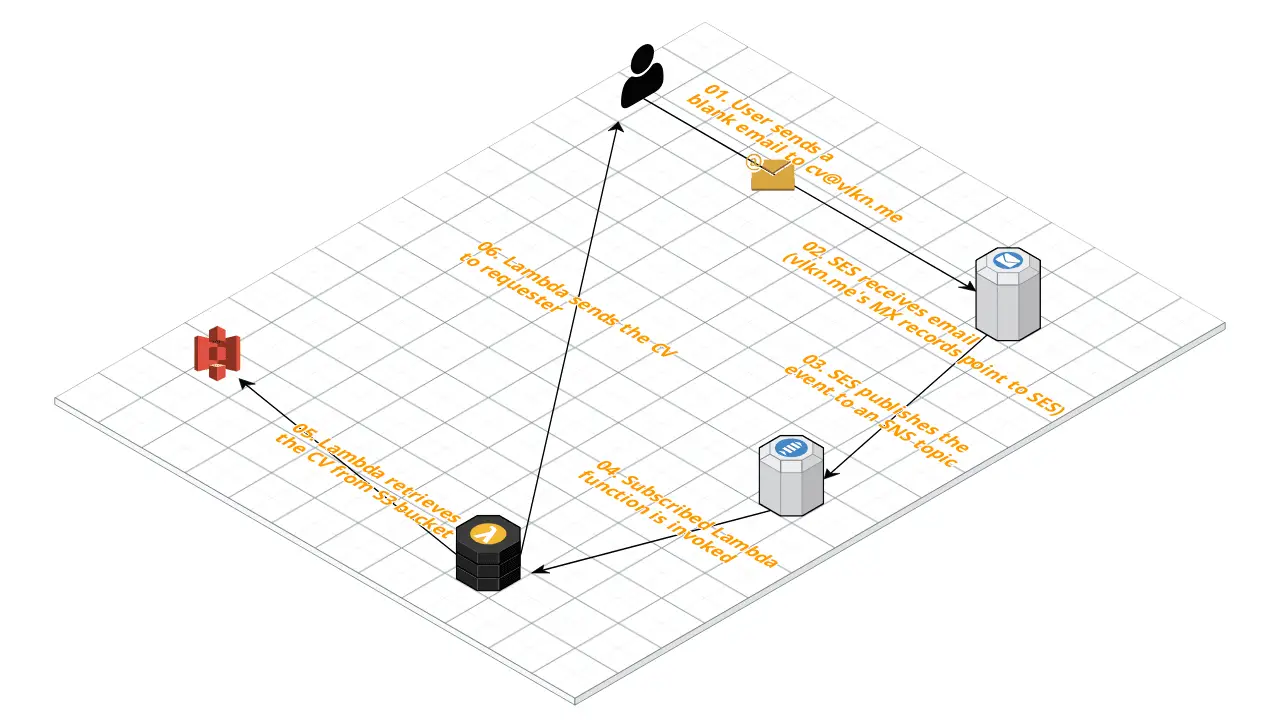
As a demo project I will build a system that automatically responds to a sender with my latest CV as shown in the diagram below
Receiving Email with Amazon Simple Email Service
Amazon Simple Email Service (SES) is Amazon’s SMTP server. It’s core functionality has been sending emails but Amazon kept adding more features such as using templates and receiving emails.
Step 1: Verify a New Domain
First, we need a verified domain to receive emails. If you already have one you ca skip this step.
- Step 1.1: In the SES console, click Domains –> Verify a New Domain
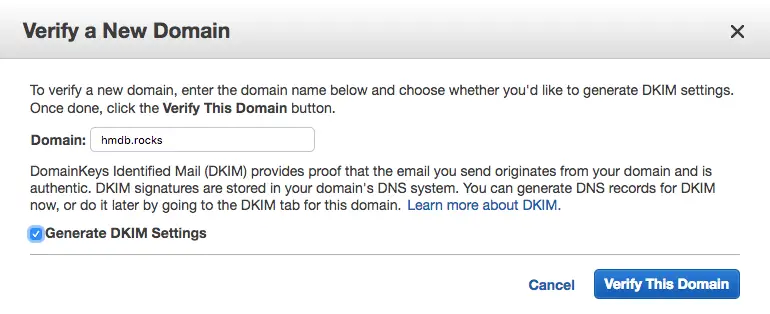
- Step 1.2: Enter the domain name to verify and click Verify This Domain
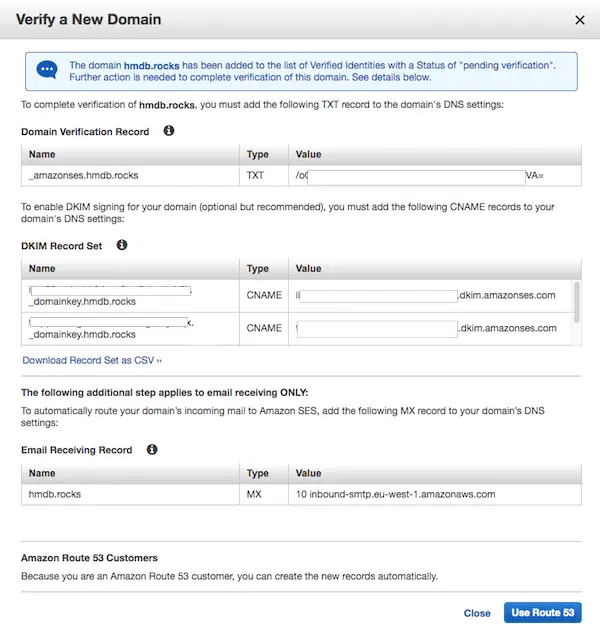
- Step 1.3: In the new dialog click Use Route 53
(This is assuming your domain is in Route53. If not you have to verify it by other means)
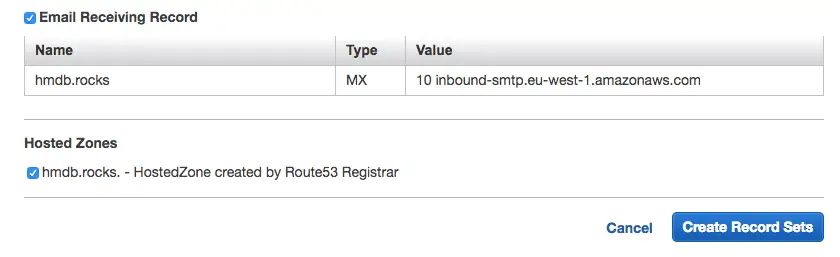
- Step 1.4: Make sure you check Email Receiving Record checkbox and proceed
- Step 1.5 Confirm verification status
Go back to Domains page in SES console and make sure the verification has been completed successfully

In my example, it only took about 2 minutes.
Step 2: Create a Lambda function to send the CV
In the next step we will continue to configure SES to specify what to do with the received email. But first we need the actual Lambda function to do the work. Then we will connect this to SES so that it runs everytime when we receive an email to a specific email.
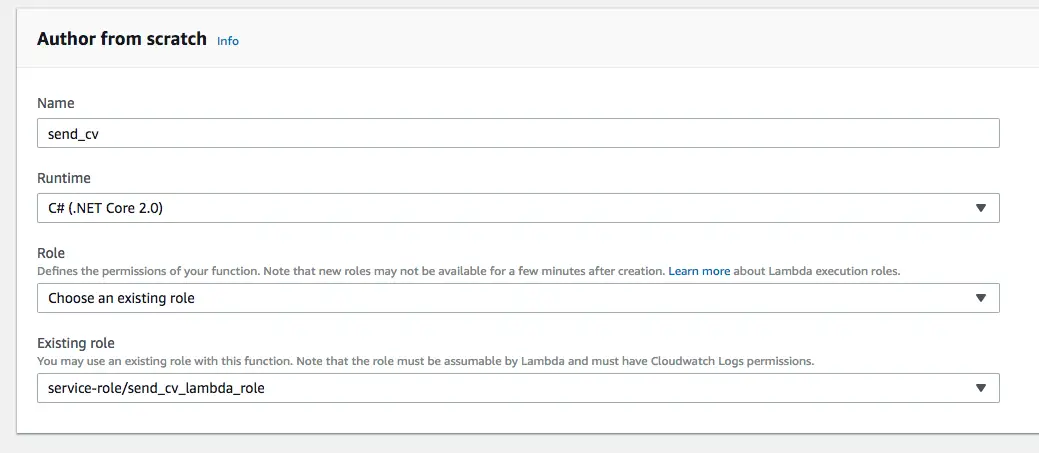
- Step 2.1: Create a Lambda function from scratch
- Step 2.2: Create an SNS topic
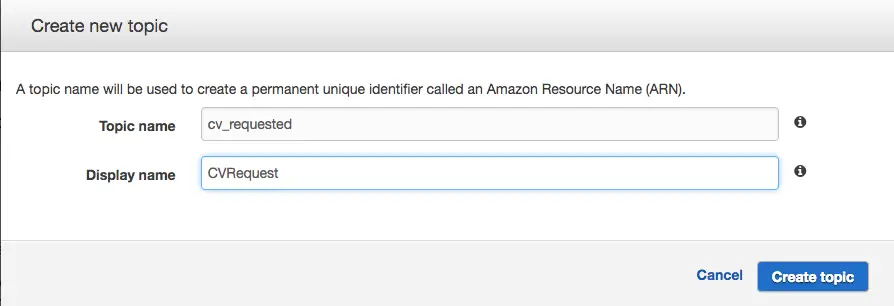
SES will publish emails to this topic. We will do the plumbing and give necessary permissions later.
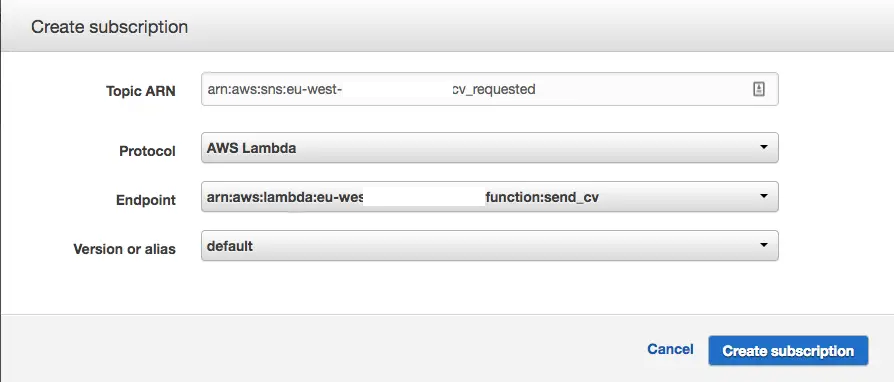
- Step 2.3: Create subscription for the Lambda function to SNS topic
Now we tie the topic to our Lambda by creating a subscription
- Step 2.4: Attach necessary permissions to the new role
In my example, I store my CV in an S3 bucket. So the policy would need to receive SNS notifications, read access to S3 bucket and permissions to send emails.
By default a new Lambda role comes with AWSLambdaBasicExecutionRole attached to it
First add this to have read-only access to a single bucket:
{
    "Version": "2012-10-17",
    "Statement": [
        {
            "Sid": "VisualEditor0",
            "Effect": "Allow",
            "Action": [
                "s3:GetObjectAcl",
                "s3:GetObject",
                "s3:ListBucket"
            ],
            "Resource": [
                "arn:aws:s3:::{BUCKET NAME}",
                "arn:aws:s3:::*/*"
            ]
        }
    ]
}
Then this to be able to send emails
{
    "Version": "2012-10-17",
    "Statement": [
        {
            "Sid": "VisualEditor0",
            "Effect": "Allow",
            "Action": [
                "ses:SendEmail",
                "ses:SendTemplatedEmail",
                "ses:SendRawEmail"
            ],
            "Resource": "*"
        }
    ]
}
I like to keep these small, modular policies so that I can reuse then in other projects.
After adding the policies you should be able to see these in your Lambda function’s access list when you refresh the function’s page:

Step 3: Develop the Lambda function
In this exmample I’m going to use a .NET Core and C# 2.0 to create the Lambda function.
- Step 3.1: Install Lambda templates
In Windows, AWS Lambda function templates come with AWS Visual Studio extension but in Mac we have to install them via command line.
dotnet new -i Amazon.Lambda.Templates::*
- Step 3.2: Create Lambda function
dotnet new lambda.EmptyFunction --name SendEmailWithAttachmentFromS3 --profile default --region eu-west-1
- Step 3.3:
Now it’s time for the actual implementation. I’m not going to paste the whole code here. Best place to get it is its GitHub repository
- Step 3.4 Deploy the function
Create an IAM user with access to Lambda deployment and create a profile locally named deploy-lambda-profile.
dotnet restore
dotnet lambda deploy-function send_cv
Step 4: Create a Receipt Rule
Now that we have a verified domain, we need a rule to receive emails.
In my example project, I’m going to use an email address that will send my latest CV to a provided email adress.
-
Step 4.1: In the Email Receiving section click on Rule Sets –> Create a Receipt Rule
-
Step 4.2: Add a recipient
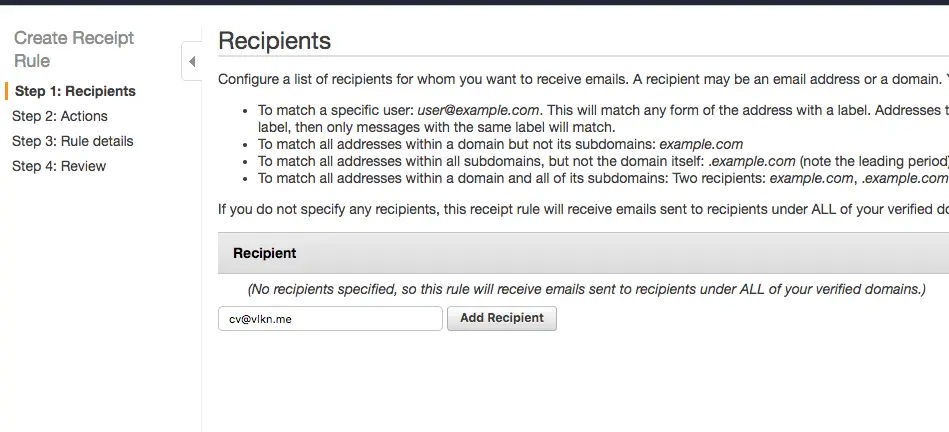
- Step 4.3: Add an Action
Now we choose what to do when an email is received. In this example I want it to be published to an SNS topic that I created earlier. I could invoke the Lambda function directly but leveraging publish/subscribe gives me more flexibility as in I can change the subscriber in the future or add more stuff to do without affecting the rule configuration.
Since it supports multiple actions I could choose to invoke Lambda directly and add more actions here later on if need be but I’d like to use a standard approach which is all events are published to SNS and the interested parties subscribe to the topics.

I chose UTF-8 because I’m not expecting any data in the message body so it doesn’t matter too much in this example.
- Step 4.4 Give it a name and create the rule.
Step 4: Test end-to-end
Now that it’s all set up, it is time to test.
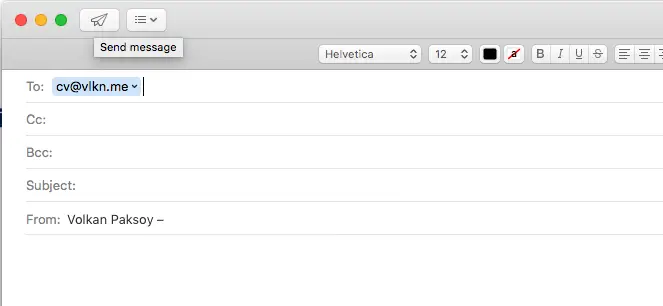
- Step 4.1: Send a blank email to cv@vlkn.me (Or any other address if you’re setting up your own)
- Step 4.2:
Then after a few seconds later, receive an email with the attachment:
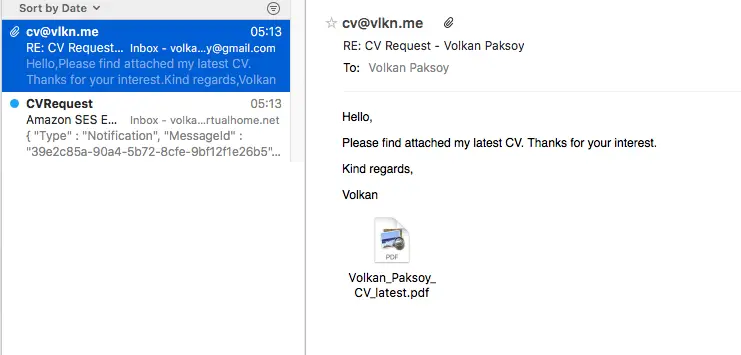
The second email is optional. Basically, I creted an email subscriber too. So that whenever a blank email is received I get notified by SNS directly. This helps me to keep an eye on traffic if there is any.