
DIY Streaming Service with Synology
I’ve been a Spotify customer for quite long time but recently realized that I wasn’t using it enough to justify 10 quid per month. Amazon made a great offer for 4 months subscription for only £0.99 and I’m trying that out now but the quality of the service didn’t impress so far. Then it dawned on me: I already have lots of MP3s from my old archives, I have a fast internet connection and I have a Synology. Why not just build my own streaming?
One device to rule them all: Synology
Everyday I’m growing more fond of my Synology and regretting for all that time I haven’t utilized it fully.
For streaming audio, we need the server and client software. The server side comes with Synology: Audio Station
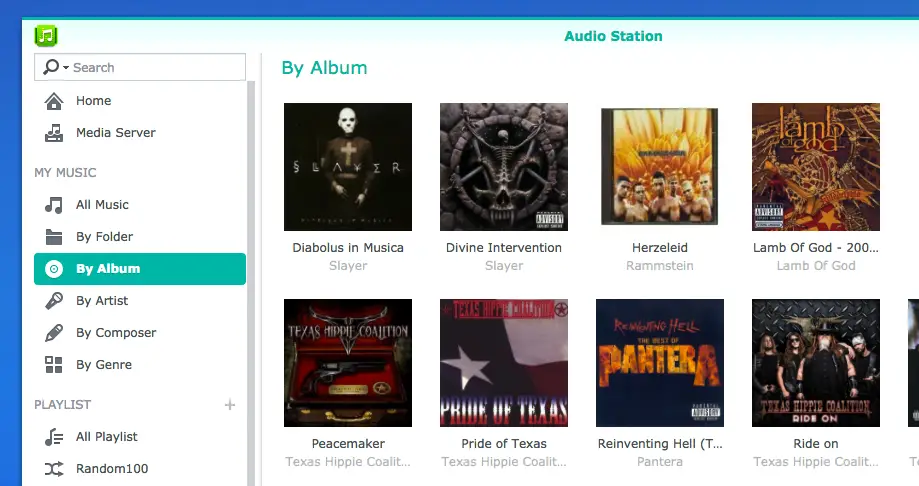
The Server
Using Synology Audio Station is a breeze. You simply connect to Synology over the network and copy your albums into the music folder. Try to have a cover art named as “cover.jpg” so that your albums shows nicely on the user interface.
The Client
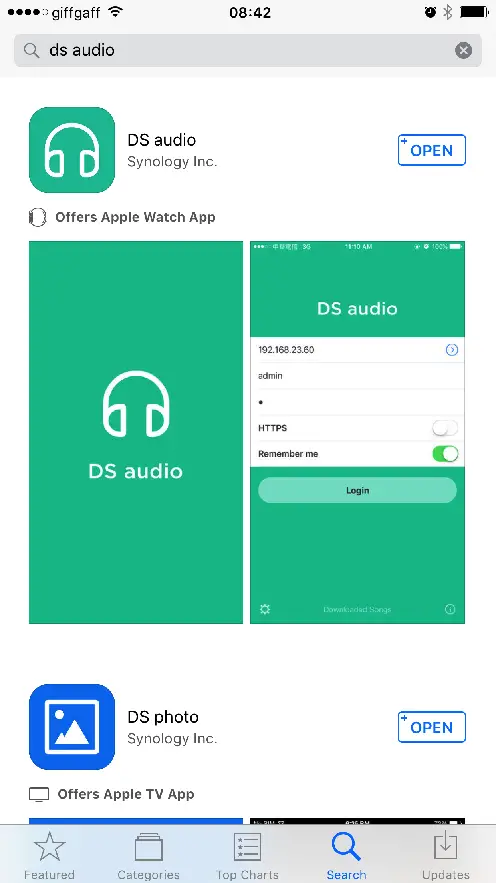
Synology has a suite of iOS applications which are available in the Apple App Store. The one I’m using for audio streaming is called DS Audio.
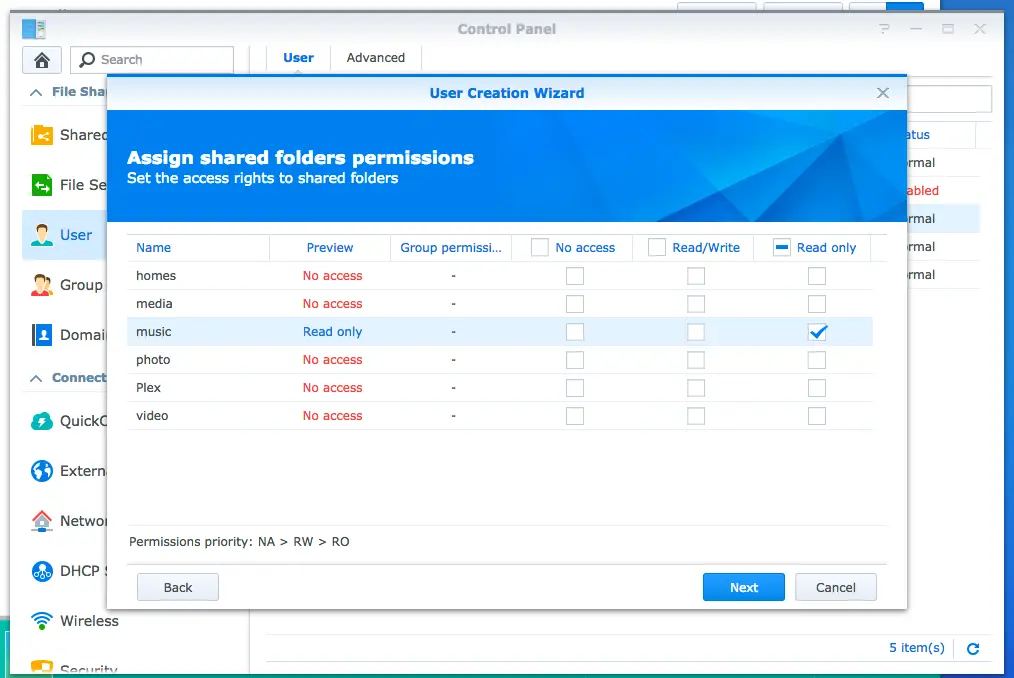
By using Synology’s Control Panel you can use a specific user for listening to music only. This way even if your account is compromised the attacker will only have read-only access to your music library.
Connecting to the server
There are two ways of connecting to your server:
- Dynamic DNS
- Quick Connect (QC)
Dynamic DNS is a builtin functionality but you’d need a Synology account. Basically your Synology pings their server so that it can detec the IP changes.
QC is the way I chose to go with. It’s a proprietary technology by Synology. The nice thing about QC is when you are connected to your local network it uses the internal IP so it doesn’t use mobile data. When you’re outside it uses the external IP and connects over the Internet.
Features
- You can download all the music you want from your own library without any limitations. There’s no limit set for manual downloads. For automatic downloads you can choose from no caching to caching everything or choose a fixed size from 250MB to 20GB.
- When you’re offline you don’t need to login. On login form there’s a link to Downloaded Songs so you can skip logging in and go straight to your local cache.
- You can pin your favourite albums to home screen.
- Creating a playlist or adding songs to playlists is cumbersome (on iPhone at least):
- Select a song and tap on … next to the song
- Tap Add. This will add your song to the play queue.
- Tap on Play button on top right corner.
- Tap playlist icon on top right corner.
- Tap the same icon again which is now on top left corner to go into edit mode
- Now tap on the radio buttons on the left of the songs to select.
- When done, tap on the icon on the bottom left corner. This will open the Add to Playlist screen (finally!)
- Here you can choose an existing playlist or create a new one by clicking + icon.
Considering how easy this can be done on Spotify client this really needs to be improved.
- In the library or Downloaded Songs sections, you can organise your music by Album, Artist, Composer, Genre and Folder. Of course in order for Artist/Composer/Genre classification to work you have to have your music properly tagged.
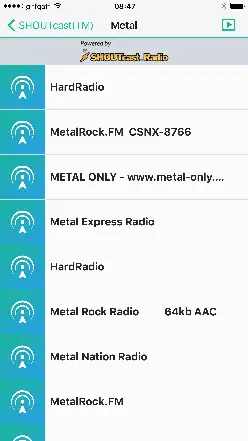
- The client has Radio featue which has builtin support for SHOUTCast
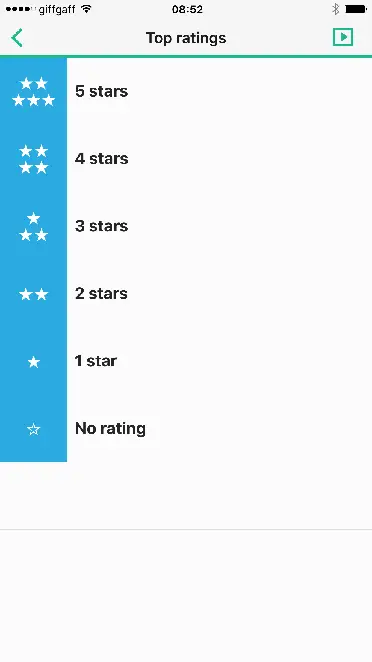
- You can rate songs. There’s a built-in Top Rated playlist. By rating them you can play your favourite songs without needing them to be added to playlists which is a neat feature.
Conclusion
I think having full control over my own music is great and even though DS Audio client has some drawbacks it’s worth it as it’s completely free. Also you can just set it up as a secondary streaming service in addition to your favourite paid one just in case so that you have a backup solution.