Free SSL certificates with AWS Certificate Manager
Paying a ton of money to a digital certificate, which costs nothing to generate, has always bugged me. Fortunately it isn’t just me and recently I heard about Let’s Encrypt.
I was just planning to give it a go but I noticed a new service on AWS Management Console:
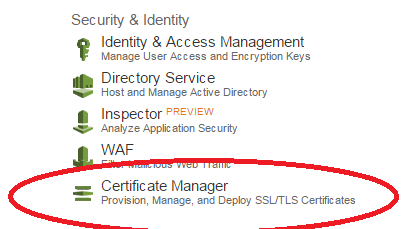
Apparently AWS is now issuing free SSL certificates, which was too tempting to pass on so I decided to dive in.
Enter AWS Certificate Manager
Requesting a certificate just takes seconds as it’s a 3-step process:
First, enter the list of domains you want the certificates for:
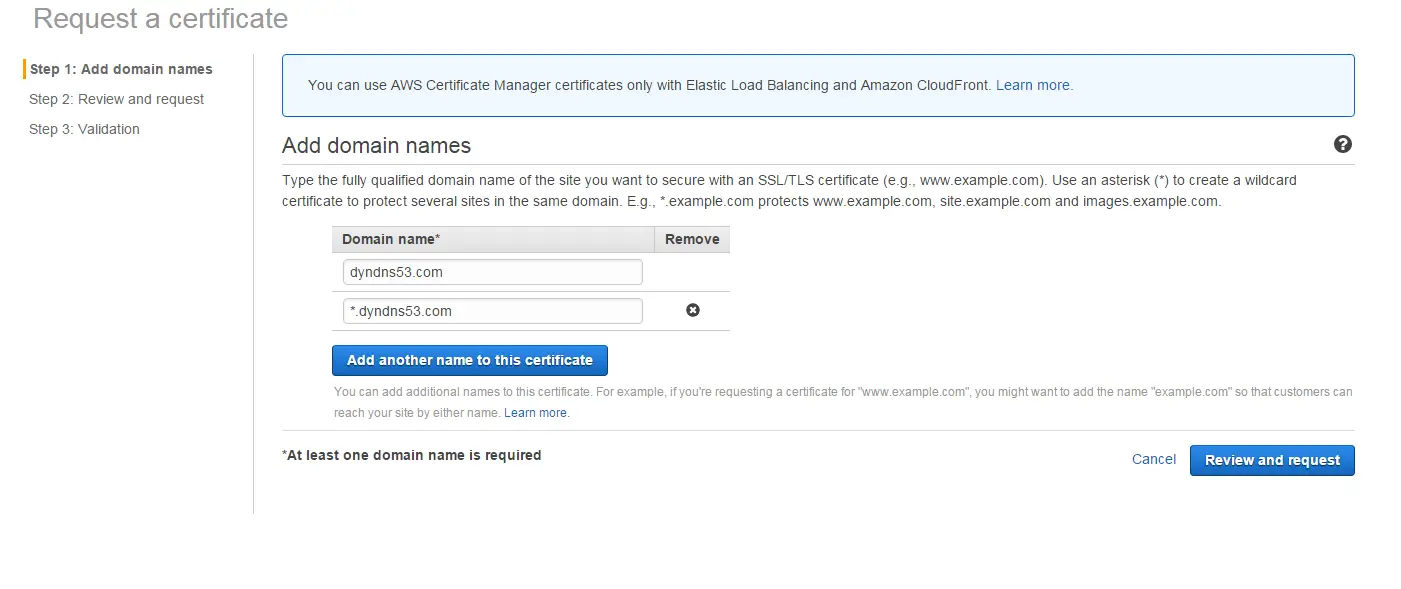
Wildcard SSL certificates don’t cover the zone apex so I had to enter both. (Hey it’s free so no complaints here!)
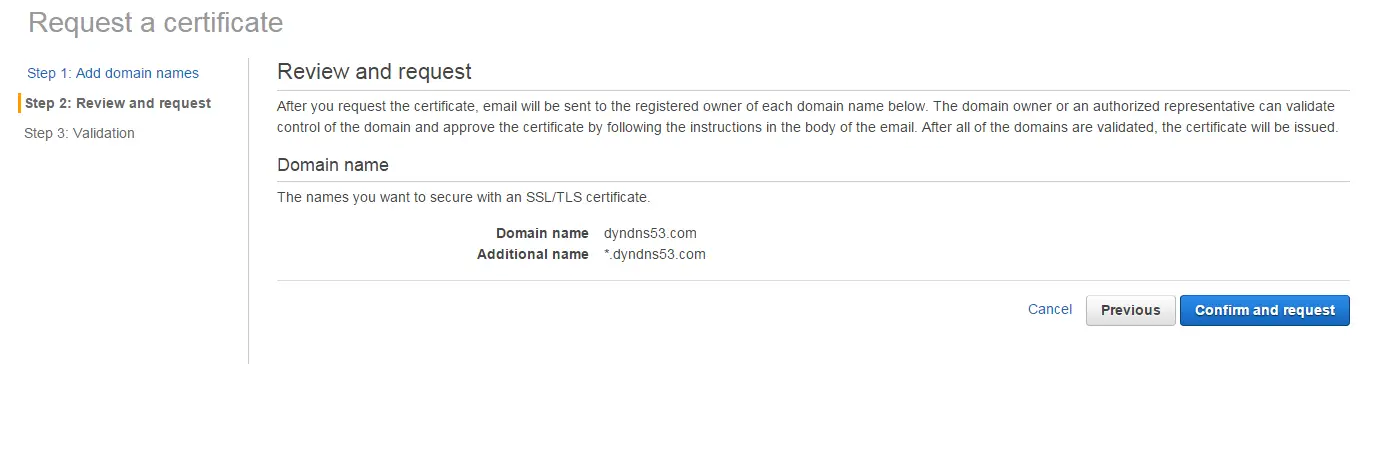
Then review and confirm and request has been made:
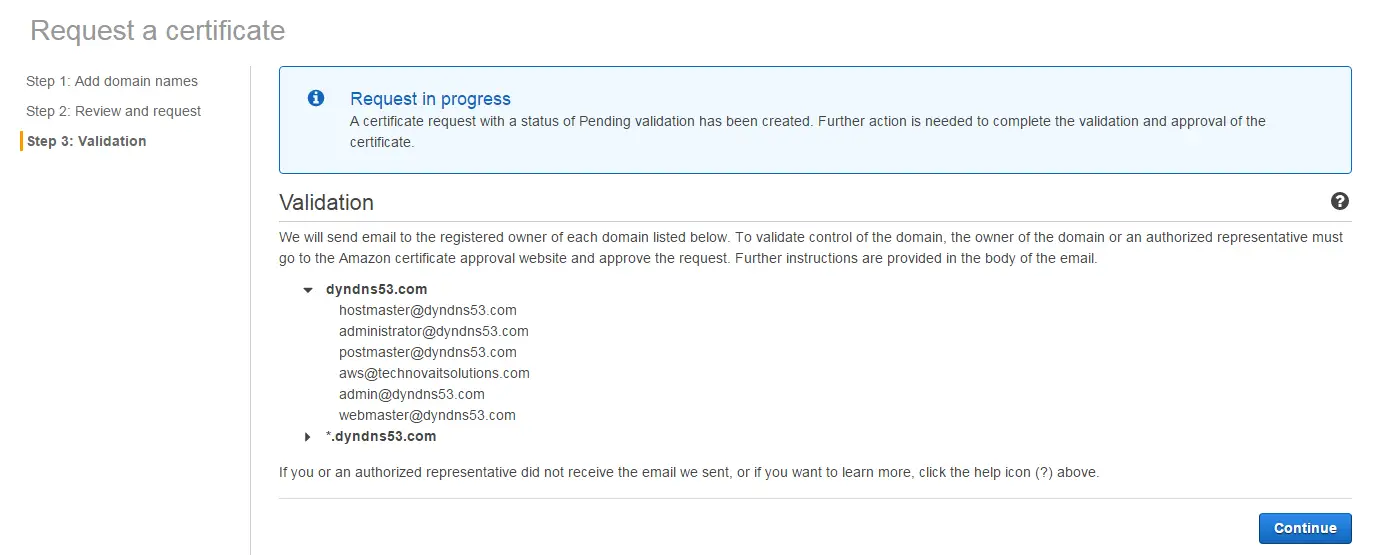
A verification email has been sent to the email addresses listed in the confirmation step.
At this point I could define MX records and use Google Apps to create a new user and receive the verification email. The problem is I don’t want all this hassle and certainly don’t need another email account to monitor.
SES to the rescue
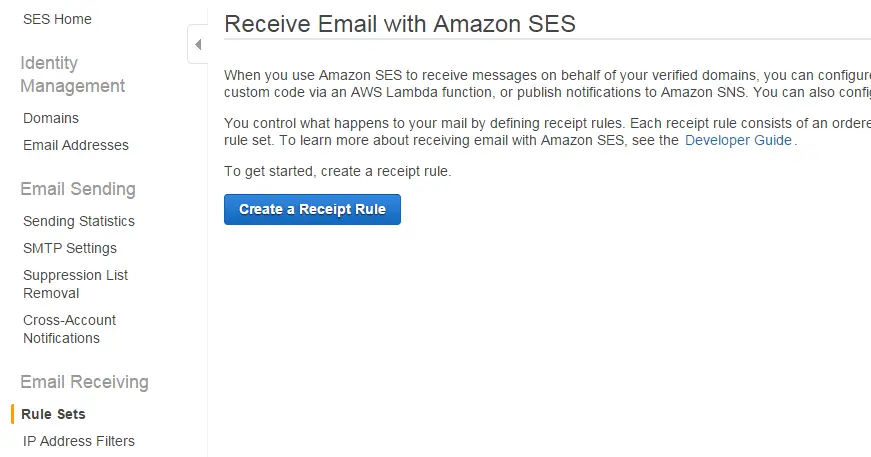
I always considered SES as a simple SMTP service to send emails but while dabbling with alternatives I realized that now we can receive emails too!
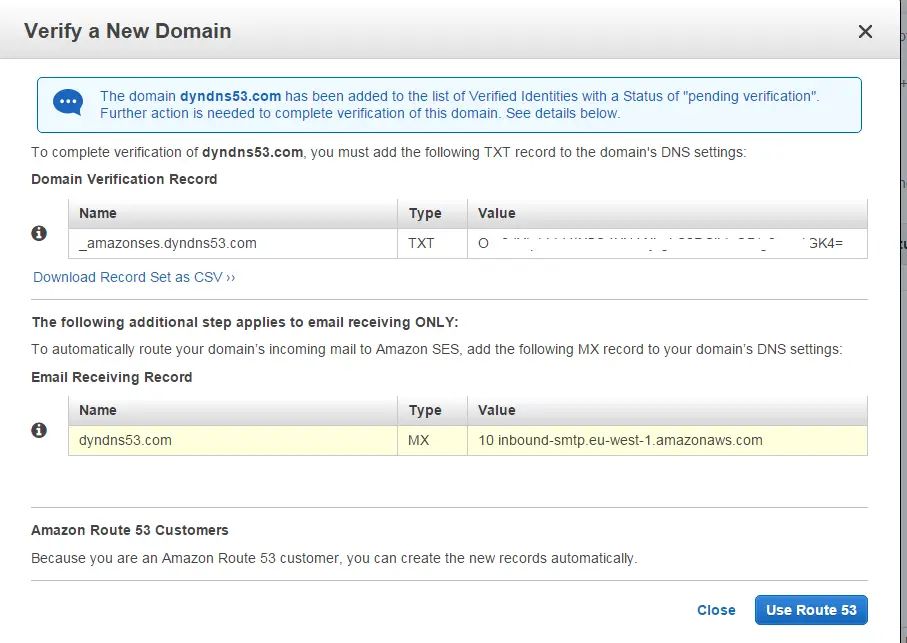
To receive emails you need to verify your domain first. Also an MX record pointing to AWS SMTP server must be added. Fortunately since everything here is AWS it can be done automatically using Route53:
After this we can move on, we’ll receive a confirmation email once the domain has been verified:

In the next step we decide what to do with the incoming mails. We can bounce them, call a Lambda function, create a SNS notification etc. These all sound fun to experiment with but in this case I’ll opt for simplicity and just drop them to a S3 bucket.
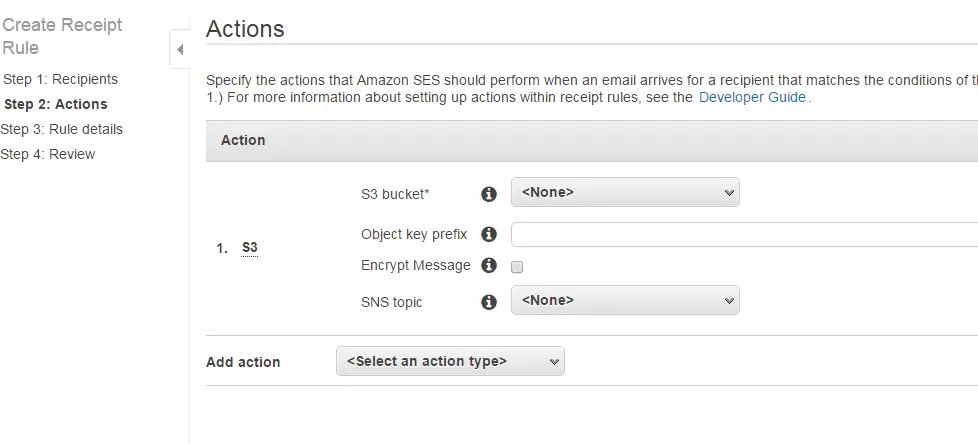
Great thing is I can even assign a prefix so I can a single bucket to collect emails from a bunch of different addresses all separated into their own folders.
In step 3, we can specify more options. Another pleasant surprise was to see spam and virus protection:

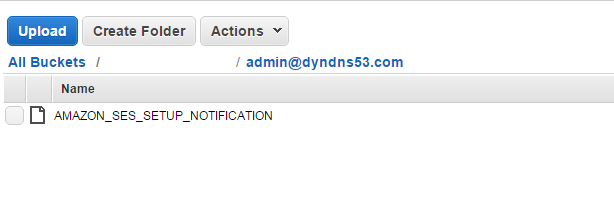
After reviewing everything and confirming we are ready to receive emails to our bucket. In fact nice folks at AWS are so considerate that they even sent us a test email already:
Back to certificates
OK, after a short detour we are back on getting our SSL certificate. As I didn’t have my mailbox setup during the validation step I had to go to actions menu and select Resend validation email.
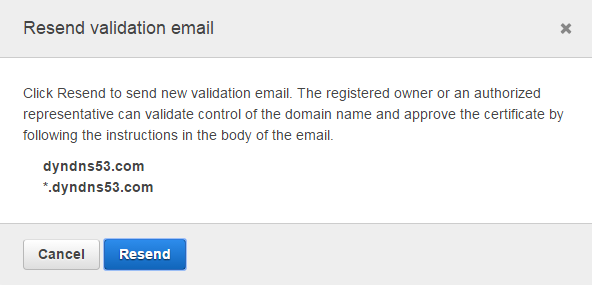
And after requesting it I immediately received the email containing a link to verify ownership of the domain.
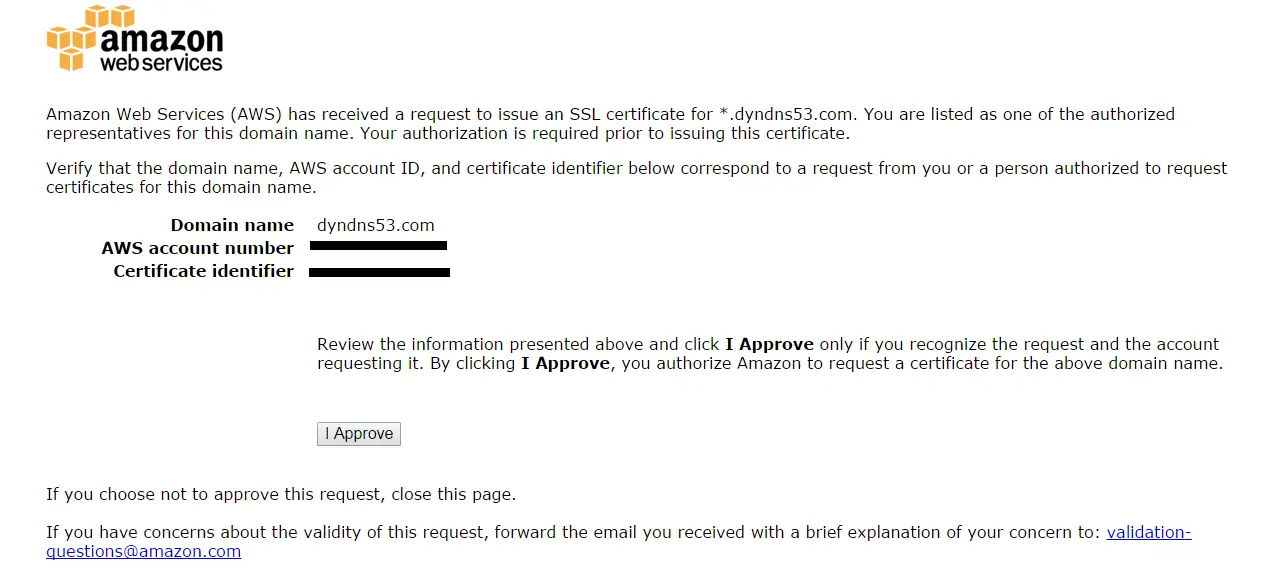
After the approval process we get ourselves a nice free wildcard SSL certificate:

Test drive
To leverage the new certificate we need to use CloudFront to create a distribution. Here again we benefit from the integrated services. The certificate we have been issued can be selected from the dropdown list:
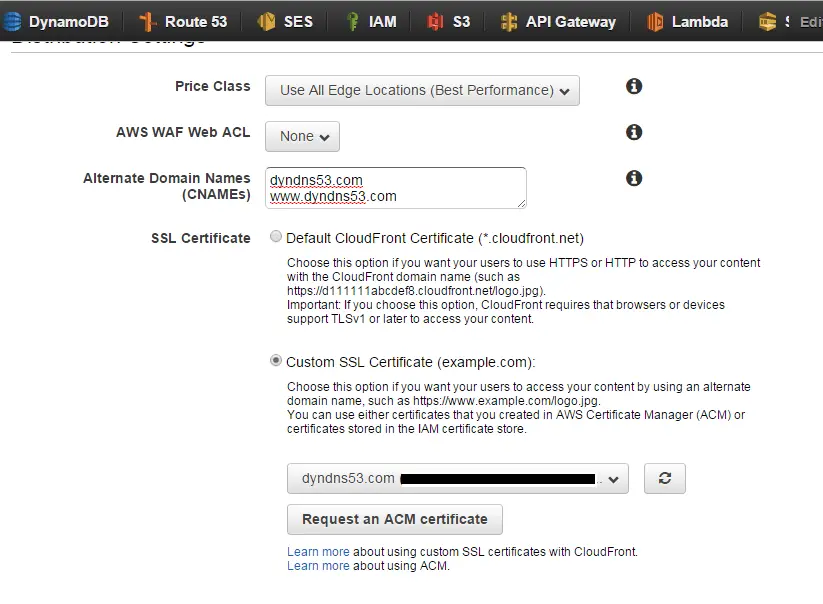
So after entering simple basics like the domain name and default page I created the distribution and pointed the Route53 records to this distribution instead of the S3 bucket.
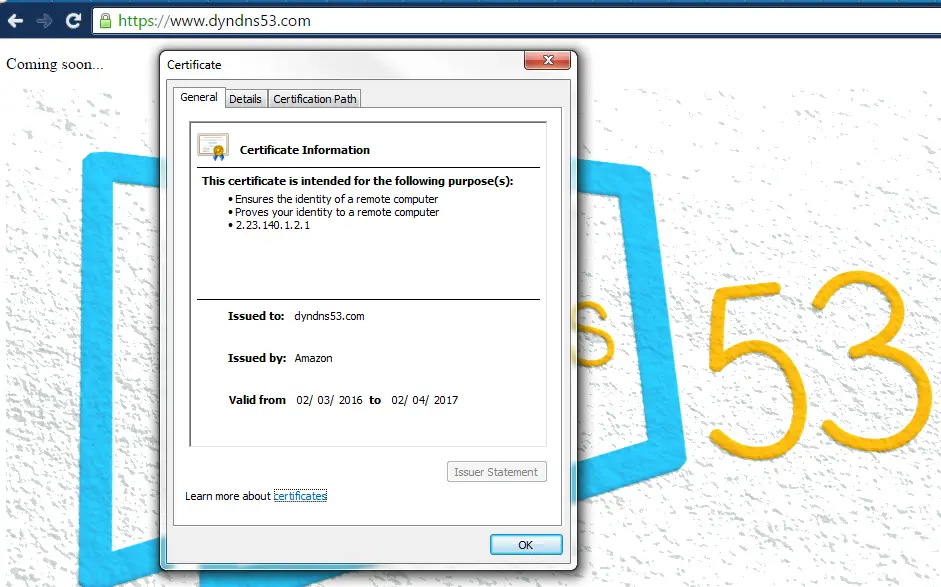
And finally, after waiting (quite a bit) for the CloudFront distribution to be deployed we can see that little green padlock we’ve been looking forward to see!:
UPDATE 1 [03/03/2016]
Yesterday I was so excited about discovering this I didn’t look any further like downloading the certificate and using it on your servers.
Today unfortunately I realized that the usability is quite limited: It only works with AWS Elastic Load Balancer and CloudFront. I was hoping to use it with API Gateway but even that’s another AWS service it’s not integrated with ACM yet.
I do hope they make the cert bits available so we can have full control over them and deploy to wherever we want. So I guess Let’s Encrpt is a better option for now considering this limitation.