
Using Custom Domains with AWS API Gateway
API Gateway is Amazon’s managed API service. Serverless architecture is growing more on me everyday. I think leveraging infinite auto-scaling and only paying for what you use makes perfect sense. But to have an API that will be customer-facing first thing that needs to be setup is a custom domain which might be a bit involved when SSL certificates come in to play. In this post I’d like to create an API from scratch and use a custom domain name assigned to it.
Step 1: Create an API
Creating an API is straightforward: Just assign a meaningful and description. However, to me it was a bit confusing when it came to choosing the endpoint type.

The two options provided are: Regional and Edge optimized.
-
Edge-optimized API endpoint: The API is deployed to the specified region and a CloudFront distribution is created. API requests are routed to the nearest CloudFront Point of Presence (POP).
-
Regional API endpoint: This type was added in November 2017. The main goal is to prevent a roundtrip for in-region requests. API requests are targeted directly to the region-specific API Gateway without going through any CloudFront distribution.
Custom domain names are supported for both endpoint types.
In this example, I’ll use Regional endpoint type. For further reading, here’s a nice blog post about endpoint types.
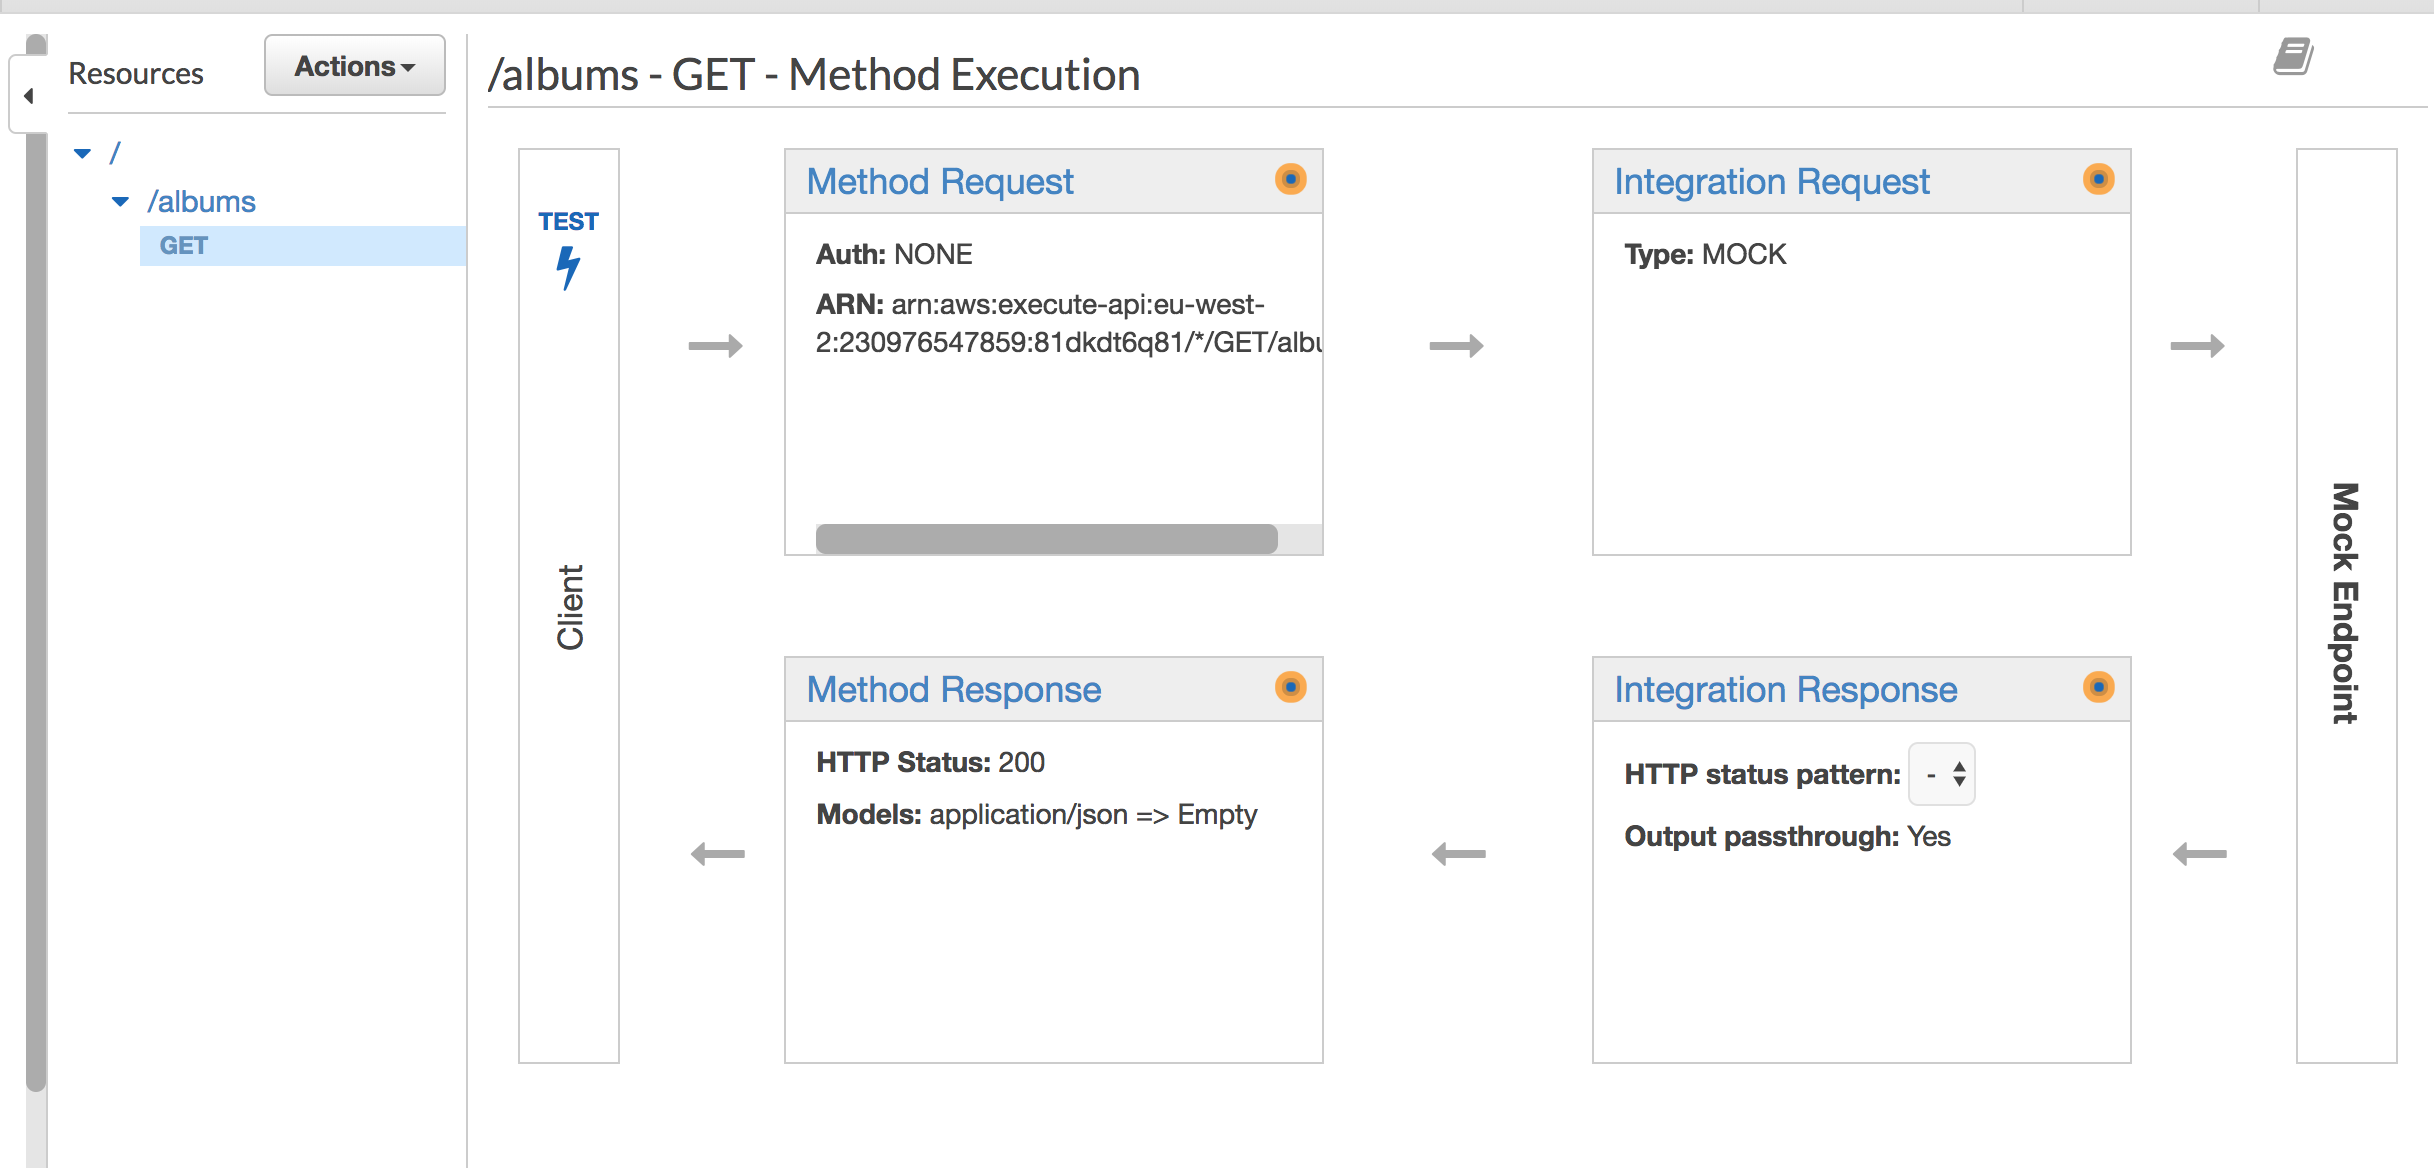
Step 2: Create a resource and method
For demonstration purposes I created a resource called customer and a GET method that is which calls a mock endpoint.
Step 3: Deploy the API
From the Actions menu in Resources tab, I selected Deploy API.

Deployment requires a stage. Since this is the first deployment, I had to create a new stage called test. A new stage can be created while deploying. After the deployment test stage looks like this:
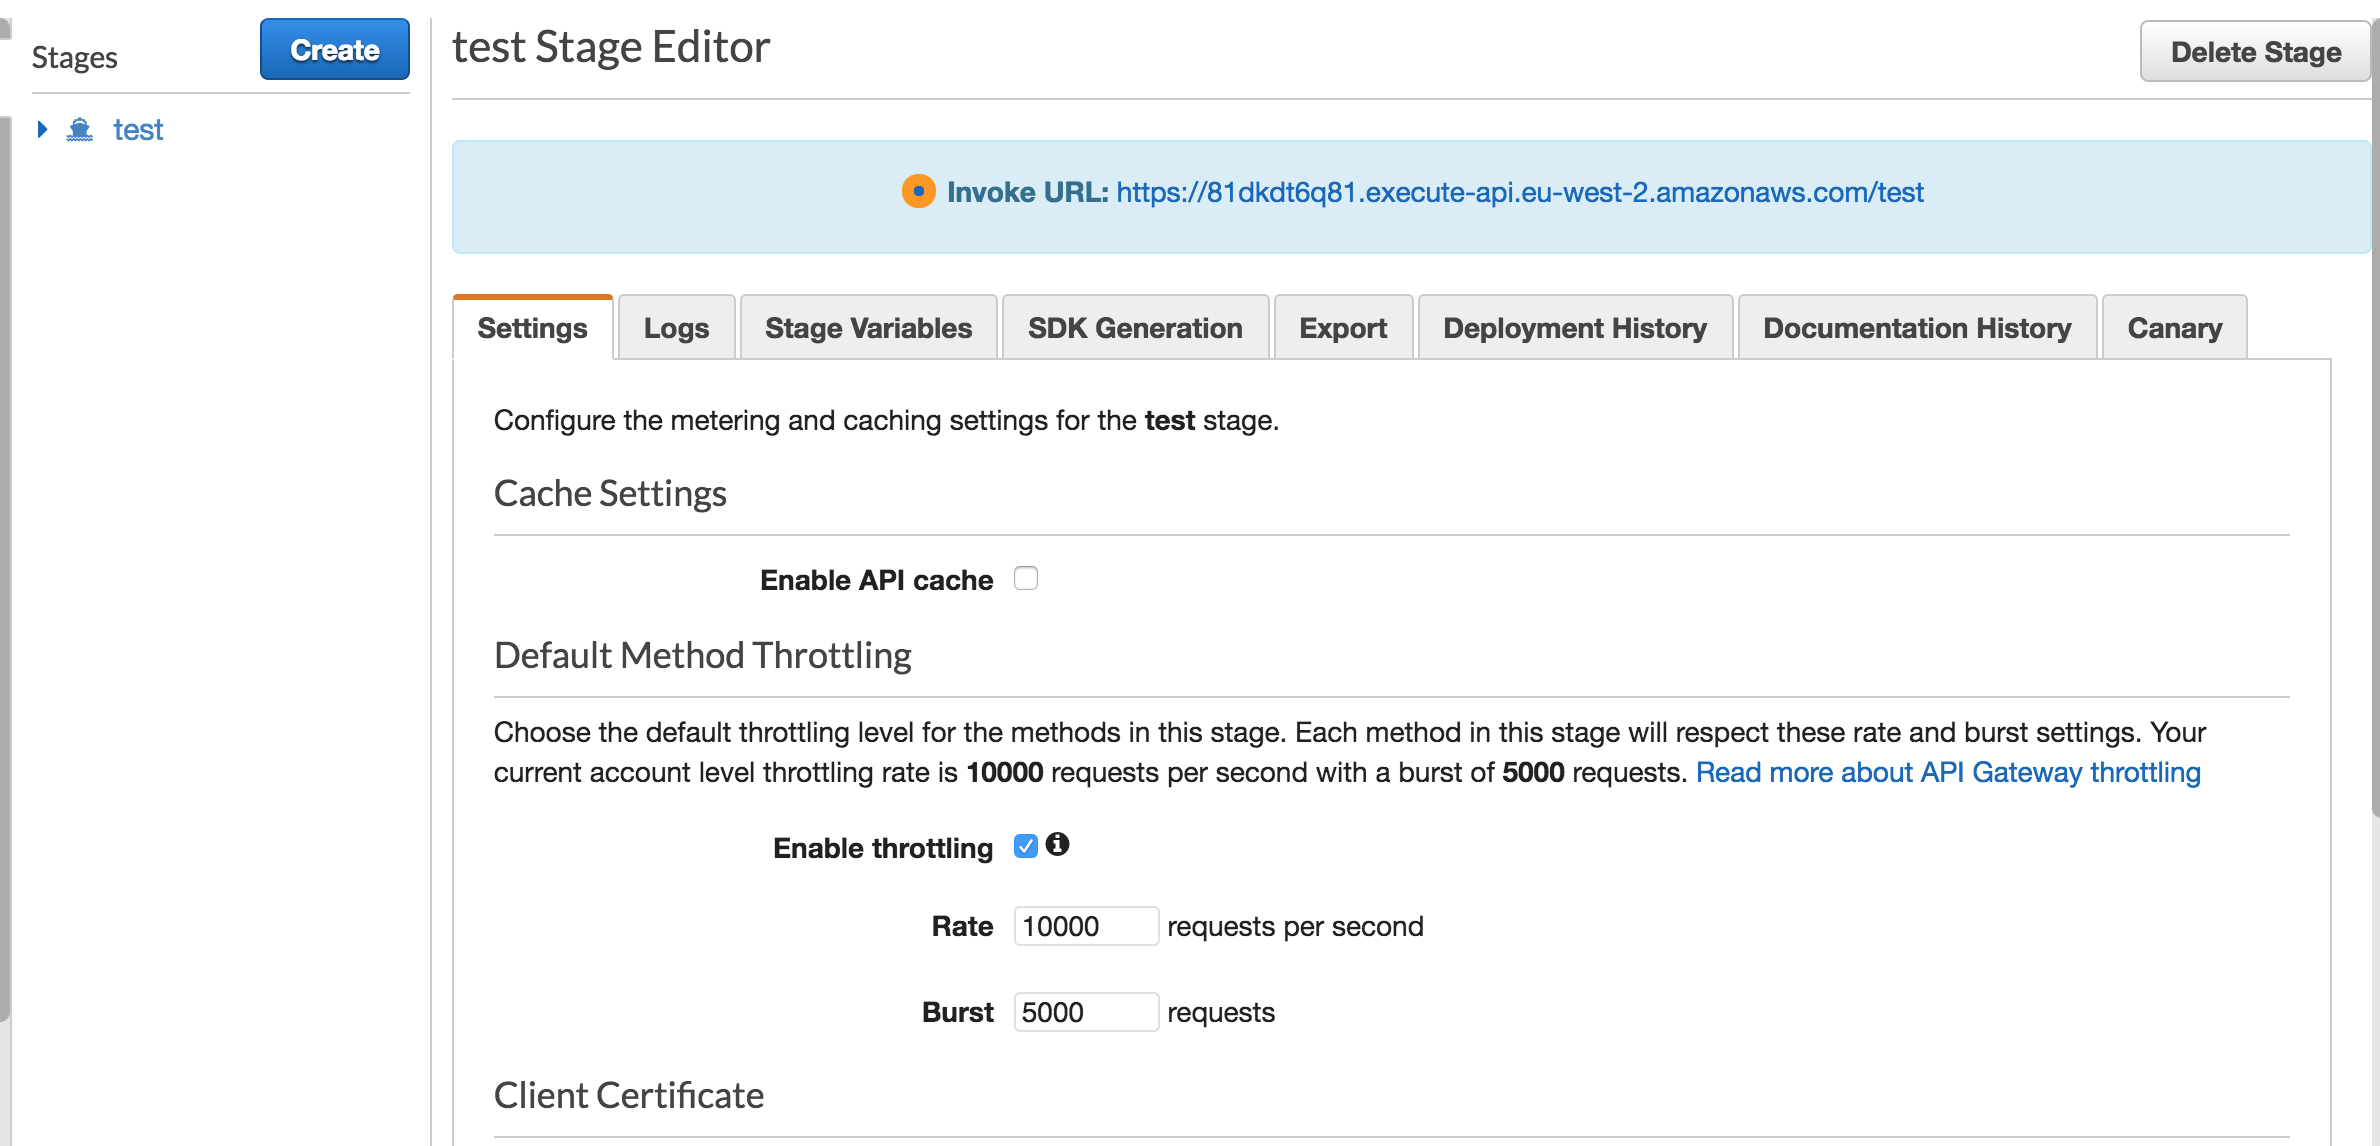
At this point API Gateway assigned a non-user-friendly URL already:
https://81dkdt6q81.execute-api.eu-west-2.amazonaws.com/test
This is the root domain of the API. So I was able to call the endpoint like this:
https://81dkdt6q81.execute-api.eu-west-2.amazonaws.com/test/albums
My goal was to get it working with my own domain such as:
https://hmdb.myvirtualhome.net/albums
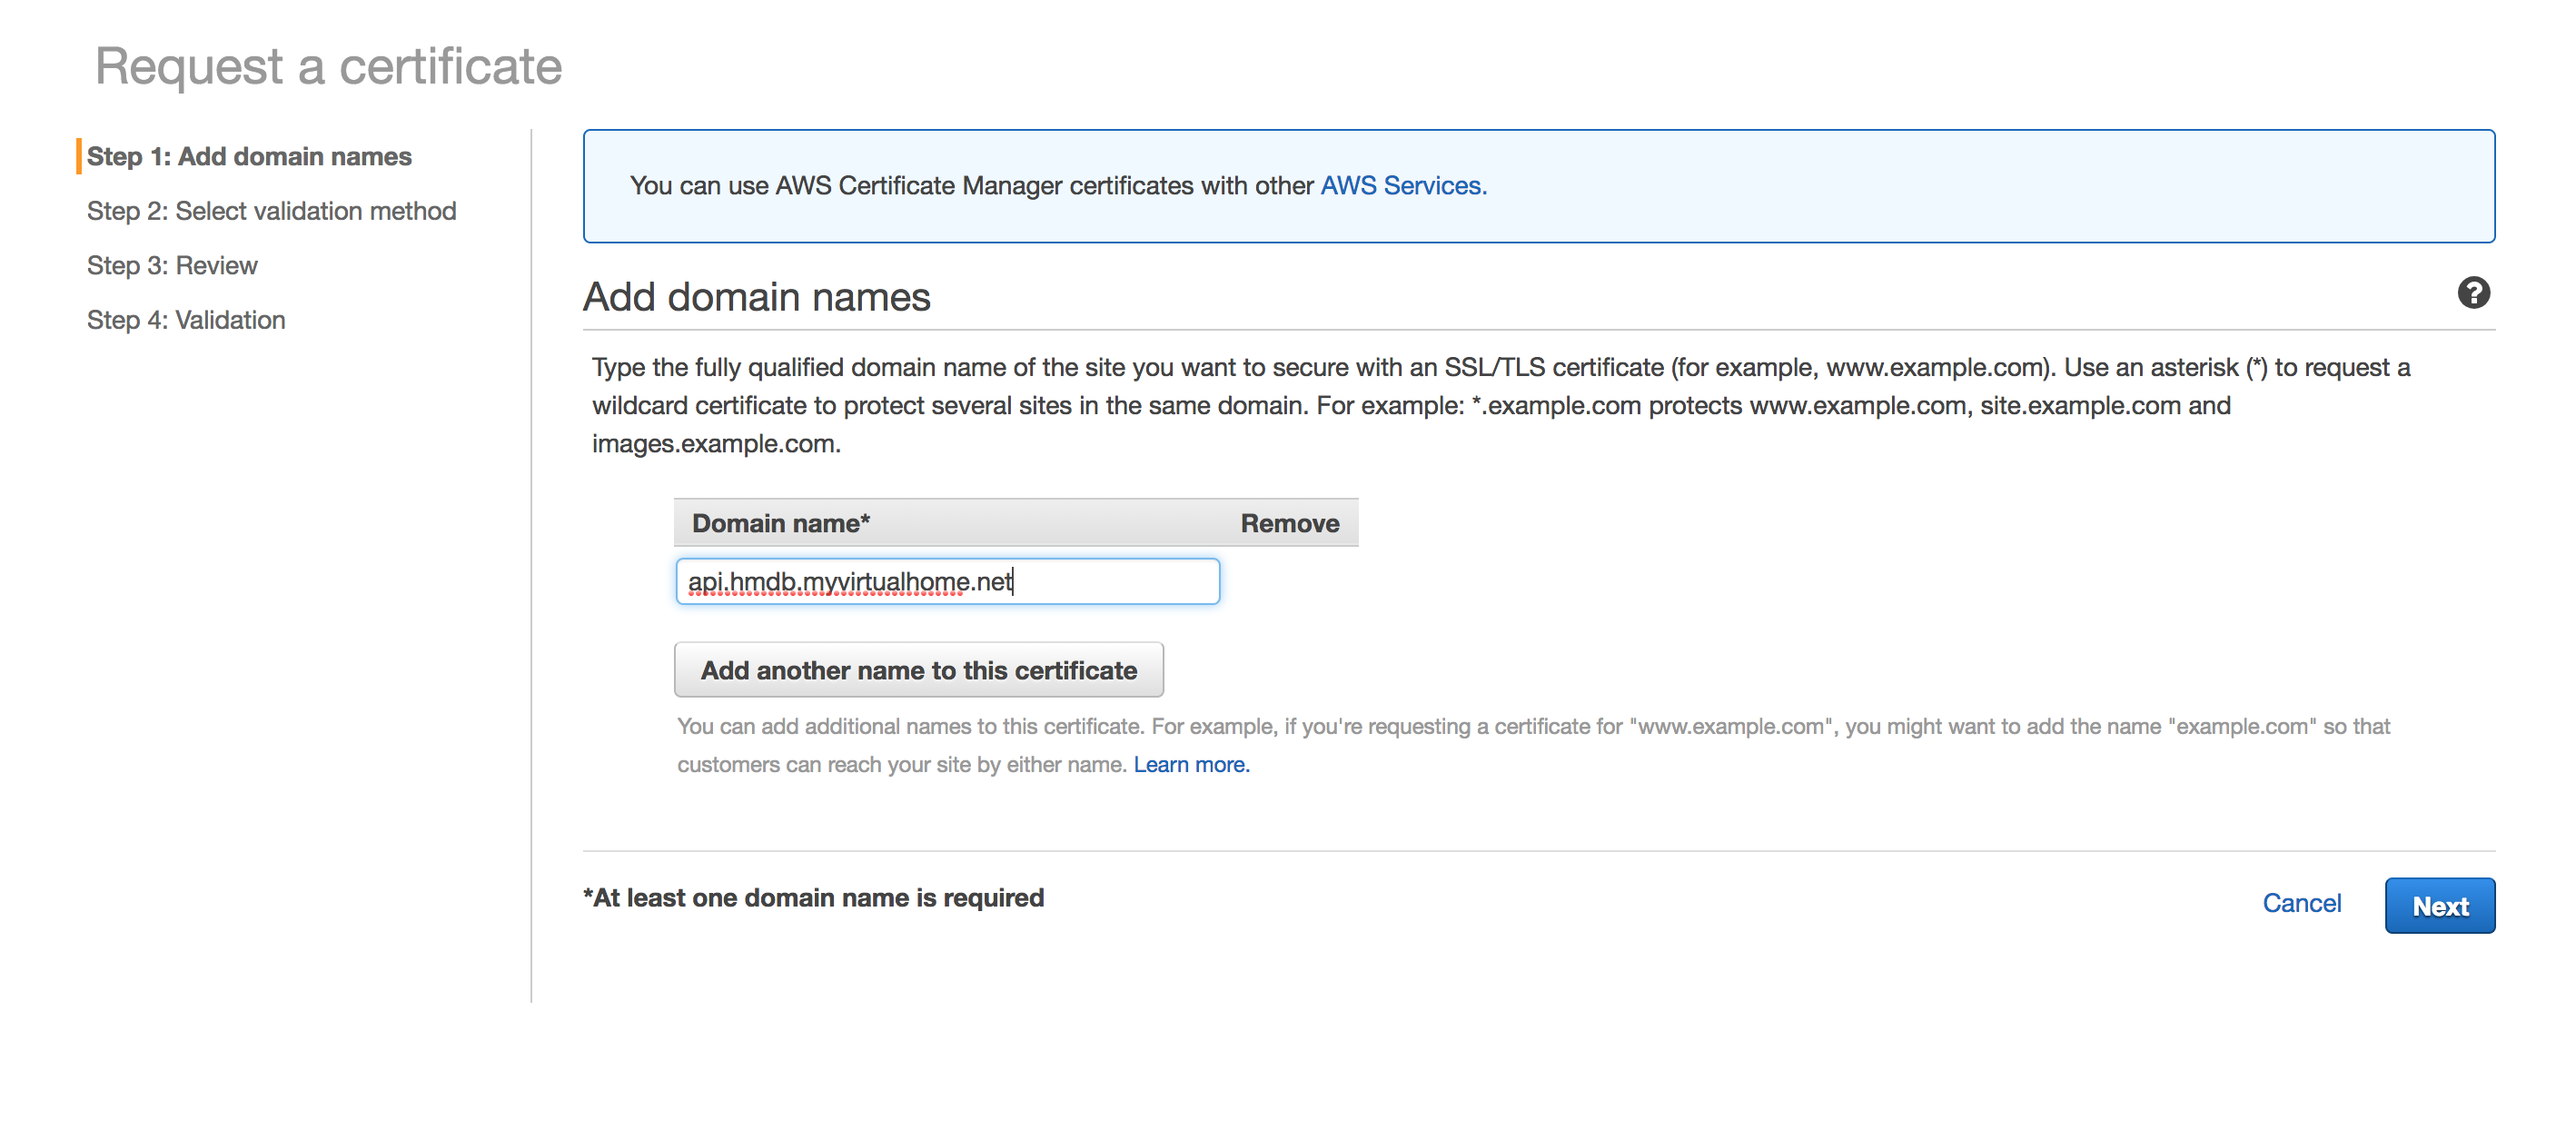
Step 4: Generate the certificate in ACM
I’m using Route53 for all my domains and using ACM (AWS Certificate Manager) for generating SSL/TLS certificates. Before creating the custom domain name I needed my certificate available.
The wizard is quite simple: I just added the subdomain for the API and selected DNS validation.
After the review comes the validation process. Since I’m using Route 53 and ACM plays well with it, it simply provided a nice big button that said Create record in Route 53.
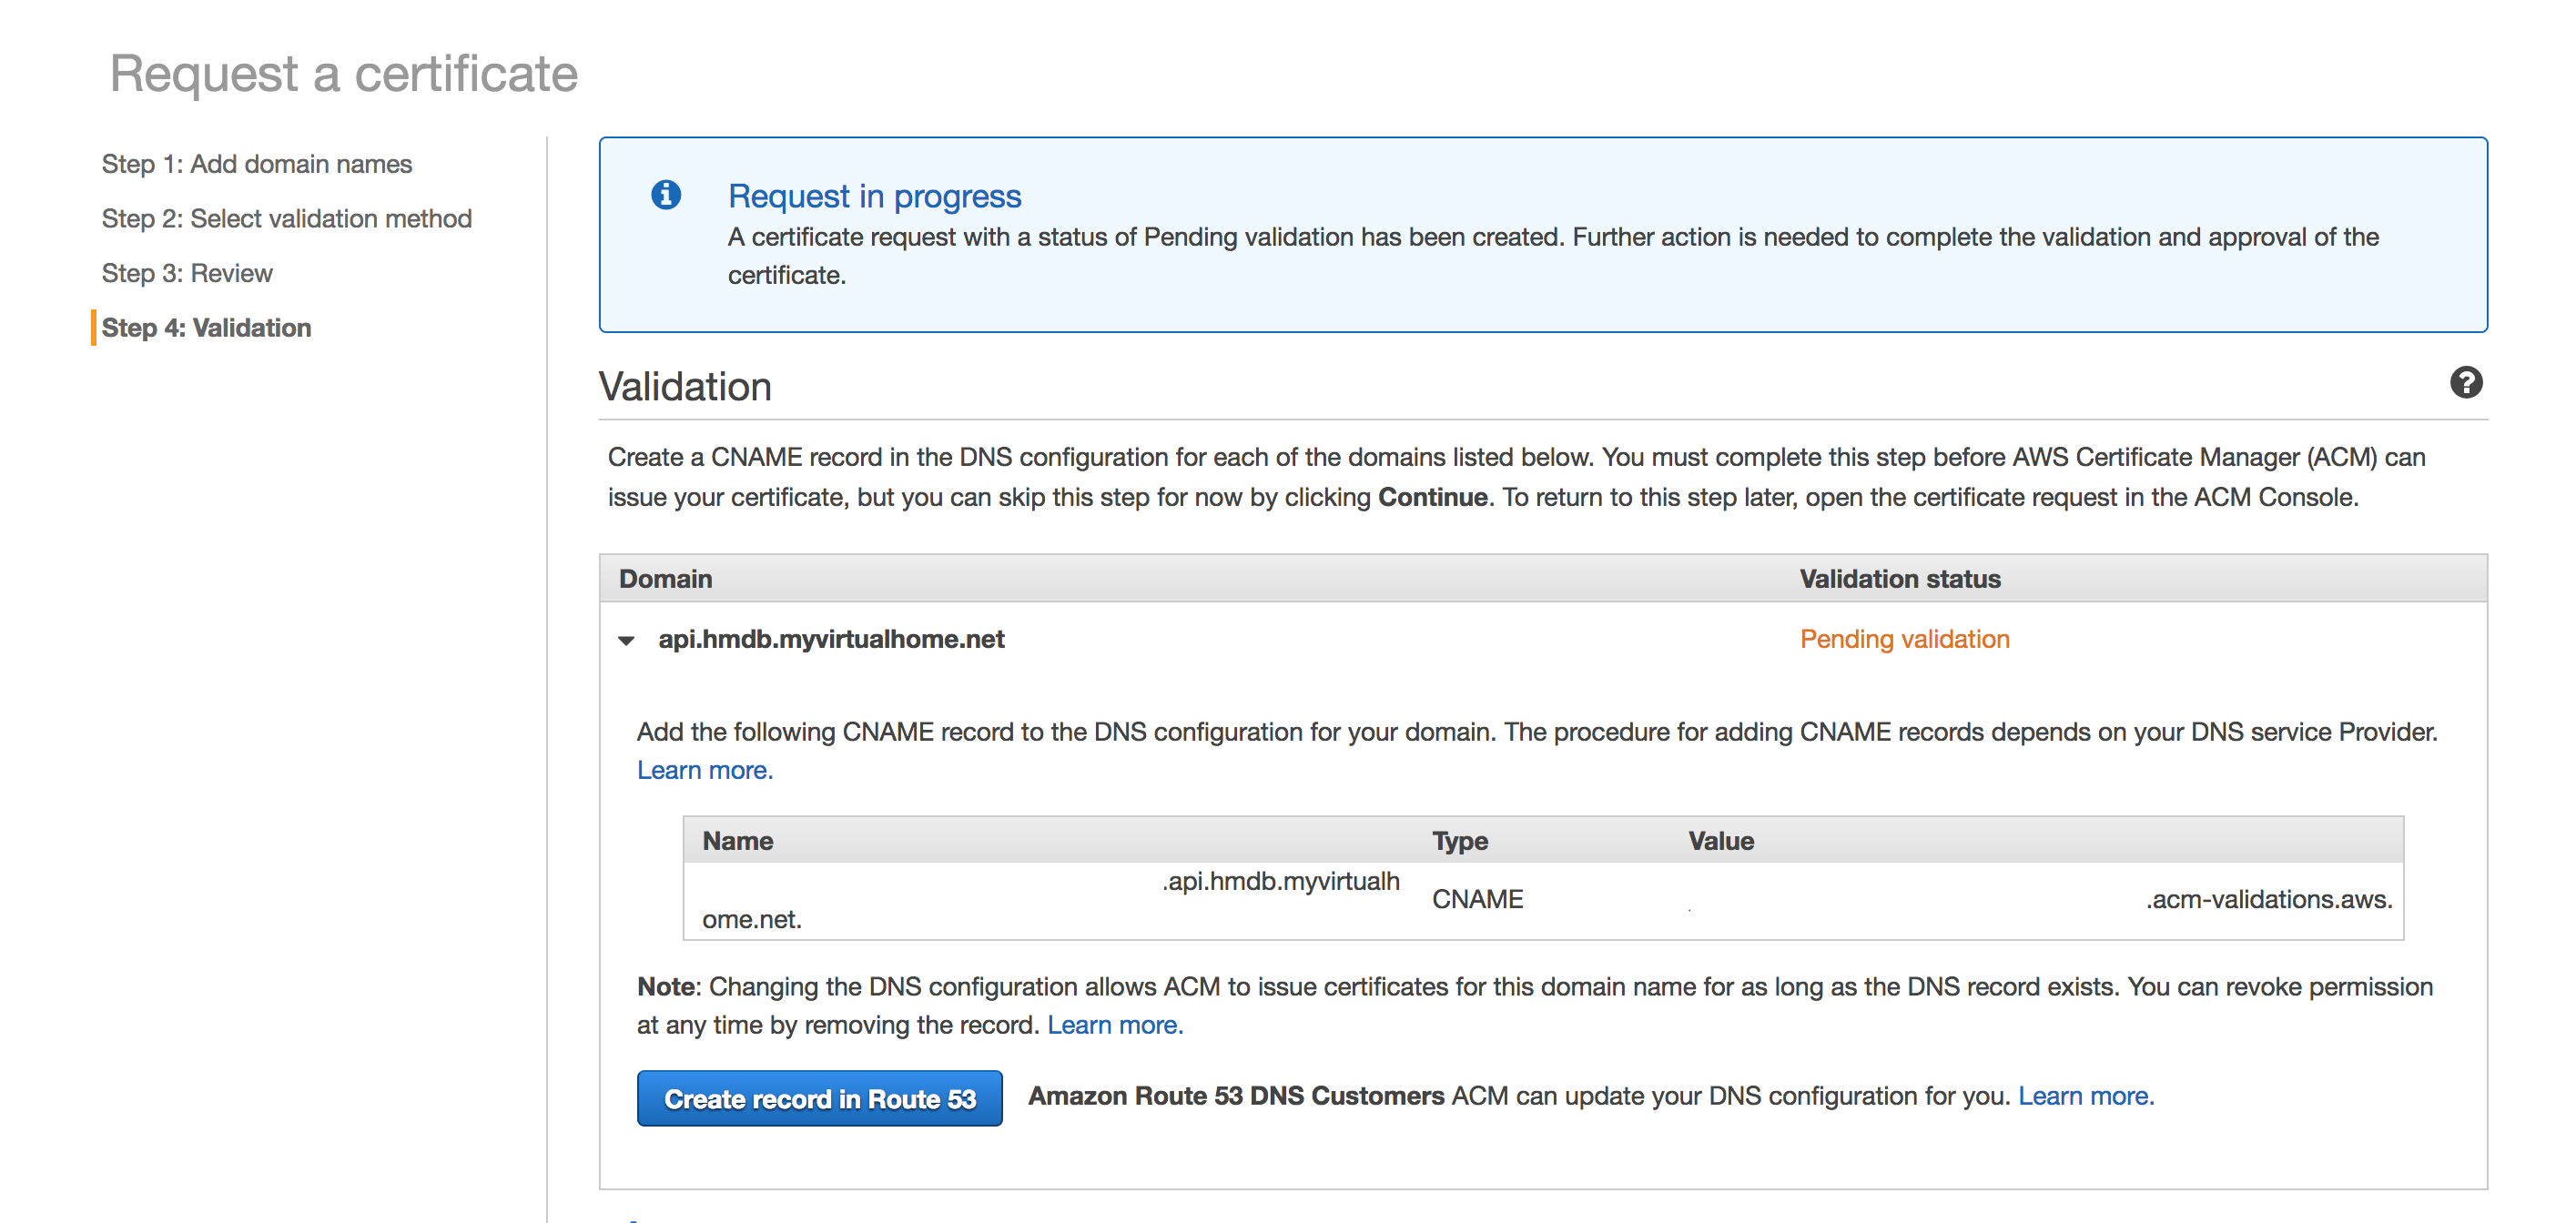
After clicking and confirming I got this confirmation message:

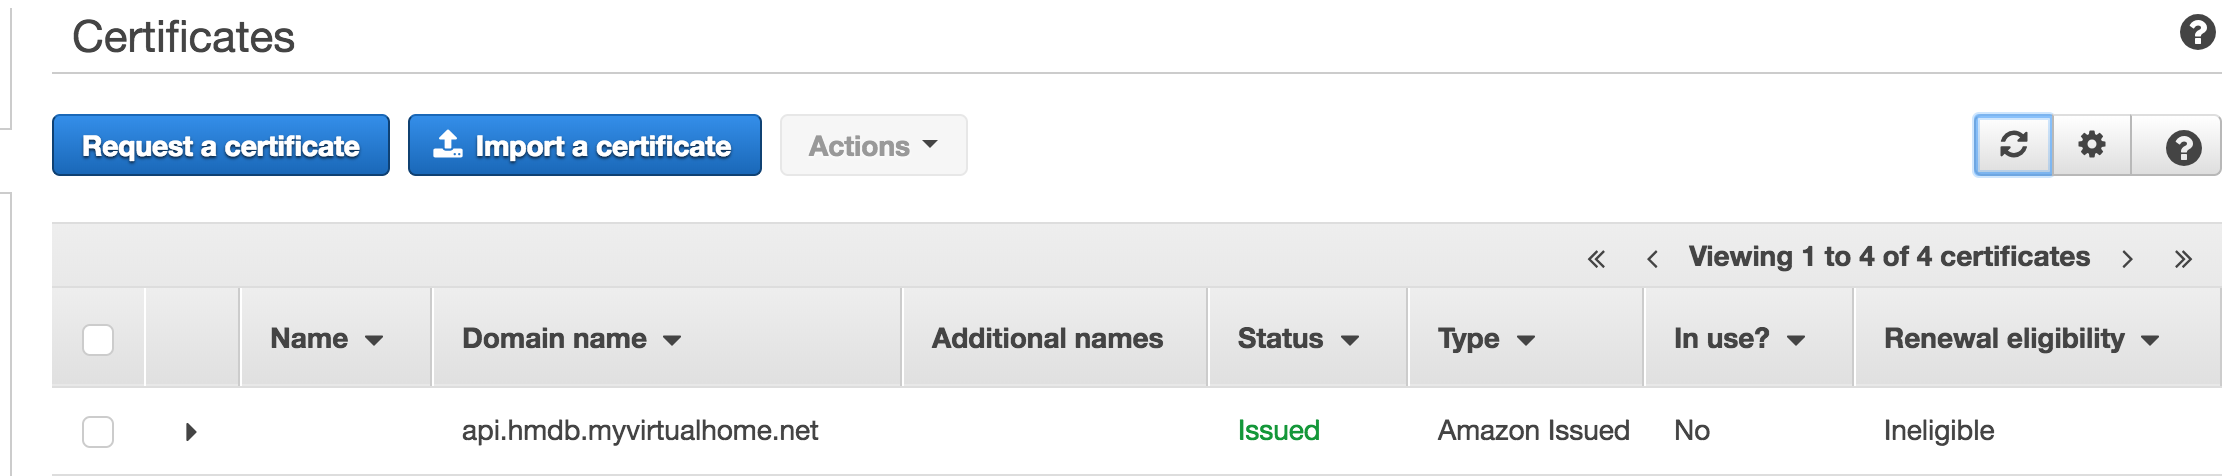
After waiting for about 3 minutes, the cerficate was issued already:
Step 5: Create Custom Domain Name in API Gateway
Now that the certificate was ready I had to go back to API Gateway to create the custom domain name and associate it with the newly created cert.
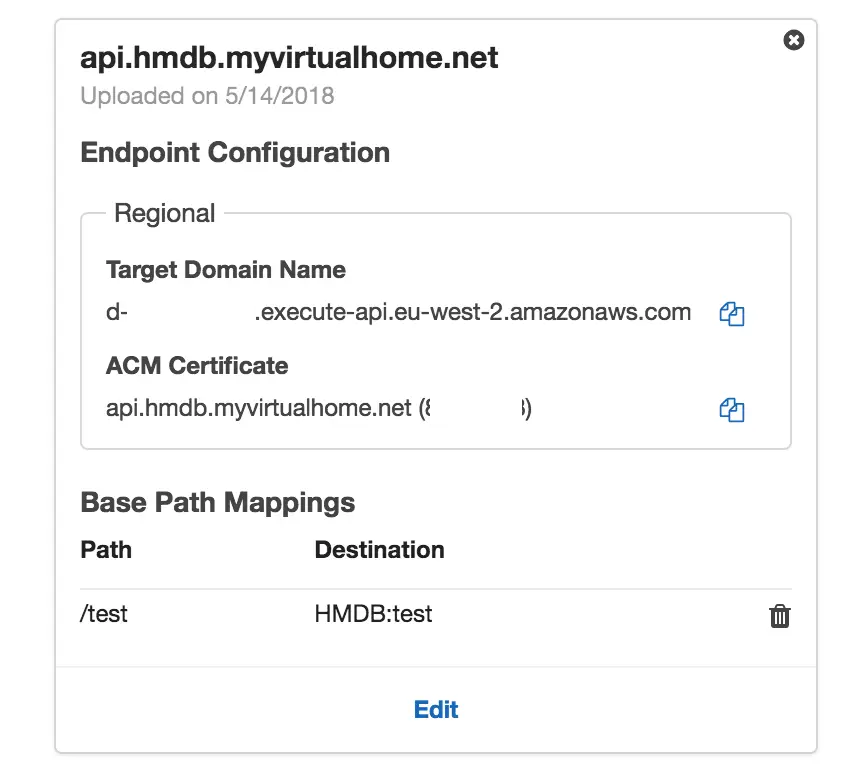
First, I clicked on Custom Domain Names on left menu and filled out the details. Make sure that your subdomain matches the one the certificate was generated for.

I assigned /test path to the test stage I had created earlier. I will use root path for the production stage when I deploy the final version.
After creating the custom domain, take note of Target Domain Name generated by AWS.
Step 6: Create A Record in Route 53
I had to also point DNS to the domain generated by API Gateway.
Since I was using a regional endpoint I had to map the custom domain name to the target domain name mentioned in the previous step.
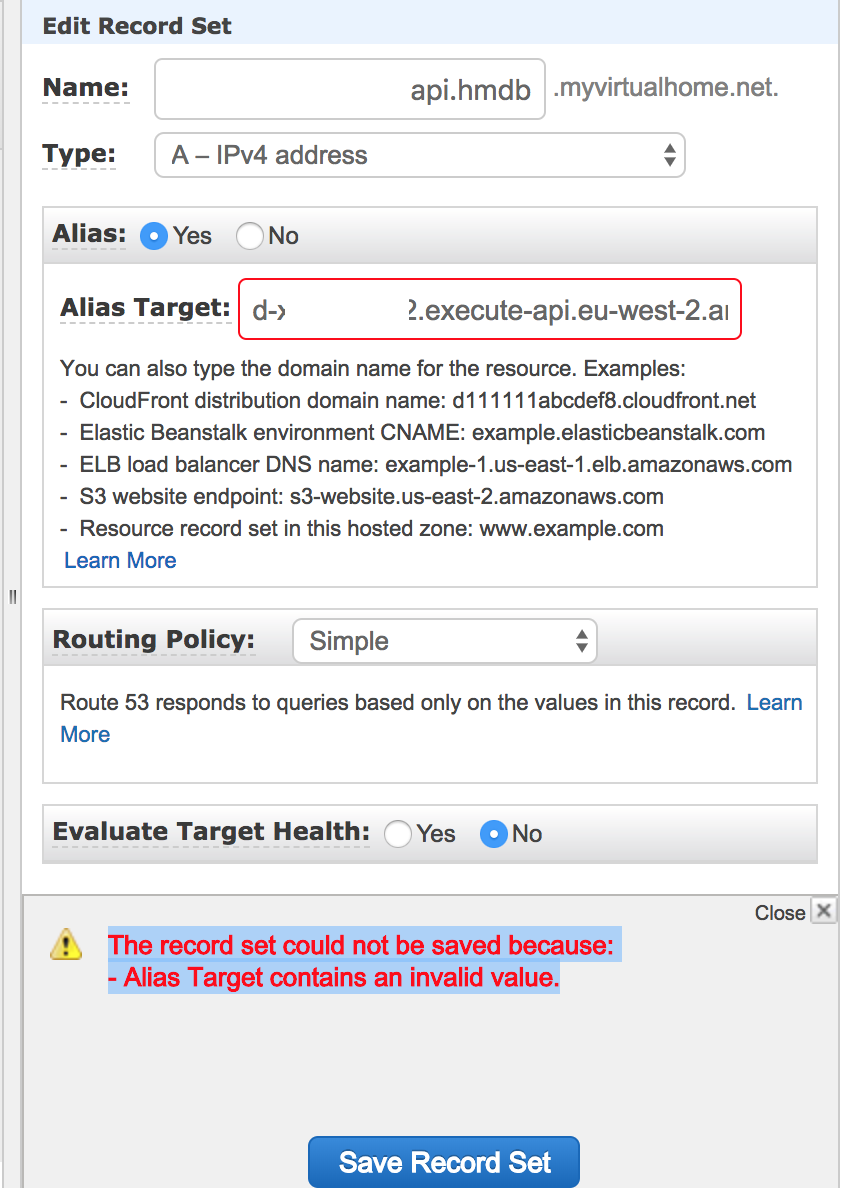
Now the problem was when I tried to do it via AWS Management Console, it failed as explained in this StackOverflow answer.
So I had to do it via CLI as below:
aws route53 change-resource-record-sets --hosted-zone-id {ZONE_ID_OF_MY_DOMAIN} --change-batch file://changedns.json
whereas the contents of changedns.json were
{
  "Changes": [
    {
      "Action": "CREATE",
      "ResourceRecordSet": {
        "Name": "api.hmdb.myvirtualhome.net",
        "Type": "A",
        "AliasTarget": {
          "DNSName": "d-xyz.execute-api.eu-west-2.amazonaws.com",
          "HostedZoneId": "ZJ5UAJN8Y3Z2Q",
          "EvaluateTargetHealth": false
        }
      }
    }
  ]
}
In the JSON above, DNSName is the Target Domain Name created by AWS is Step 5. The HostedZoneId (ZJ5UAJN8Y3Z2Q), on the other hand, is the zone ID of API Gateway which is listed here.
UPDATE
If you are having issues running the command above that might mean you don’t have a default profile setup which has permissions to change DNS settings. To fix that:
1. Create a new user with no permissions
Go to IAM console and create a new user. Skip all the steps and download the credentials as .csv in the last step.
2. Assign required permissions
Create a new policy using the JSON template below and attach it to the new user
{
    "Version": "2012-10-17",
    "Statement": [
        {
            "Sid": "VisualEditor0",
            "Effect": "Allow",
            "Action": "route53:ChangeResourceRecordSets",
            "Resource": "arn:aws:route53:::hostedzone/{ZONE ID OF YOUR DOMAIN}"
        }
    ]
}
3. Create a new profile for the user
aws configure --profile temp-route53-profile
and set the Access/Secret keys along with the region of your hosted zone.
Then you run the first CLI command with providing profile name:
aws route53 change-resource-record-sets --hosted-zone-id {ZONE_ID_OF_MY_DOMAIN} --change-batch file://changedns.json --profile temp-route53-profile
An important point here is to get your hosted zone ID from Route53. In the API Gateway, it shows a hosted zone ID which is actually AWS API Gateway zone ID. We use that zone ID in our DNS configuration (which is in changedns.json file in this example) but when we provide the hosted zone ID on the command line we provide our domain ID which can be found in Route53.
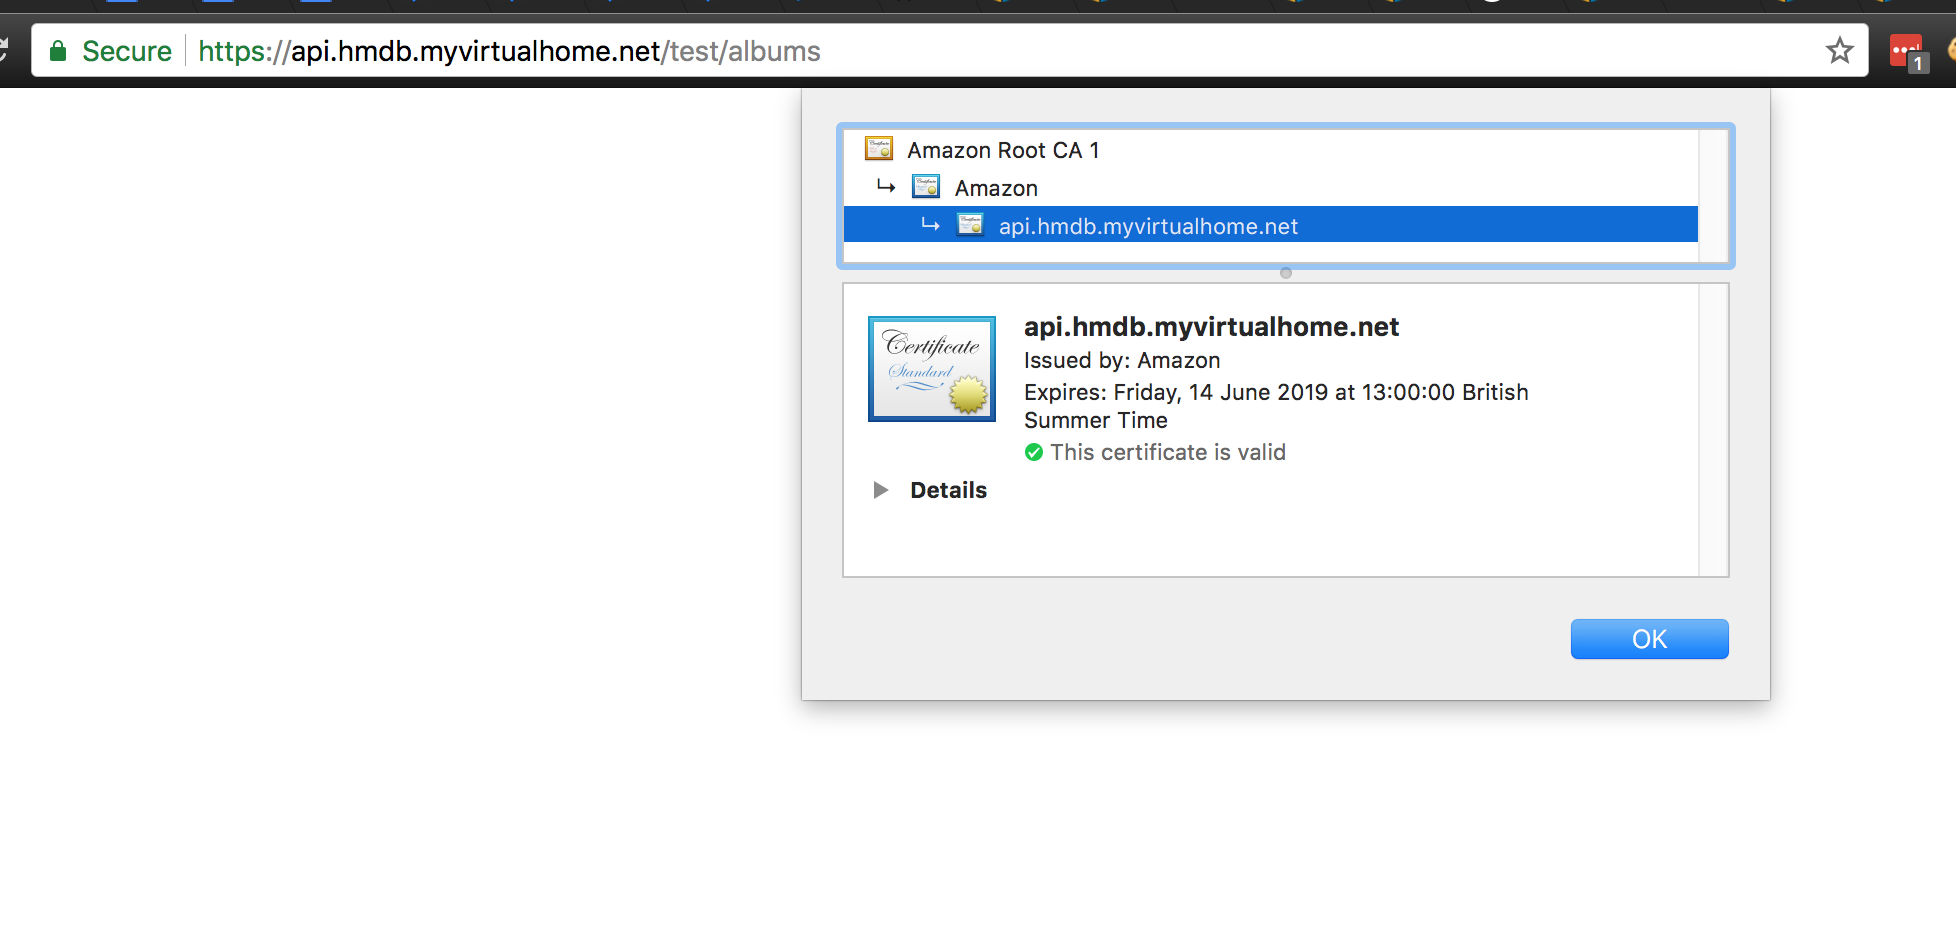
Step 7: Test
So after creating the alias for my API I visited the URL on a browser and I was able to get the green padlock indicating that it loaded the correct SSL certificate.
Resources
- Amazon API Gateway Concepts
- Amazon API Gateway Supports Regional API Endpoints
- Set up Custom Domain Name for an API in API Gateway
- StackOverflow answer: Understanding AWS API Gateway Custom Domain Names
- AWS Regions and Endpoints
- API Gateway Regional vs. Edge-Optimized Endpoints
- Setting up the AWS Tools for PowerShell Core on Linux or macOS X
- AWS Tools for PowerShell Cmdlet Reference
- Amazon API Gateway REST API