Setting Up a Pi Hole with a Raspberry Pi
![]()
For some time I’d been wanting to set up my own Pi Hole in my network.
In this previous post I implemented a Docker registry on Raspberry Pi. I was planning to install it using Docker on that Pi but then I decided to set up a new Pi from scratch due to performance concerns. After I get the hang of it I might migrate it to Docker.
Preparations: Download Raspbian image and prepare Micro SD card
As of this writing, the latest Raspbian release is Buster but in the official supported OS list the latest supported Raspbian is Stretch. So I went to this page to download Raspbian Stretch Lite.
I downloaded Raspbian Buster Lite as I don’t need desktop and other extra software for this project.I followed the official guide from raspberrypi.org to burn the image. It’s basically just a few commands:
I inserted the card and run the following to identify the card:
diskutil list
Then
sudo dd bs=1m if=path_of_your_image.img of=/dev/rdiskn conv=sync
where n is the number of disk which I found from the first step.
If you get “resource is busy” error, then run the following
diskutil unmountDisk /dev/diskn
Carry Out Necessary Configuration Updates
It’s a good practice to change the default passwords so I ran
passwd
and updated the password.
Also for remote installations I enabled SSH:
sudo systemctl enable ssh
sudo systemctl start ssh
And I like to give a specific name to all my devices so that I can keep an eye on the machines connected to my network more easily.
To achieve that I ran:
sudo hostname NEW_HOSTNAME
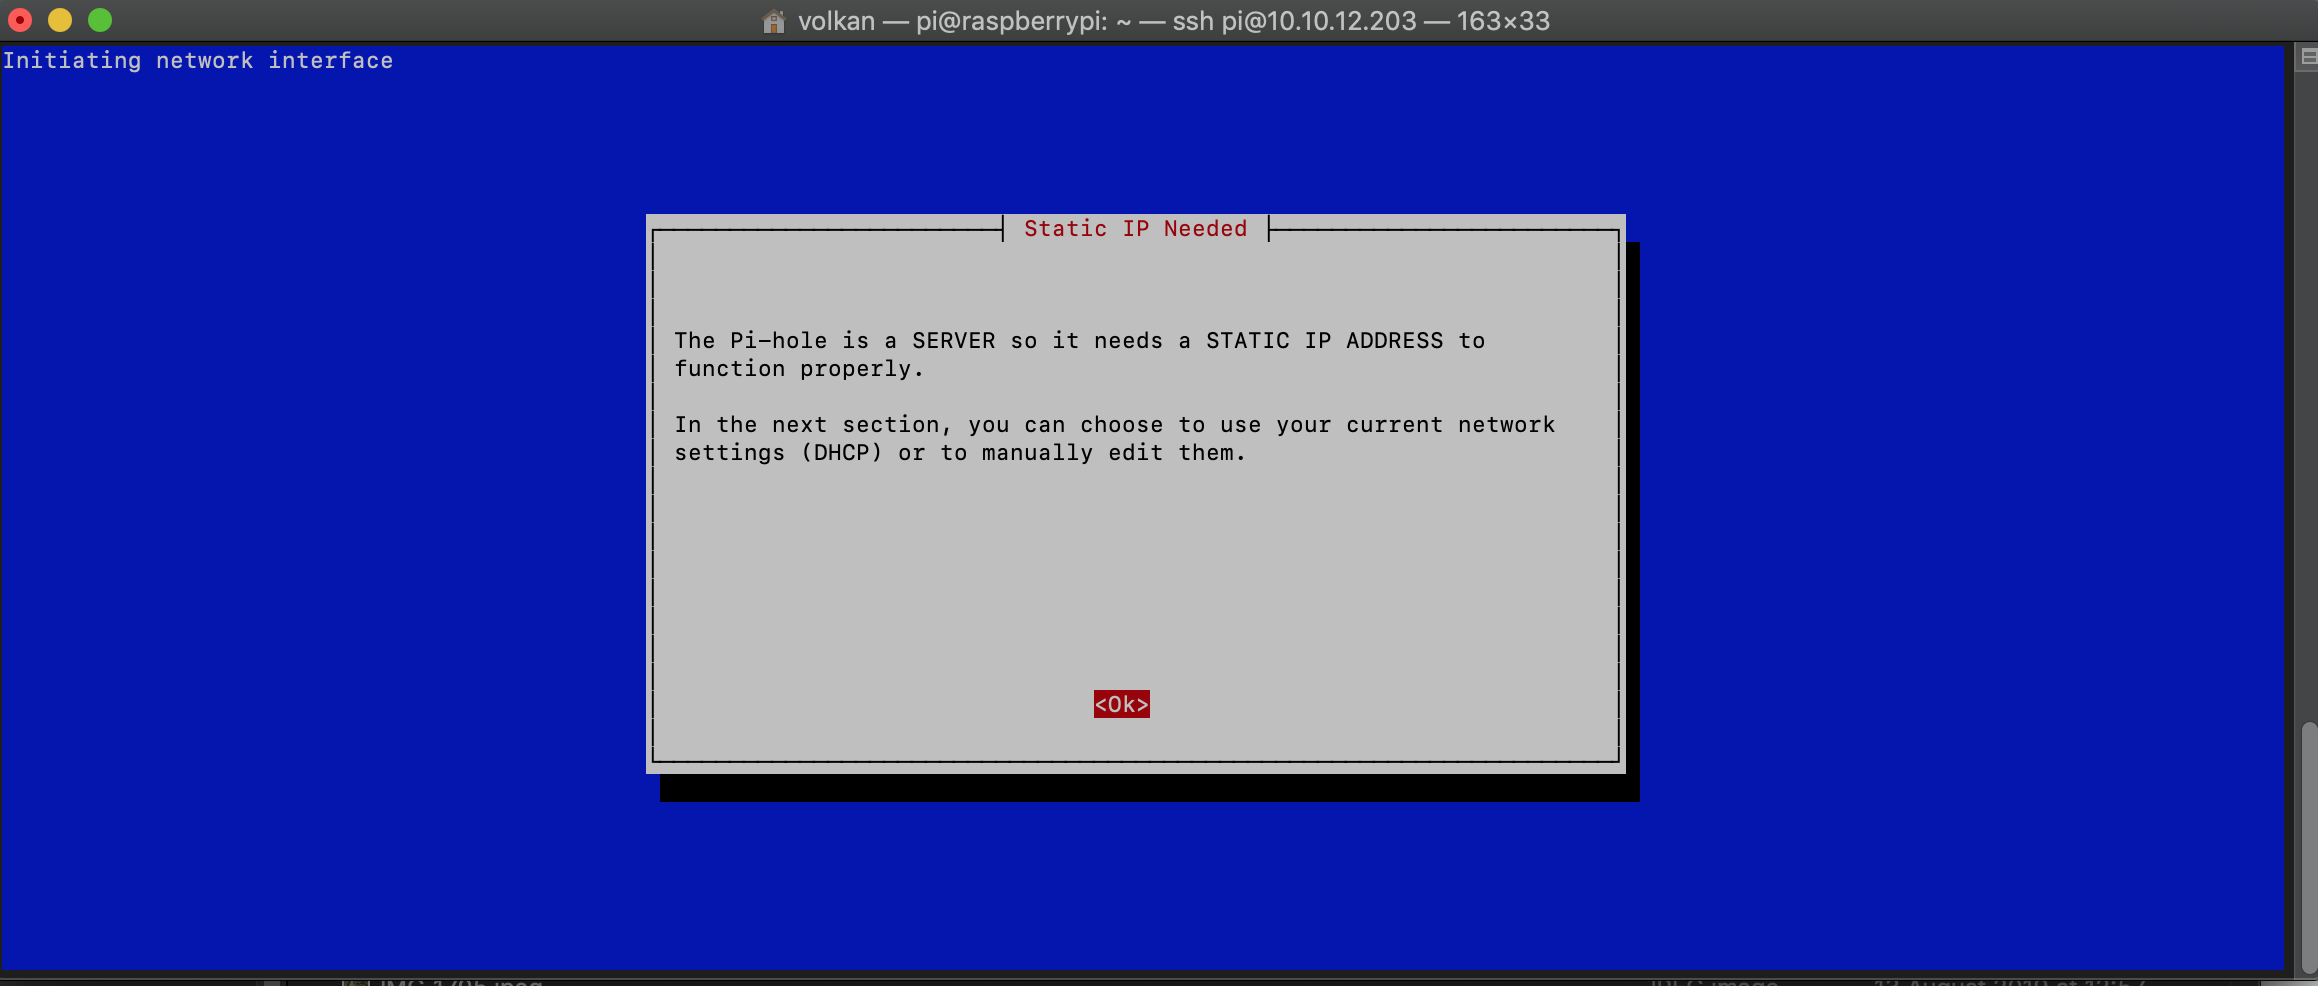
No need to set a static IP address at this point as Pi Hole setup takes care of that:
Install Pi-Hole
There is an easy one-step installation:
curl -sSL https://install.pi-hole.net | bash
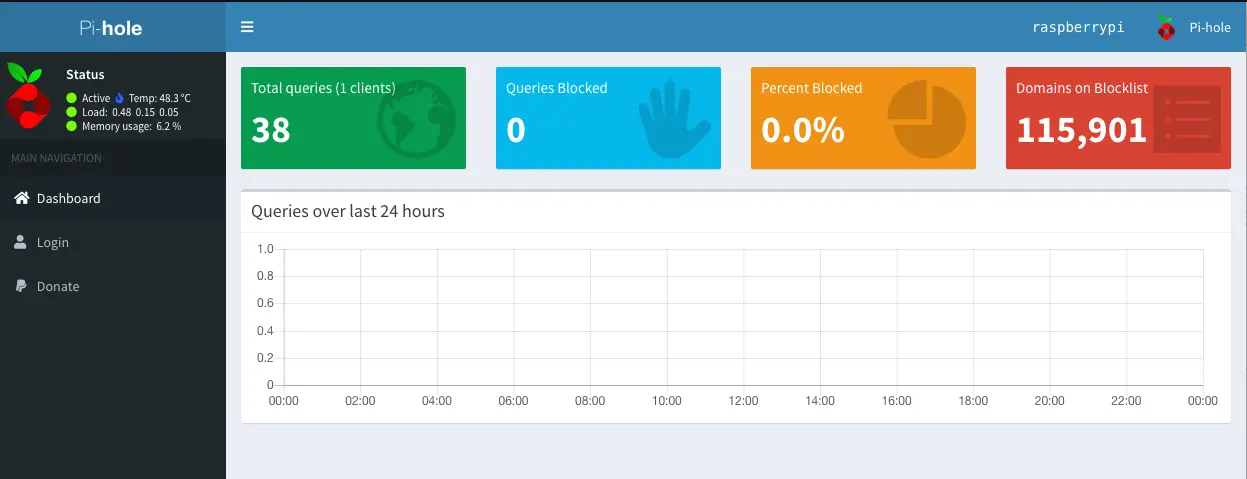
I changed my IP to a different static IP and rebooted the Pi.
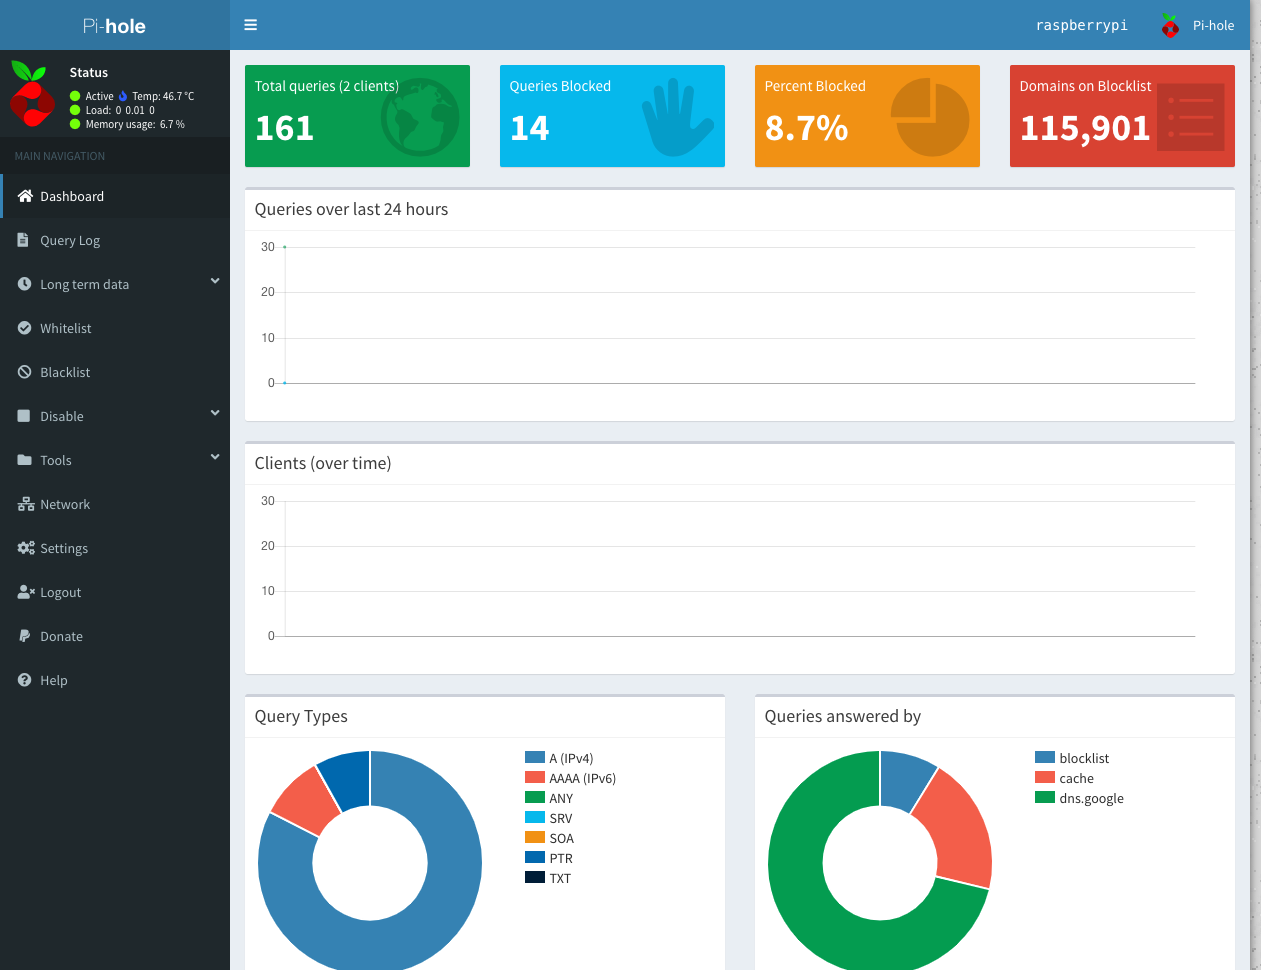
After that I could go to the admin page via http://{Pi Hole Static IP}/admin/ and see the dashboard:
Test
Now it’s time to see if it’s working at all. I have 2 MacBooks connected to the same network. I changed one of the laptop’s DNS server to point to Pi Hole and left the other one intact.
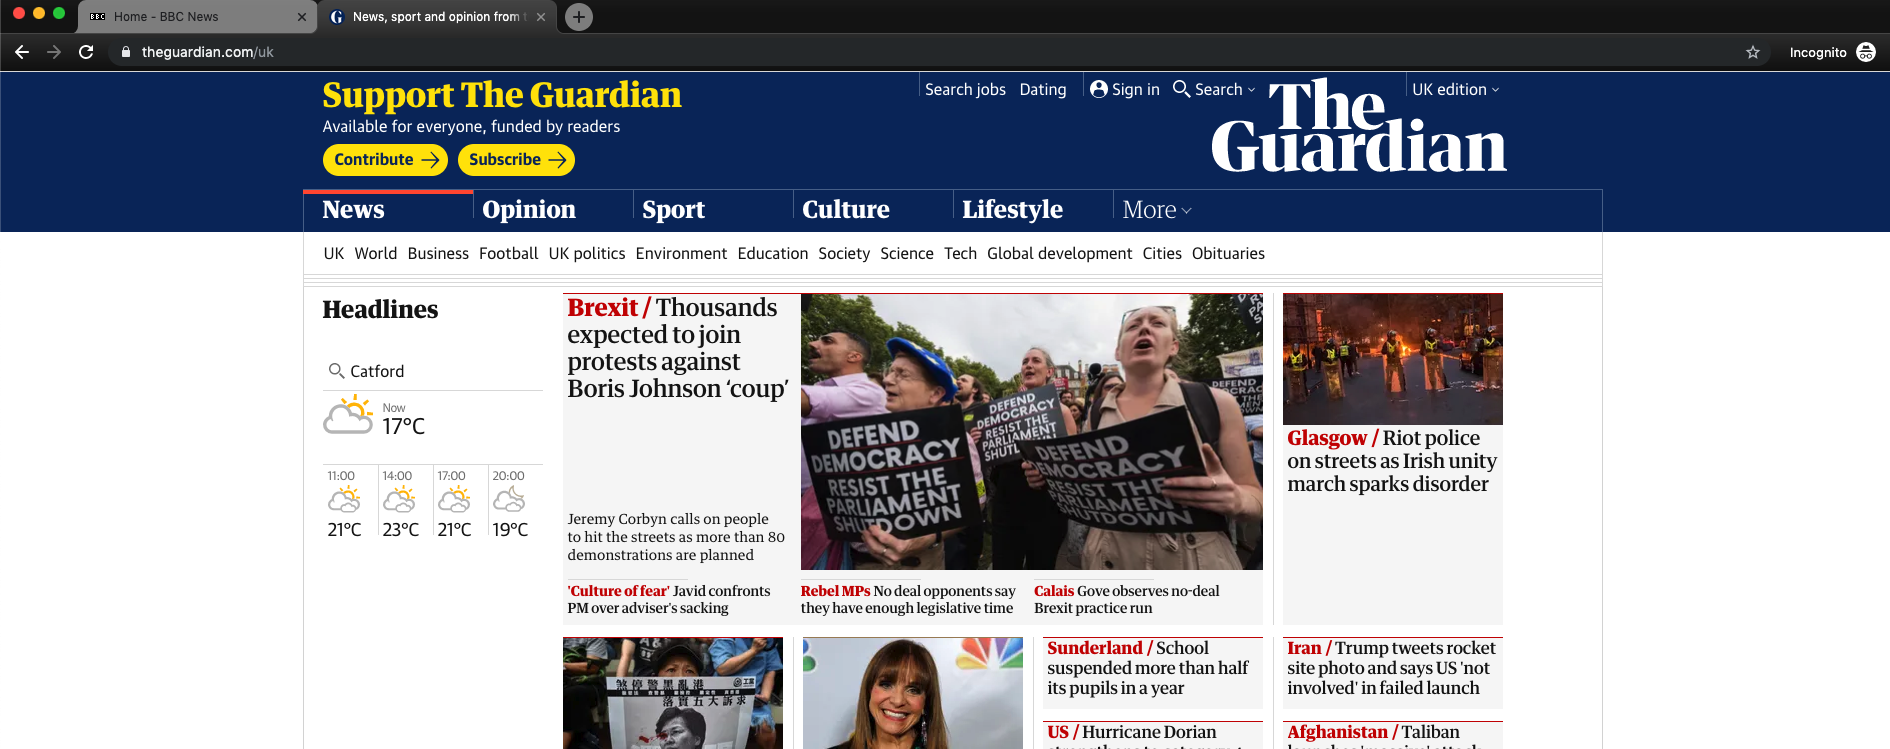
In the laptop that’s still using the old DNS settings, I opened a Chrome window in incognito mode and visited a site and at top it shows an ad:
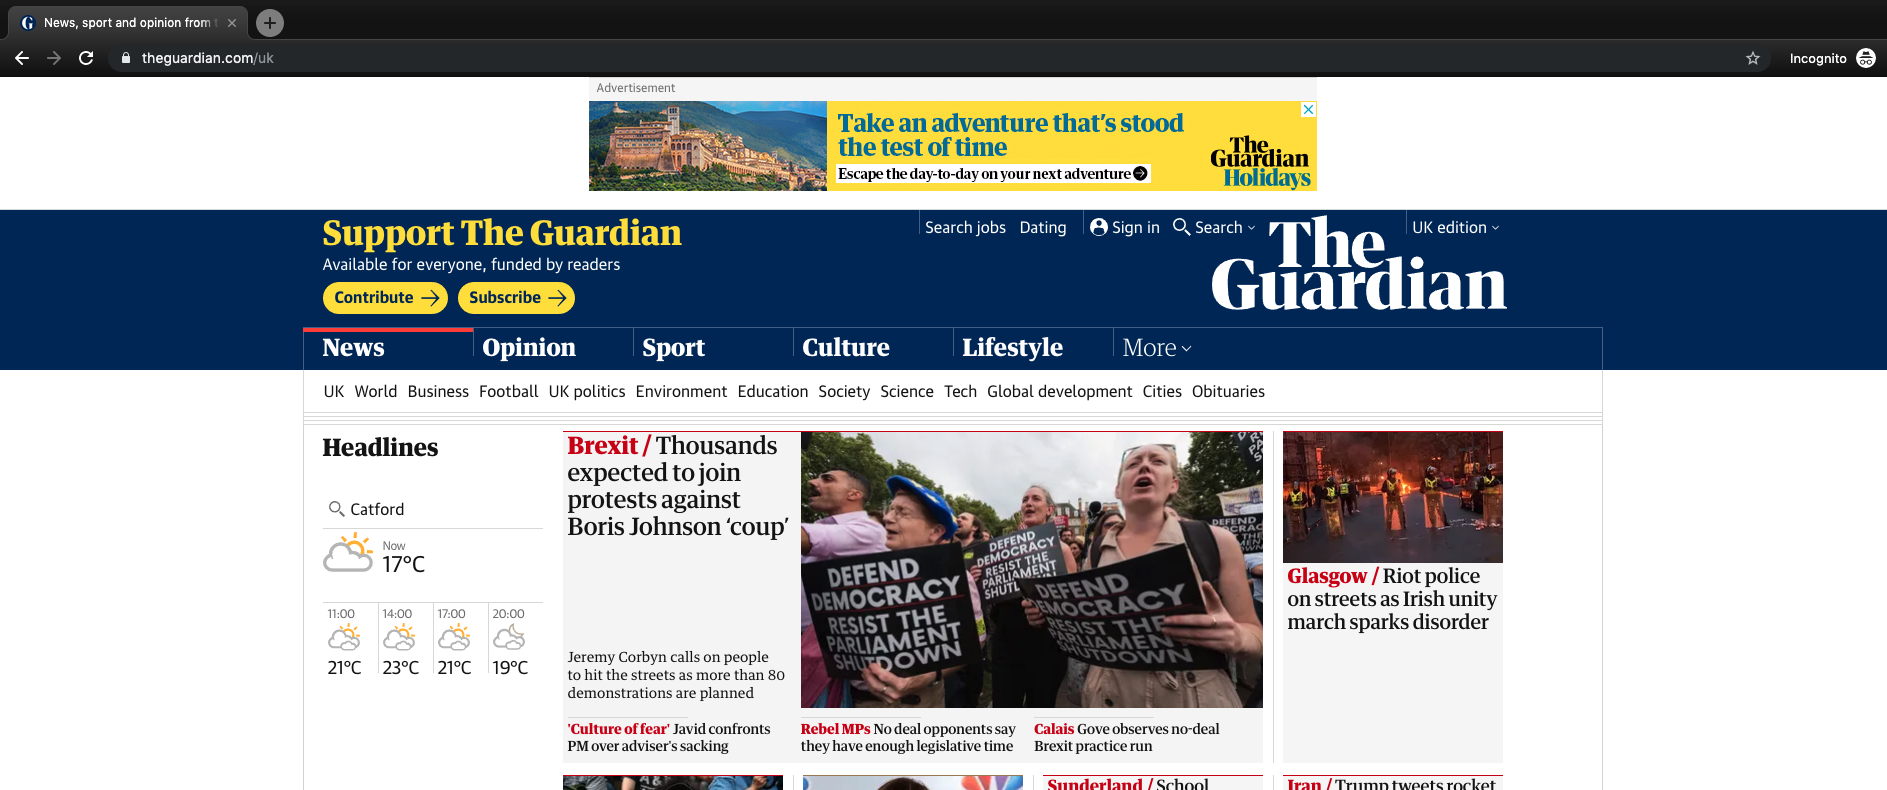
And on the other laptop I repeated the process and I got the same page without ads this time:
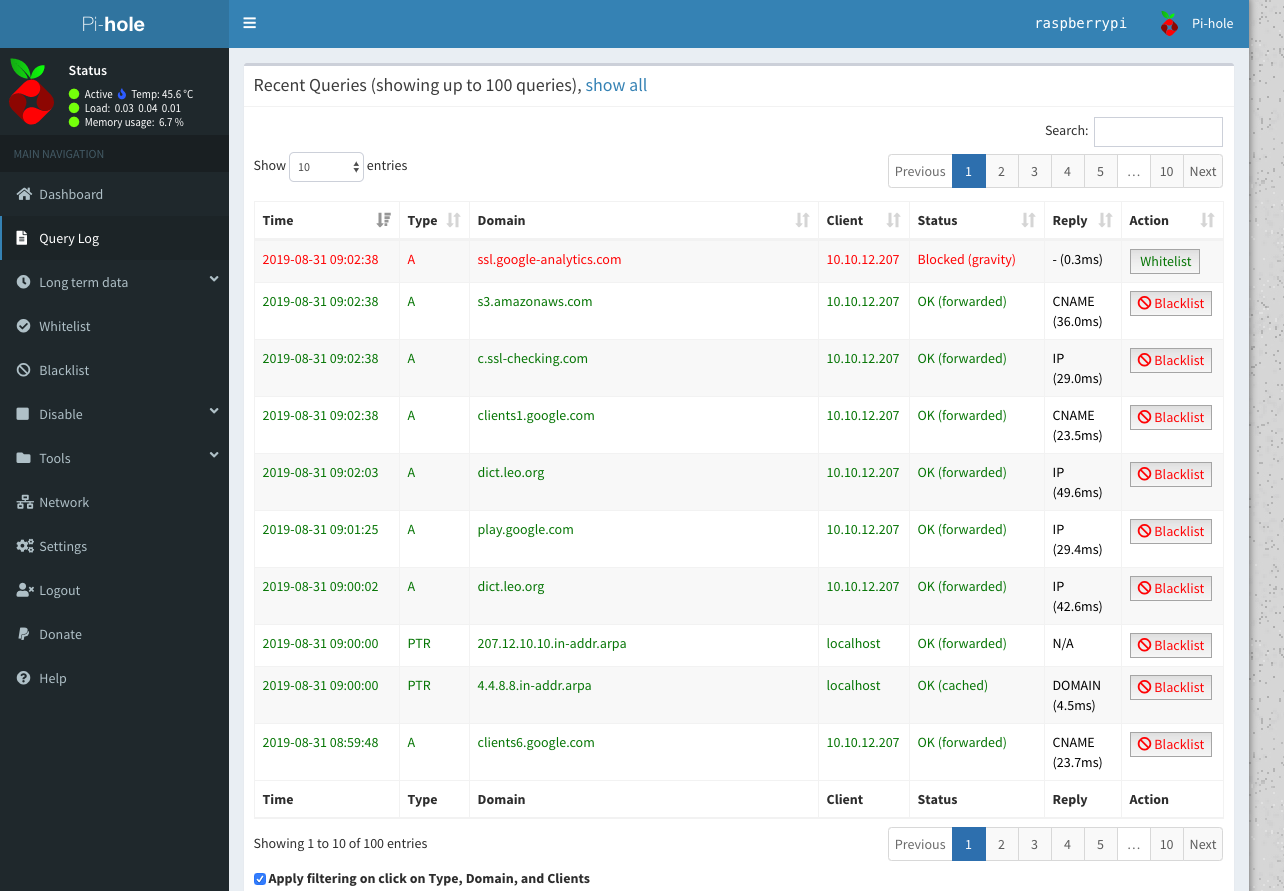
When I go to the admin page I can see what calls are blocked:
Also a nice thing about it you can choose to Whitelist certain providers. For instance in the image below it looks like Google Analytics is blocked and I can whitelist it easily: